Motion · Camera
Overhead camera moves
Two overhead reveal techniques: tilt-reveal pitches up to level, and overhead-tabletop-drop slides across a card array then dives in.
Source: video-shotcraft (Vincent Wei) ↗ · Apache-2.0 · Remotion composition (React/TSX) — preview video, no in-browser player
Variants
The whole page lies flat at rotateX -80° inside a perspective container, pitching up to level over ~43f; rotateX/scale/translateY all share an out-cubic ease with a slight overshoot at the end.
Opening establishing shot; single subject
The card array lies flat at rotateX 62°; the pan segment only moves translateX to slide across, then the drop segment runs angle/scale/position together to dive in and land on the final layout.
Picking one after surveying multiple pages; works as both transition and opening
When to use
Openings/transitions that tell the story through pitch angle: use A for a single-page establishing shot, B for surveying multiple pages and diving into one
Intention
The library has never had an overhead angle: crane-rise is a "pan + zoom" rise (pitch stays fixed), and space-camera style C, drone-dive, is a one-take dive descent. These two styles let the pitch angle itself tell the story: A is a reveal — the whole page lies flat via rotateX, opening on just a narrow perspective sliver along the top edge, then the camera "looks up" back to level as content floods in row by row, like unrolling a drawing on a desk; B is a selection — three page cards lie flat as a tabletop array, the camera pans overhead across them (Wes Anderson tabletop), then suddenly dives into the target page and pitches up to fill the frame — "survey them all, then pick this one." Choose by use case: single-page opening uses A, multi-page transition/opening uses B.
Duration & energy
- Duration: A ~4.8s / B ~4.7s
- Energy: A Medium / B Medium-high
Shot recipe (original Chinese — timing, easing, parameter table, known pitfalls)
意图
库内俯拍视角一直空缺——crane-rise 是"平移+缩放"的升起(俯仰角 不动),space-camera C 式 drone-dive 是俯冲降落一镜到底;这两式让 俯仰角本身讲故事:A 是揭示——整页 rotateX 平躺、开场只见上缘 一条透视窄带,机位"抬头"回正,内容一排排涌入视野,像掀开桌上的 图纸;B 是选择——三张页面卡平躺成桌面卡阵,相机俯拍横向滑过依次 掠过(韦斯·安德森 tabletop),滑到目标页猛地俯冲扎入、抬正成满屏, "巡视一圈,就选这张"。选型:单页开场用 A,多页转场/开场用 B。
两式选型
| 式 | 做法 | 适用 | |----|------|------| | A tilt-reveal | perspective 容器内整页 rotateX -80° 平躺,~43f 抬正,rotateX/scale/translateY 共用 out-cubic,末端轻过冲 | 开场 establishing;单主体 | | B overhead-tabletop-drop | 卡阵平躺 rotateX 62°,pan 段只动 translateX 横滑掠过,drop 段角度/缩放/位移三通道同跑扎入落版 | 多页巡视后择一;转场/开场两用 |
参数表
| 参数 | 典型值 | 调节手感 | |------|--------|----------| | A 俯角 | rotateX 关键帧 [-80, 2.6, -0.9, 0](f25→68→72→76),transformOrigin 50% 0% | 首版 -55° 太弱:f0 仍见半页,无"窄带"悬念(实渲判例) | | A 联动 | perspective 600→1200、perspectiveOrigin 5%→40% 随进度插值;scale 3.2→1 + translateY 200→0 | perspective 不联动则俯角初始见不到"只露顶栏" | | A 收尾 | 全部动画 f76 结束,145f 留 69f 真静止 | 过冲幅度 ≤3°,再大读作弹簧不是机位 | | B pan 段 | 0–55f 只改 translateX +700→-650(in-out cubic),角度不动 | pan 段动角度 = 两段职责糊掉(判例:pan 巡视、drop 表态) | | B drop 段 | 55–85f 三通道同跑:rotateX 62→-1.8→0.6→0(out-cubic 过冲)、scale 1→2.04→2.0、translateX -650→0 | 三通道必须同跑;分先后读作两个动作 | | B 卡阵 | 卡片 996×560(16:9 精确比),落版 scale 2.0 恰满屏正视;transform 顺序 translateX→rotateX→scale | 顺序错了 pan 会带出弧线轨迹 | | B 地板 | 浅灰网格地板 | 无地板参照,横滑段读不出"相机在动" | | B 收尾 | 全部动画 f93 结束,140f 留 47f 真静止 | — |
已知坑
- demo 在灰阶/占位素材上调校通过——参数是调校起点非实战定稿,
首次实战须以真实素材回验
- 大角度透视下卡片必须 backfaceVisibility hidden + translateZ(4px)
兜底,否则个别帧背面/深度穿帮
- A 与 crane-rise-reveal 同片二选一——都是开场揭示,两个"揭示开场"
等于没有揭示
- B pan 段角度锁死是命门(两段职责分离判例):巡视归巡视、扎入归
扎入,混着动观众不知道相机想干嘛
- 两式都是"相机大动作",与 space-camera/crane-rise 同屏段落互斥,
一个段落只能有一个持镜人
参考实现
demos/camera/overhead-camera-moves/ (OverheadTabletopDrop.tsx / TiltReveal.tsx)
Reference implementation (Remotion)
- demos/camera/overhead-camera-moves/OverheadTabletopDrop.tsx — https://raw.githubusercontent.com/Vincentwei1021/video-shotcraft/main/demos/camera/overhead-camera-moves/OverheadTabletopDrop.tsx
- demos/camera/overhead-camera-moves/TiltReveal.tsx — https://raw.githubusercontent.com/Vincentwei1021/video-shotcraft/main/demos/camera/overhead-camera-moves/TiltReveal.tsx
The component imports shared fixtures from demos/_fixtures and helpers from assets/lib in the repo; SKILL.md there documents the render workflow.
Everything on this page is also machine-readable. Point your agent at the JSON, or add the gimgs MCP server and ask it to search motion templates.
- Fetch the JSON — it holds the shot recipe (timing, easing, parameter table, pitfalls) and the full TSX source.
- Clone the video-shotcraft repo; the component imports shared fixtures from demos/_fixtures and helpers from assets/lib.
- Register the component as a <Composition> in a Remotion project and render with `npx remotion render`, or re-implement the recipe in your own engine.
curl -s https://gimgs.net/motion/overhead-camera-moves.jsongit clone https://github.com/Vincentwei1021/video-shotcraft
# component: demos/camera/overhead-camera-moves/OverheadTabletopDrop.tsx, demos/camera/overhead-camera-moves/TiltReveal.tsx
npx remotion render <CompositionId> out.mp4claude mcp add --transport http gimgs https://gimgs.net/mcp
# then: search_motion_templates / get_motion_template("overhead-camera-moves")Prompt
Use the video-shotcraft shot recipe "Overhead camera moves" (Remotion composition, Apache-2.0) published on gimgs.net.
Recipe JSON (prompt = timing/easing/parameter table/pitfalls, files = TSX source): https://gimgs.net/motion/overhead-camera-moves.json
Raw TSX: https://gimgs.net/motion/overhead-camera-moves/template.html
Repository: https://github.com/Vincentwei1021/video-shotcraft  (component: demos/camera/overhead-camera-moves/OverheadTabletopDrop.tsx, demos/camera/overhead-camera-moves/TiltReveal.tsx; imports demos/_fixtures and assets/lib)
Spec: 1920x1080, 30 fps, 4.89s

1. Read the JSON and follow its "prompt" section (when to use, intention, parameter table, known pitfalls).
2. Adapt it for: <describe what you want>.
3. Either clone the repo, register the component as a <Composition> in a Remotion project and run npx remotion render <CompositionId> out.mp4 — or re-implement the recipe in your own engine (HTML/WAAPI works: keep the same timing and easing).
// ===== demos/camera/overhead-camera-moves/OverheadTabletopDrop.tsx =====
// overhead-tabletop-drop|上帝视角桌面滑降
// perspective(1600px) 内三张"页面卡"rotateX(62°) 平躺成桌面卡阵。
// 0–55f 相机横向滑过(只动 translateX,缓入缓出);55–85f 骤降扎入:
// rotateX 62→0 + 世界 scale 1→2.0(2% 过冲)+ translateX -650→0 三者同跑,
// 中间卡对位落成正视满屏 dashboard。全部动画 f=93 结束,收尾真静止 52f。
// 卡片 996×560(spec 900→996,使 FakeDashboard 0.5185 缩放严丝合缝、
// 落版 16:9 精确对位),间距 140px。
import React from 'react';
import { AbsoluteFill, interpolate, useCurrentFrame, Easing } from 'remotion';
import { FakeDashboard, Card, G } from '../../_fixtures/Fixtures';

const CARD_W = 996;
const CARD_H = 560;
const GAP = 140;
const PITCH = CARD_W + GAP; // 1136
const INNER = CARD_H / 1080; // 0.5185:FakeDashboard 缩到卡内正好铺满

const PAN_END = 55;
const DROP_END = 85;

// 单张"页面卡":白底圆角卡,内容按 INNER 缩放塞满
const PageCard: React.FC<{ x: number; children: React.ReactNode }> = ({ x, children }) => (
  <div
    style={{
      position: 'absolute',
      left: x - CARD_W / 2,
      top: -CARD_H / 2,
      width: CARD_W,
      height: CARD_H,
      background: G.card,
      border: `2px solid ${G.border}`,
      borderRadius: 14,
      overflow: 'hidden',
      boxSizing: 'border-box',
      boxShadow: '0 24px 48px rgba(0,0,0,0.22)',
      backfaceVisibility: 'hidden',
      transform: 'translateZ(4px)',
    }}
  >
    <div style={{ width: 1920, height: 1080, transform: `scale(${INNER})`, transformOrigin: '0 0' }}>
      {children}
    </div>
  </div>
);

export const OverheadTabletopDrop: React.FC = () => {
  const f = useCurrentFrame();

  // 0–55f 横滑:只动 translateX,缓入缓出
  const panX = interpolate(f, [0, PAN_END], [700, -650], {
    easing: Easing.inOut(Easing.cubic),
    extrapolateLeft: 'clamp',
    extrapolateRight: 'clamp',
  });

  // 55–85f 骤降:角度 / 缩放 / 位移三者同跑,out-cubic + 2% 过冲
  const drop = interpolate(f, [PAN_END, DROP_END], [0, 1], {
    easing: Easing.out(Easing.cubic),
    extrapolateLeft: 'clamp',
    extrapolateRight: 'clamp',
  });
  const rotX = interpolate(f, [PAN_END, DROP_END, DROP_END + 4, DROP_END + 8], [62, -1.8, 0.6, 0], {
    easing: Easing.out(Easing.cubic),
    extrapolateLeft: 'clamp',
    extrapolateRight: 'clamp',
  });
  const scale = interpolate(f, [PAN_END, DROP_END, DROP_END + 7], [1, 2.04, 2.0], {
    easing: Easing.out(Easing.cubic),
    extrapolateLeft: 'clamp',
    extrapolateRight: 'clamp',
  });
  const dropX = interpolate(drop, [0, 1], [panX, 0]); // drop 段把 -650 收回 0

  const tx = f <= PAN_END ? panX : dropX;

  return (
    <AbsoluteFill style={{ background: G.bg, overflow: 'hidden' }}>
      <div style={{ position: 'absolute', inset: 0, perspective: 1600, perspectiveOrigin: '50% 42%' }}>
        {/* 世界原点 = 屏心;先 in-plane scale,再 rotateX,最后 translateX */}
        <div
          style={{
            position: 'absolute',
            left: '50%',
            top: '50%',
            width: 0,
            height: 0,
            transformStyle: 'preserve-3d',
            transform: `translateX(${tx}px) rotateX(${rotX}deg) scale(${scale})`,
          }}
        >
          {/* 桌面:浅灰底 + 网格线,给横滑段提供运动参照 */}
          <div
            style={{
              position: 'absolute',
              left: -2800,
              top: -760,
              width: 5600,
              height: 1520,
              background: '#e6e6e4',
              backgroundImage: `repeating-linear-gradient(90deg, ${G.line} 0px, ${G.line} 2px, transparent 2px, transparent 160px), repeating-linear-gradient(0deg, ${G.line} 0px, ${G.line} 2px, transparent 2px, transparent 160px)`,
              backfaceVisibility: 'hidden',
            }}
          />
          <PageCard x={-PITCH}>
            <FakeDashboard variant="B" />
          </PageCard>
          {/* 目标页:落版满屏 */}
          <PageCard x={0}>
            <FakeDashboard variant="A" />
          </PageCard>
          <PageCard x={PITCH}>
            <div
              style={{
                width: 1920,
                height: 1080,
                background: G.panel,
                display: 'flex',
                alignItems: 'center',
                justifyContent: 'center',
              }}
            >
              <Card w={760} h={520} seed={4} />
            </div>
          </PageCard>
        </div>
      </div>
    </AbsoluteFill>
  );
};


// ===== demos/camera/overhead-camera-moves/TiltReveal.tsx =====
// tilt-reveal|俯仰揭示
// 开场俯视 dashboard 顶部(rotateX 平躺、只露顶栏),~43f 机位抬头回正,
// 内容一排排涌入视野。out-cubic + 末端轻微过冲回正,落定真静止 ≥35f。
import React from 'react';
import { AbsoluteFill, interpolate, useCurrentFrame, Easing } from 'remotion';
import { FakeDashboard, G } from '../../_fixtures/Fixtures';

const HOLD = 25; // 俯角定格
const MOVE = 43; // 主抬升
// 过冲:-55° → +2.6° → -0.9° → 0°,全部动画在 f=76 结束(145-76=69f 真静止)

export const TiltReveal: React.FC = () => {
  const f = useCurrentFrame();

  const rotX = interpolate(
    f,
    [HOLD, HOLD + MOVE, HOLD + MOVE + 4, HOLD + MOVE + 8],
    [-80, 2.6, -0.9, 0],
    { easing: Easing.out(Easing.cubic), extrapolateLeft: 'clamp', extrapolateRight: 'clamp' },
  );

  const p = interpolate(f, [HOLD, HOLD + MOVE], [0, 1], {
    easing: Easing.out(Easing.cubic),
    extrapolateLeft: 'clamp',
    extrapolateRight: 'clamp',
  });
  const scale = interpolate(p, [0, 1], [3.2, 1]);
  const ty = interpolate(p, [0, 1], [200, 0]);
  const persp = interpolate(p, [0, 1], [600, 1200]);
  const perspY = interpolate(p, [0, 1], [5, 40]);

  return (
    <AbsoluteFill style={{ background: G.bg, overflow: 'hidden' }}>
      <div
        style={{
          position: 'absolute',
          inset: 0,
          perspective: persp,
          perspectiveOrigin: `50% ${perspY}%`,
        }}
      >
        <div
          style={{
            width: 1920,
            height: 1080,
            transformOrigin: '50% 0%', // 画面上缘
            transform: `translateY(${ty}px) scale(${scale}) rotateX(${rotX}deg)`,
          }}
        >
          <FakeDashboard variant="A" />
        </div>
      </div>
    </AbsoluteFill>
  );
};
- Read the recipePrompt = when to use, intention, parameter table with typical values and how each one feels, known pitfalls. Treat values as calibrated starting points.
- Get the codetool: git
git clone https://github.com/Vincentwei1021/video-shotcraft && cd video-shotcraft && npm install - Register + rendertool: remotion
npx remotion render <CompositionId> out.mp4 # component: demos/camera/overhead-camera-moves/OverheadTabletopDrop.tsx, demos/camera/overhead-camera-moves/TiltReveal.tsx - Or re-implementPort the timing/easing from the recipe to HTML + WAAPI (gimgs motion contract) or any engine; keep the same segment windows and easing.
| param | type | default | description |
|---|---|---|---|
| — | |||
More in this category
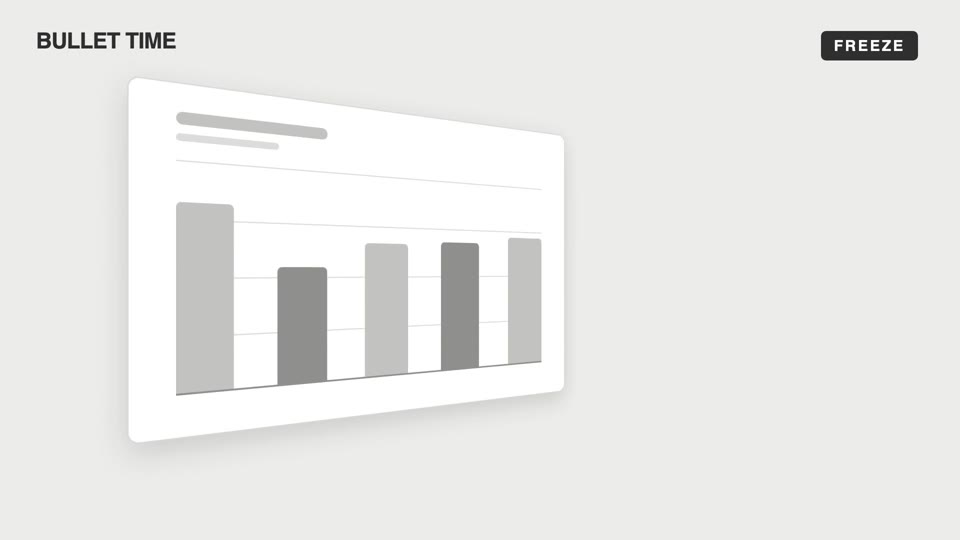
Emotional camera moves
Four emotional camera moves — bullet-time freeze-orbit, dutch-roll to level, slow-push-in, and pull-back isolation; the camera makes the viewer "feel" rather than "see."
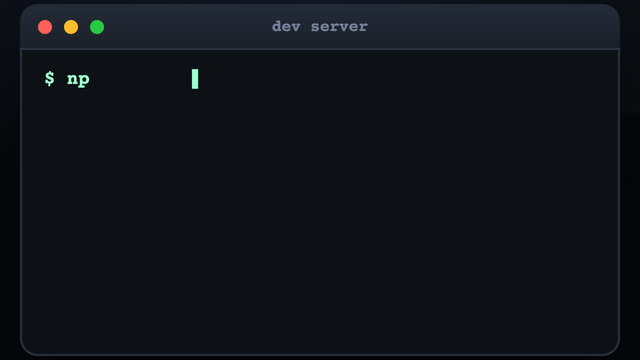
3D terminal flythrough
Three terminal windows scattered in 3D space; the camera flies between them with a sinusoidal pull-back en route, typing out a command at each stop as results slide out line by line.
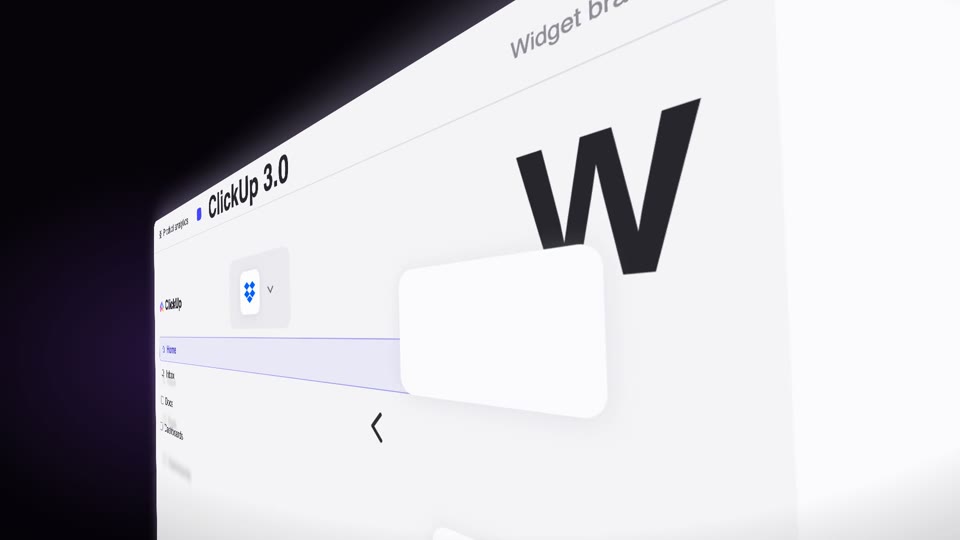
Steep-tilt page glide
A fixed camera holds an upright page in a strong 60° perspective tilt (near right, far left); the page glides sideways across the lens on its own (the object moves, not the camera), with speed-streak afterimages and floating text settling as it lifts from dark to light.
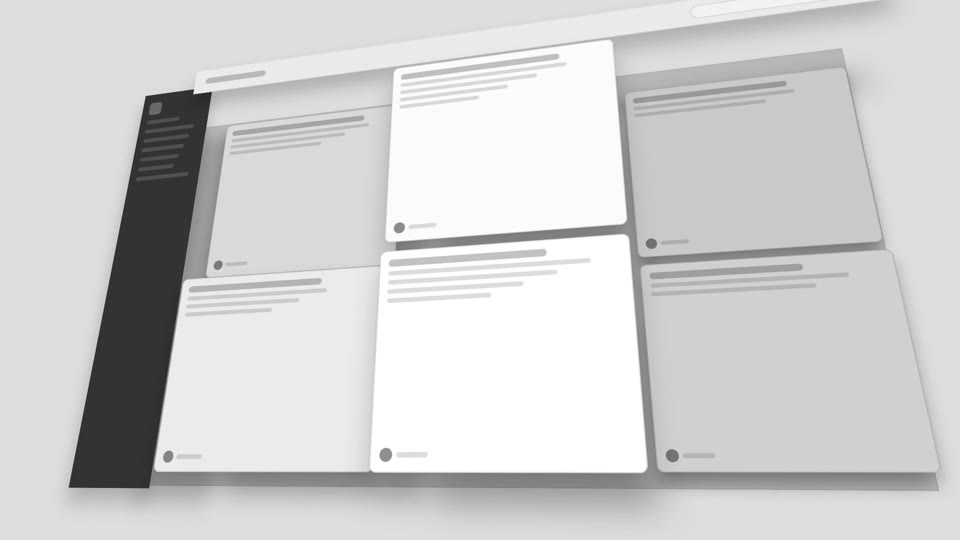
3D space camera moves
Two 3D spatial camera moves — exploded-view (parts blow apart along Z then reassemble) and drone-dive-landing (a drone dives and lands).