Motion · UI entrance
Radial wave dot grid
A 17×9 grid of dots lights up in a wave based on distance from a source point, each dot overshooting to 1.5x scale then settling.
Source: video-shotcraft (Vincent Wei) ↗ · Apache-2.0 · Remotion composition (React/TSX) — preview video, no in-browser player
When to use
A "system power-on" beat for a product/brand opening; also used as an establishing shot for data grids, node maps, or coverage-area narratives
Intention
Rewrites the static fact of "many dots existing at once" into the dynamic fact of "energy spreading from one source to everyone." What the viewer sees isn't a dot grid, it's a power-on moment: the center lights first, brightness pushes outward like a wave, and once it's done the whole grid holds steady, laying the groundwork for whatever content comes next. The second, reverse wave is an acknowledgment — telling the viewer this system responds.
Duration & energy
- Duration: About 3.8s (114f@30fps)
- Energy: Medium-high (one burst at the start, settling into a low-energy steady-lit base after the wavefront passes)
Shot recipe (original Chinese — timing, easing, parameter table, known pitfalls)
意图
把"很多点同时存在"这件静态事实,改写成"能量从一个源头扩散到全体"的动态事实。观众 看到的不是一张点阵图,而是一次通电:中心先亮,亮度像水波推过去,走完之后整张阵列 留在常亮态——为下一拍要放的内容铺好底。第二道反向波是回执,告诉观众这个系统会回应。
动效核心
- 阵列 17×9 共 153 点,dot 用百分比定位(
left:(c+0.5)/COLS),因此改变行列数不需要
重算坐标;每点预存归一化距离 dist = hypot(c-cx, r-cy) / maxD(maxD = hypot(8,4))
- 第一道波:
seg(t, dist*0.35, dist*0.35+0.18, E.outCubic)——起点由距离线性推迟(最外
圈延后 0.35),单点自己的行程恒定 0.18;波前是"起点错峰"而不是变速
- 每点的 scale 不是简单 0→1,而是
w1*(1+0.5*sin(w1*π)):中途鼓到约 1.5 再收回 1,
正弦包络让过冲发生在行程正中而非落位时
- 第二道波:
seg(t, 0.62+(1-dist)*0.25, +0.15)把偏移量反号(外圈先动),取
sin(w2*π) 做纯脉冲,叠加 0.8 的 scale 增量与 0.25 的透明度增量,走完不留状态
- 脉冲峰值处(
pulse2 > 0.3)硬切成#b9f2ff并挂0 0 12px #7fd8ff光晕——只有第二
道波带发光,第一道波全程是 #6c8cff 常色,两道波在视觉上不会混成一件事
参数表
| 参数 | 典型值 | 调节手感 | |------|--------|----------| | 阵列规模 | COLS=17 / ROWS=9(153 点) | 点数决定波前的"分辨率";<8 列时距离分档太粗,波读作三四圈同心环在跳 | | 波速系数 | dist*0.35 | 这个 0.35 就是波速倒数:调大波走得慢、拖尾长;>0.5 时最外圈要等到全片过半才亮 | | 单点行程 | 0.18(≈21f) | 决定波前的厚度;<0.1 波前锐利像扫描线,>0.3 全场几乎同时亮,扩散感消失 | | 过冲幅度 | 1+0.5*sin(w1*π) → 峰值 1.5 | 系数 0.5 是"弹一下"的量;去掉正弦项就是平淡的 0→1 淡入,>0.8 点会互相咬边 | | 第二道波 | 起点 0.62+(1-dist)*0.25,窗 0.15,幅度 0.8 | 0.62 是两波之间的呼吸;提前到 0.5 以下会和第一道波尾巴叠在一起读作一团乱闪 | | 常亮底 | opacity = 0.25 + w1*0.5 + pulse2*0.25 | 0.25 是未点亮点的存在感;调到 0 则波前之外一片黑,阵列的"规模"交代不出来 | | 高亮阈值 | pulse2 > 0.3 切色 + 光晕 | 阈值越低发光段越长;这是硬切不是渐变,阈值贴近 0 时会看到明显的开关跳变 |
已知坑
- 波源写死在几何中心(
cx=(COLS-1)/2, cy=(ROWS-1)/2)。要改成从角落或某个"节点"起波,
必须同时改 cx/cy 与 maxD,否则归一化距离 >1,最外圈的起点会被推到 t=1 之外永不点亮
- 末帧不完全静止:中心点(dist=0)的第二道波窗是 0.87→1.02,t=1 时才走到 87%,
pulse2≈0.41 仍在高亮。要做循环或干净收尾,得把第二道波起点压到 0.85 以内
- dot 的
width:10px与margin:-5px是绑定的一对(靠负 margin 居中),改点径必须同步改
margin,否则整阵列会朝右下偏半个点径
- 颜色只有两档(常色
#6c8cff/ 峰值#b9f2ff),换品牌色要改这两处加光晕色共三处;
背景 #0a0b10 是发光的前提,白底上这套亮度脉冲基本看不见
参考实现
demos/ui-entrance/radial-wave/ (RadialWave.tsx)
Reference implementation (Remotion)
- demos/ui-entrance/radial-wave/RadialWave.tsx — https://raw.githubusercontent.com/Vincentwei1021/video-shotcraft/main/demos/ui-entrance/radial-wave/RadialWave.tsx
The component imports shared fixtures from demos/_fixtures and helpers from assets/lib in the repo; SKILL.md there documents the render workflow.
Everything on this page is also machine-readable. Point your agent at the JSON, or add the gimgs MCP server and ask it to search motion templates.
- Fetch the JSON — it holds the shot recipe (timing, easing, parameter table, pitfalls) and the full TSX source.
- Clone the video-shotcraft repo; the component imports shared fixtures from demos/_fixtures and helpers from assets/lib.
- Register the component as a <Composition> in a Remotion project and render with `npx remotion render`, or re-implement the recipe in your own engine.
curl -s https://gimgs.net/motion/radial-wave.jsongit clone https://github.com/Vincentwei1021/video-shotcraft
# component: demos/ui-entrance/radial-wave/RadialWave.tsx
npx remotion render <CompositionId> out.mp4claude mcp add --transport http gimgs https://gimgs.net/mcp
# then: search_motion_templates / get_motion_template("radial-wave")Prompt
Use the video-shotcraft shot recipe "Radial wave dot grid" (Remotion composition, Apache-2.0) published on gimgs.net.
Recipe JSON (prompt = timing/easing/parameter table/pitfalls, files = TSX source): https://gimgs.net/motion/radial-wave.json
Raw TSX: https://gimgs.net/motion/radial-wave/template.html
Repository: https://github.com/Vincentwei1021/video-shotcraft  (component: demos/ui-entrance/radial-wave/RadialWave.tsx; imports demos/_fixtures and assets/lib)
Spec: 1920x1080, 30 fps, 4.3s

1. Read the JSON and follow its "prompt" section (when to use, intention, parameter table, known pitfalls).
2. Adapt it for: <describe what you want>.
3. Either clone the repo, register the component as a <Composition> in a Remotion project and run npx remotion render <CompositionId> out.mp4 — or re-implement the recipe in your own engine (HTML/WAAPI works: keep the same timing and easing).
// ===== demos/ui-entrance/radial-wave/RadialWave.tsx =====
// radial-wave — Grid Radial Wave 点阵涟漪(motion-lab 定稿转原生 Remotion)
// 17×9 圆点阵列,波从中心向外按欧氏距离 stagger 扩散:每点 scale 0→1.5→1 +
// 亮度脉冲,波前过后留下常亮点阵;第二道波反向收拢。offset = k·dist(cell, origin)。
// 设计坐标 480×270(DesignStage 等比放大),参数表数值以此坐标系标定。
import React from 'react';
import { DesignStage, E, seg, useT } from '../../_fixtures/Motion';

export const RADIAL_WAVE_DURATION = 114; // 3800ms @30fps

const COLS = 17;
const ROWS = 9;
const CX = (COLS - 1) / 2;
const CY = (ROWS - 1) / 2;
const MAX_D = Math.hypot(CX, CY);

const DOTS = Array.from({ length: ROWS * COLS }, (_, i) => {
  const r = Math.floor(i / COLS);
  const c = i % COLS;
  return {
    left: `${((c + 0.5) / COLS) * 100}%`,
    top: `${((r + 0.5) / ROWS) * 100}%`,
    dist: Math.hypot(c - CX, r - CY) / MAX_D,
  };
});

export const RadialWave: React.FC = () => {
  const t = useT();
  return (
    <DesignStage bg="#0a0b10">
      {DOTS.map(({ left, top, dist }, i) => {
        // 第一道波:扩散点亮;第二道波:反向脉冲
        const w1 = seg(t, dist * 0.35, dist * 0.35 + 0.18, E.outCubic);
        const w2 = seg(t, 0.62 + (1 - dist) * 0.25, 0.62 + (1 - dist) * 0.25 + 0.15);
        const pulse2 = Math.sin(w2 * Math.PI);
        const s = w1 * (1 + 0.5 * Math.sin(w1 * Math.PI)) + pulse2 * 0.8;
        return (
          <div
            key={i}
            style={{
              position: 'absolute',
              width: 10,
              height: 10,
              borderRadius: '50%',
              left,
              top,
              margin: -5,
              background: pulse2 > 0.3 ? '#b9f2ff' : '#6c8cff',
              transform: `scale(${s})`,
              opacity: 0.25 + w1 * 0.5 + pulse2 * 0.25,
              boxShadow: pulse2 > 0.3 ? '0 0 12px #7fd8ff' : 'none',
            }}
          />
        );
      })}
    </DesignStage>
  );
};
- Read the recipePrompt = when to use, intention, parameter table with typical values and how each one feels, known pitfalls. Treat values as calibrated starting points.
- Get the codetool: git
git clone https://github.com/Vincentwei1021/video-shotcraft && cd video-shotcraft && npm install - Register + rendertool: remotion
npx remotion render <CompositionId> out.mp4 # component: demos/ui-entrance/radial-wave/RadialWave.tsx - Or re-implementPort the timing/easing from the recipe to HTML + WAAPI (gimgs motion contract) or any engine; keep the same segment windows and easing.
| param | type | default | description |
|---|---|---|---|
| — | |||
More in this category
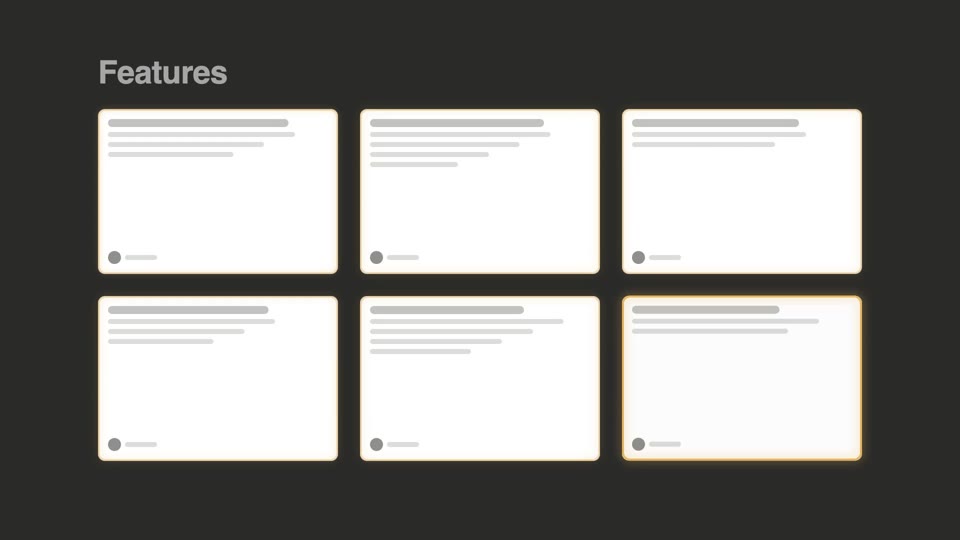
Wall reveal: three moves
Three whole-wall batch entrances — bento cell-by-cell light-up, grid wave flip, and blueprint draw-on; all reveal in place with no displacement, complementing the fly-in, displacement-type deck-deal-flyin.
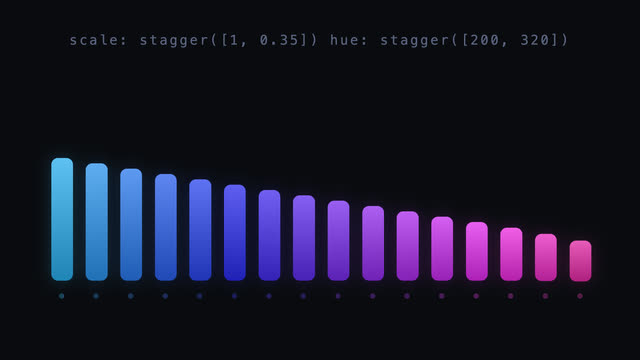
Value-stagger gradient bars
16 bars enter with delay as a time stagger, while height/hue/offset/blur each lay out as a value gradient from first to last; the second beat moves the stagger origin to center and re-lays the pulse peaking there.
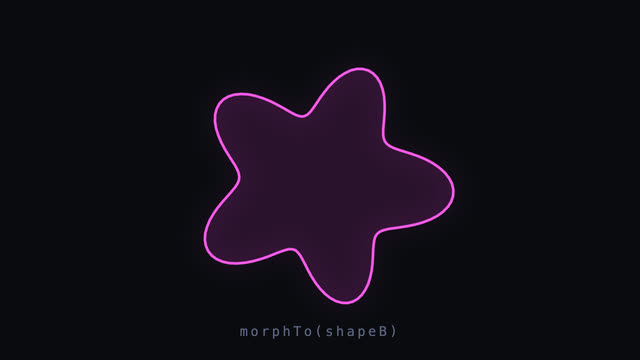
SVG shape morph loop
A 140-point closed outline morphs smoothly into another and back; both shapes are resampled to equal point counts in polar coordinates with per-point radius interpolation and inOutCubic, plus a light scale breathing, slow rotation, and hue drifting 185°→305° mid-morph.
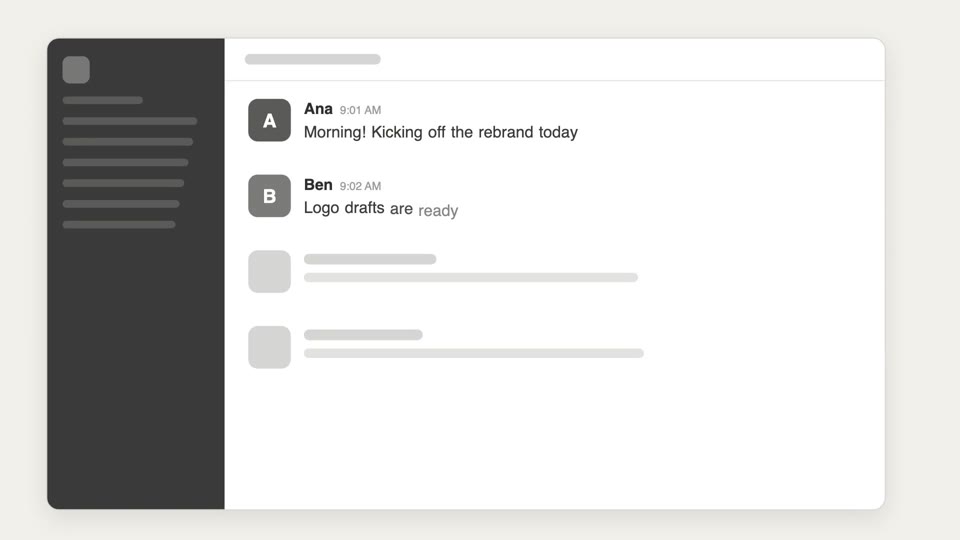
Skeleton reveal
Three-tier reveal from sketch to structure to content — hand-drawn doodles get swapped for skeleton bars, which resolve into real UI.