Motion · UI entrance
Row embed
Content rows drop from above like cards, level out via rotateX, and an accent-color seam lights up along the bottom edge as they embed.
Source: video-shotcraft (Vincent Wei) ↗ · Apache-2.0 · Remotion composition (React/TSX) — preview video, no in-browser player
When to use
A detail-page/list shot for "structured data growing into the page"; a batch entrance for row-level content
Intention
A detail page's rows don't "appear," they "grow in" — each row drops from above and embeds seamlessly into the page layout, and the accent-color seam that lights up at the moment of embedding is the visual sound effect of a "click" snapping into place.
Duration & energy
- Duration: About 2s (12–68f)
- Energy: Medium
Shot recipe (original Chinese — timing, easing, parameter table, known pitfalls)
意图
详情页的行不是"显示出来"而是"长进去"——每一行从空中降下并严丝合缝嵌入页面布局,嵌入瞬间的强调色缝是"咔哒"扣上的视觉拟音。
动效核心
- 行按节拍逐条从上空飞入,rotateX 从仰角收平,scale 略过冲后 press 回弹
- 行位先盖页面底色补丁占位,落地后补丁消失让纹理透出
- 嵌入瞬间行底边一道 2px 强调色缝从中心向两侧展开后淡出
- 相机同时匀速下摇,行雨与运镜并行
参数表
| 参数 | 典型值 | 调节手感 | |------|--------|----------| | 节拍 | 第 i 行 cue = 12 + i·9,飞行 12f,最后一行 60f 落地、强调色缝 68f 收尾 ≤ 镜头 70f 预算 | 先算"最后一行何时落地"再定 cue 间隔——节拍×行数要对预算(同 document-typewriter-reveal 卡的核心算术) | | 飞行姿态 | perspective(900px) translateY(−120·air) rotateX(16°·air),scale 1.06→0.995 再 4f press-bounce 回 1 | rotateX 收平是"嵌入"的关键读感;纯垂直下落读作贴纸 | | 飞行体 | backgroundImage 取整页截图、backgroundPosition 负偏移裁出该行 | 纹理裁片不重绘内容(Q1)——重绘的行和页面字体渲染有肉眼可见差异 | | 空槽补丁 | 行位先盖页面底色 patch,落地后 2f 消失 | 无补丁时纹理里烤入的行会先透出来,飞入变成"重影" | | 嵌入闪光 | 底边 2px 强调色缝从中心向两侧 5f 展开(Easing.out cubic)、8f 淡出,带 6px 辉光 | 缝只在底边、只闪一次;四边都闪读作选中框 | | 相机 | cy 300→760 匀速 75f 下摇 | 运镜与行雨并行制造"边看边长"的感觉;相机若等行落完再动,镜头会拖 |
声音
段落切入钉 transition-soft(模板片钉在 f475);行落地不逐条配音——行数多、间隔匀时逐条 pop 会机枪化,靠画面的强调色缝做"视觉拟音"即可(S2 反面自检)。
已知坑
- 飞入终点必须是页面布局真实槽位、落地即嵌入(Q9)——要"从空中飞入,嵌入 dashboard";悬浮其上不落地会显得假
- 强调色缝等光效必须裁进承载元素圆角边界内(Q4 判例),光溢出圆角是廉价感典型来源
参考实现
demos/ui-entrance/row-embed/RowEmbed.tsx(原 template/src/aifl/live/SceneDetail.tsx)
Reference implementation (Remotion)
- demos/ui-entrance/row-embed/RowEmbed.tsx — https://raw.githubusercontent.com/Vincentwei1021/video-shotcraft/main/demos/ui-entrance/row-embed/RowEmbed.tsx
The component imports shared fixtures from demos/_fixtures and helpers from assets/lib in the repo; SKILL.md there documents the render workflow.
Everything on this page is also machine-readable. Point your agent at the JSON, or add the gimgs MCP server and ask it to search motion templates.
- Fetch the JSON — it holds the shot recipe (timing, easing, parameter table, pitfalls) and the full TSX source.
- Clone the video-shotcraft repo; the component imports shared fixtures from demos/_fixtures and helpers from assets/lib.
- Register the component as a <Composition> in a Remotion project and render with `npx remotion render`, or re-implement the recipe in your own engine.
curl -s https://gimgs.net/motion/row-embed.jsongit clone https://github.com/Vincentwei1021/video-shotcraft
# component: demos/ui-entrance/row-embed/RowEmbed.tsx
npx remotion render <CompositionId> out.mp4claude mcp add --transport http gimgs https://gimgs.net/mcp
# then: search_motion_templates / get_motion_template("row-embed")Prompt
Use the video-shotcraft shot recipe "Row embed" (Remotion composition, Apache-2.0) published on gimgs.net.
Recipe JSON (prompt = timing/easing/parameter table/pitfalls, files = TSX source): https://gimgs.net/motion/row-embed.json
Raw TSX: https://gimgs.net/motion/row-embed/template.html
Repository: https://github.com/Vincentwei1021/video-shotcraft  (component: demos/ui-entrance/row-embed/RowEmbed.tsx; imports demos/_fixtures and assets/lib)
Spec: 960x540, 30 fps, 3.33s

1. Read the JSON and follow its "prompt" section (when to use, intention, parameter table, known pitfalls).
2. Adapt it for: <describe what you want>.
3. Either clone the repo, register the component as a <Composition> in a Remotion project and run npx remotion render <CompositionId> out.mp4 — or re-implement the recipe in your own engine (HTML/WAAPI works: keep the same timing and easing).
// ===== demos/ui-entrance/row-embed/RowEmbed.tsx =====
// row-embed —— 内容行从空中降下、rotateX 收平、嵌入瞬间底边亮强调色缝
// "结构化数据长进页面"的详情页/列表镜头。参考实现从 template SceneDetail 剥离:
// 行按节拍逐条从上空飞入(perspective translateY(−120·air) + rotateX(16°·air) +
// scale 略过冲后 press 回弹),行位先盖页面底色补丁占位、落地后消失让纹理透出,
// 嵌入瞬间行底边 2px 强调色缝从中心向两侧展开后淡出,相机同时匀速下摇。
// 节拍:第 i 行 cue = 12 + i·9,飞行 12f,最后一行 60f 落地、强调色缝 68f 收尾。
// 飞行体 = 整页截图 backgroundImage 负偏移裁片(Q1:裁片不重绘内容)。
import React from 'react';
import { interpolate, staticFile, useCurrentFrame, Easing } from 'remotion';
import { PageCam2D, CamKey2D } from '../../_fixtures/PageCam2D';
import layout from '../../_textures/live-layout.json';

export const ROW_EMBED_DURATION = 68;

const DETAIL_H = layout.detail.pageH;
const rows = layout.detail.rows;

const DETAIL_CAM: CamKey2D[] = [
  { frame: 0, cx: 960, cy: 300, zoom: 1.1 },
  { frame: 68, cx: 960, cy: 760, zoom: 1.0 },
];

const FLY_EASE = Easing.bezier(0.3, 0, 0.25, 1);
const detailSrc = staticFile('textures/live/detail-full.png');

export const RowEmbed: React.FC = () => {
  const frame = useCurrentFrame();

  return (
    <PageCam2D src="textures/live/detail-full.png" pageH={DETAIL_H} keys={DETAIL_CAM}>
      {rows.map((r, i) => {
        const cue = 12 + i * 9;
        const land = cue + 12;

        // empty-slot paper patch (under the flying row), gone 2f after landing
        const patchOpacity = interpolate(frame, [land, land + 2], [1, 0], {
          extrapolateLeft: 'clamp', extrapolateRight: 'clamp',
        });

        // flying row: texture-crop dropping in from the air
        let flyer: React.ReactNode = null;
        if (frame >= cue && frame < cue + 16) {
          const p = interpolate(frame, [cue, cue + 12], [0, 1], {
            extrapolateLeft: 'clamp', extrapolateRight: 'clamp', easing: FLY_EASE,
          });
          const appear = interpolate(frame, [cue, cue + 3], [0, 1], {
            extrapolateLeft: 'clamp', extrapolateRight: 'clamp',
          });
          const scale =
            frame < land
              ? 1.06 - 0.065 * p
              : interpolate(frame, [land, land + 4], [0.995, 1], {
                  extrapolateLeft: 'clamp', extrapolateRight: 'clamp', easing: Easing.out(Easing.quad),
                });
          const air = 1 - p;
          flyer = (
            <div
              key={`row-${i}`}
              style={{
                position: 'absolute', left: r.x, top: r.y, width: r.w, height: r.h,
                borderRadius: 8, backgroundColor: '#fff',
                backgroundImage: `url(${detailSrc})`,
                backgroundSize: `1920px ${DETAIL_H}px`,
                backgroundPosition: `-${r.x}px -${r.y}px`,
                opacity: appear,
                transform: `perspective(900px) translateY(${-120 * air}px) rotateX(${16 * air}deg) scale(${scale})`,
                boxShadow: `0 ${30 * air}px ${60 * air}px rgba(30,25,18,${0.22 * air}), 0 ${8 * air}px ${16 * air}px rgba(30,25,18,${0.12 * air})`,
                zIndex: 3, pointerEvents: 'none',
              }}
            />
          );
        }

        // embed flash: 2px amber seam at the row's bottom edge, expanding from
        // the center on touchdown, then fading out
        let seam: React.ReactNode = null;
        if (frame >= land && frame < land + 8) {
          const spread = interpolate(frame, [land, land + 5], [0, 1], {
            extrapolateLeft: 'clamp', extrapolateRight: 'clamp', easing: Easing.out(Easing.cubic),
          });
          const seamOpacity = interpolate(frame, [land, land + 2, land + 8], [1, 1, 0], {
            extrapolateLeft: 'clamp', extrapolateRight: 'clamp',
          });
          const seamW = r.w * spread;
          seam = (
            <div
              key={`seam-${i}`}
              style={{
                position: 'absolute',
                left: r.x + (r.w - seamW) / 2,
                top: r.y + r.h - 2,
                width: seamW, height: 2,
                background: 'oklch(58% 0.13 65)',
                boxShadow: '0 0 6px rgba(180,120,50,0.35)',
                opacity: seamOpacity, zIndex: 4, pointerEvents: 'none',
              }}
            />
          );
        }

        return (
          <React.Fragment key={i}>
            {patchOpacity > 0 ? (
              <div
                key={`patch-${i}`}
                style={{
                  position: 'absolute', left: r.x - 8, top: r.y - 4,
                  width: r.w + 24, height: r.h + 8, background: '#fdfcfa',
                  opacity: patchOpacity, zIndex: 1, pointerEvents: 'none',
                }}
              />
            ) : null}
            {flyer}
            {seam}
          </React.Fragment>
        );
      })}
    </PageCam2D>
  );
};
- Read the recipePrompt = when to use, intention, parameter table with typical values and how each one feels, known pitfalls. Treat values as calibrated starting points.
- Get the codetool: git
git clone https://github.com/Vincentwei1021/video-shotcraft && cd video-shotcraft && npm install - Register + rendertool: remotion
npx remotion render <CompositionId> out.mp4 # component: demos/ui-entrance/row-embed/RowEmbed.tsx - Or re-implementPort the timing/easing from the recipe to HTML + WAAPI (gimgs motion contract) or any engine; keep the same segment windows and easing.
| param | type | default | description |
|---|---|---|---|
| — | |||
More in this category
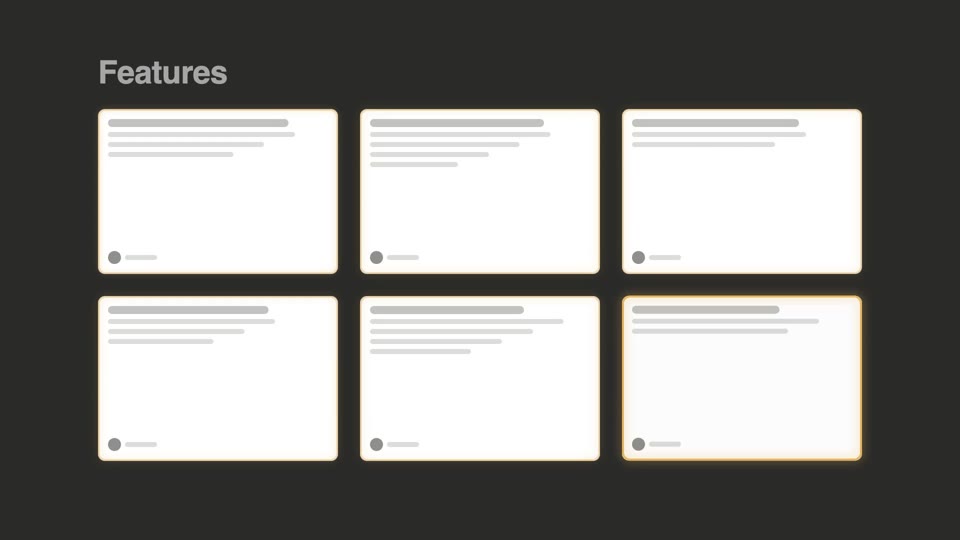
Wall reveal: three moves
Three whole-wall batch entrances — bento cell-by-cell light-up, grid wave flip, and blueprint draw-on; all reveal in place with no displacement, complementing the fly-in, displacement-type deck-deal-flyin.
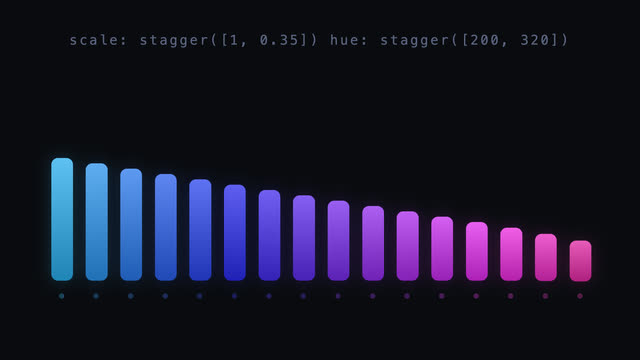
Value-stagger gradient bars
16 bars enter with delay as a time stagger, while height/hue/offset/blur each lay out as a value gradient from first to last; the second beat moves the stagger origin to center and re-lays the pulse peaking there.
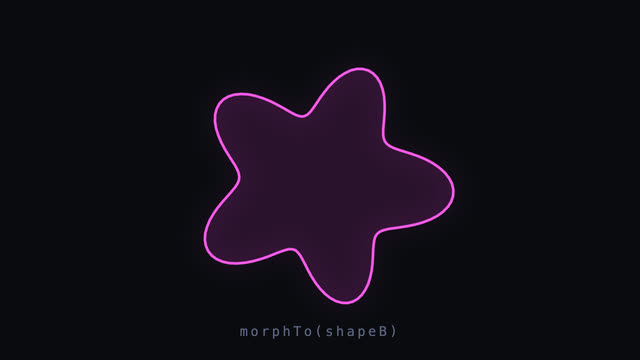
SVG shape morph loop
A 140-point closed outline morphs smoothly into another and back; both shapes are resampled to equal point counts in polar coordinates with per-point radius interpolation and inOutCubic, plus a light scale breathing, slow rotation, and hue drifting 185°→305° mid-morph.
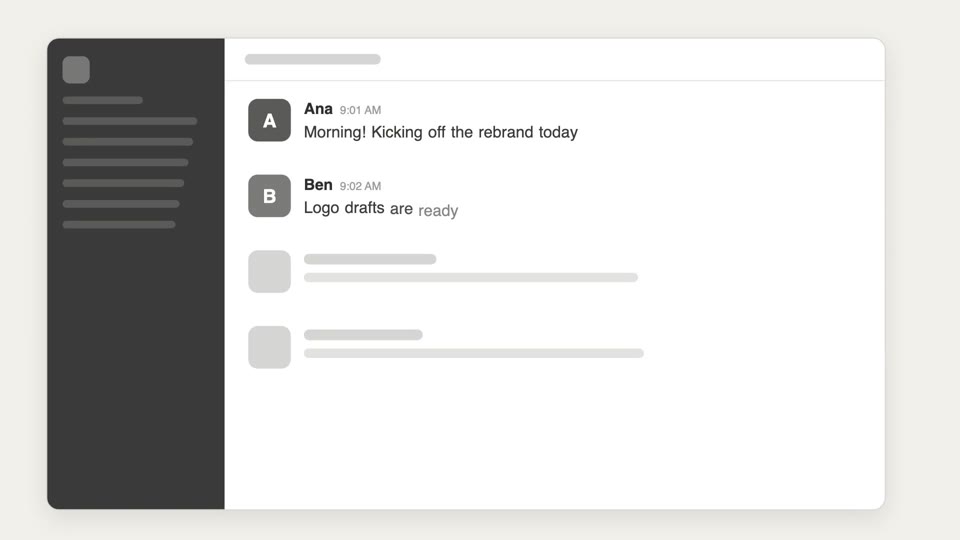
Skeleton reveal
Three-tier reveal from sketch to structure to content — hand-drawn doodles get swapped for skeleton bars, which resolve into real UI.