Motion · Camera
Basic 3D Scene Tour
An impress.js-style spatial deck: cards scattered through 3D space with distinct position/rotation/scale, the camera flies to align to the inverse of each step's pose, ending pulled back to an OVERVIEW.
Source: video-shotcraft (Vincent Wei) ↗ · Apache-2.0 · Remotion composition (React/TSX) — preview video, no in-browser player
When to use
Spatializing a concept/roadmap/three-step story; replacing flat slides with a "different spatial viewpoint per step" feel.
Intention
Turn "turning a page" into "traveling through the space of an idea": each card has not just a position but a pose (step two tilts 40° sideways, step three rotates the whole frame 90°), and as the camera aligns to it, the viewer's world rotates too — the spatial change itself becomes the ritual of "entering a new chapter."
Duration & energy
- Duration: About 6.0s (180f@30fps; four stops, three flights of 0.96s each).
- Energy: Medium (each transition is a spatial surprise; the dwell segments are quiet reading time).
Shot recipe (original Chinese — timing, easing, parameter table, known pitfalls)
意图
把"翻页"变成"在想法的空间里旅行":每张卡不仅有位置还有姿态(第二步侧转 40°、第三步整个画框转 90°),相机对齐它时观众的世界也跟着转——空间变化本身成为"进入新章节"的仪式感。
动效核心
- 核心配方一行:camera = stepTransform.inverse()。每步只写卡片自己的 pose(x/y/z/rx/ry/rz/s),相机变换按
scale(1/s) rotateZ(-rz) rotateY(-ry) rotateX(-rx) translate3d(-x,-y,-z)取逆,顺序严格相反 - 四站姿态各有戏剧点:STEP01 原点正视 → STEP02 右移 520px + ry−40°(世界左转)→ STEP03 rz90°(画框侧躺,相机跟着转正它)→ OVERVIEW s=3.1(相机 1/3.1 拉远总览)
- 飞行链式插值:三段
flyAt=[0.22,0.48,0.76]各 0.16(inOutCubic),cam 从当前值向下一站 lerp——中断任一段都是合法姿态 - enter/exit 聚焦:
af(累计飞行进度)与卡片序号距离决定opacity 0.28–1 + blur 0–3.5px;OVERVIEW 段强制全员点亮(max(1-d, over)) - OVERVIEW 卡本身放大 3.1 倍但内容预除 2.2——总览时它是"标题牌"而非巨物
参数表
| 参数 | 典型值 | 调节手感 | |------|--------|----------| | 站点姿态 | 每站至少一个新变换维度 | 只挪 x/y 是平移幻灯片;rz 站(画框旋转)是记忆点,一支片用一次 | | 飞行时长 | 0.16(约 0.96s) | 有旋转的段别快于 0.12,观众需要时间理解"世界在转" | | 停留间隔 | 0.10–0.12 | 读卡位;卡内文字多时优先加停留而不是减飞行 | | OVERVIEW 缩放 | s=3.1(相机拉远 1/3.1) | 值越大总览越"高空";保证所有卡都进画框再留 10% 边距 | | 聚焦衰减 | opacity 0.28 底 + blur 3.5px 峰 | 底值别低于 0.2——离焦卡要"在场",纯黑会丢空间感 | | perspective | 1000px | 与最大 |z|(520)比值约 2:1;更深的 z 需同步加大 persp 防畸变 |
已知坑
- 逆变换的旋转顺序(Z→Y→X 反着正变换的 X→Y→Z)不能乱——乱序在单轴旋转时看不出来,多轴复合站会歪
- 卡片 pose 写在卡自身 transform 和相机公式两处消费,加站只改 poses 表,两处 transform 字符串别动
- rz90° 站的卡内文字会跟着躺倒,相机转正后才可读——这是设计(转正瞬间"啊看懂了"),但该站文案要短
- OVERVIEW 后无返程,作段落收尾用;要循环回 STEP01 就在末尾加一段 fly back(cam 再 lerp 回 poses[0])
参考实现
demos/camera/basic-3d-scene/ (Basic3DScene.tsx)
Reference implementation (Remotion)
- demos/camera/basic-3d-scene/Basic3DScene.tsx — https://raw.githubusercontent.com/Vincentwei1021/video-shotcraft/main/demos/camera/basic-3d-scene/Basic3DScene.tsx
The component imports shared fixtures from demos/_fixtures and helpers from assets/lib in the repo; SKILL.md there documents the render workflow.
Everything on this page is also machine-readable. Point your agent at the JSON, or add the gimgs MCP server and ask it to search motion templates.
- Fetch the JSON — it holds the shot recipe (timing, easing, parameter table, pitfalls) and the full TSX source.
- Clone the video-shotcraft repo; the component imports shared fixtures from demos/_fixtures and helpers from assets/lib.
- Register the component as a <Composition> in a Remotion project and render with `npx remotion render`, or re-implement the recipe in your own engine.
curl -s https://gimgs.net/motion/basic-3d-scene.jsongit clone https://github.com/Vincentwei1021/video-shotcraft
# component: demos/camera/basic-3d-scene/Basic3DScene.tsx
npx remotion render <CompositionId> out.mp4claude mcp add --transport http gimgs https://gimgs.net/mcp
# then: search_motion_templates / get_motion_template("basic-3d-scene")Prompt
Use the video-shotcraft shot recipe "Basic 3D Scene Tour" (Remotion composition, Apache-2.0) published on gimgs.net.
Recipe JSON (prompt = timing/easing/parameter table/pitfalls, files = TSX source): https://gimgs.net/motion/basic-3d-scene.json
Raw TSX: https://gimgs.net/motion/basic-3d-scene/template.html
Repository: https://github.com/Vincentwei1021/video-shotcraft  (component: demos/camera/basic-3d-scene/Basic3DScene.tsx; imports demos/_fixtures and assets/lib)
Spec: 1920x1080, 30 fps, 6.5s

1. Read the JSON and follow its "prompt" section (when to use, intention, parameter table, known pitfalls).
2. Adapt it for: <describe what you want>.
3. Either clone the repo, register the component as a <Composition> in a Remotion project and run npx remotion render <CompositionId> out.mp4 — or re-implement the recipe in your own engine (HTML/WAAPI works: keep the same timing and easing).
// ===== demos/camera/basic-3d-scene/Basic3DScene.tsx =====
// basic-3d-scene — Impress 3D Steps 空间步进(motion-lab 定稿转原生 Remotion)
// impress.js 式演示:卡片散布 3D 空间各处(不同 xyz+旋转+缩放),相机依次飞到
// 每个 Step 的姿态对齐观看;核心配方 camera = stepTransform.inverse(),
// 非当前 step 半透明+模糊做 enter/exit。
// 设计坐标 480×270(DesignStage 等比放大),参数表数值以此坐标系标定。
import React from 'react';
import { DesignStage, E, lerp, seg, useT } from '../../_fixtures/Motion';

export const BASIC_3D_SCENE_DURATION = 180; // 6000ms @30fps

// 每个 step:位置 + 姿态 + 缩放(相机将取其逆)
const POSES = [
  { x: 0,   y: 0,   z: 0,    rx: 0, ry: 0,   rz: 0,  s: 1,   hue: 215, tt: 'STEP 01',  sub: 'Position the idea' },
  { x: 520, y: -60, z: -180, rx: 0, ry: -40, rz: 0,  s: 1,   hue: 265, tt: 'STEP 02',  sub: 'Rotate the view' },
  { x: 160, y: 300, z: -520, rx: 0, ry: 0,   rz: 90, s: 1,   hue: 165, tt: 'STEP 03',  sub: 'Spin the frame' },
  { x: 220, y: 90,  z: -260, rx: 0, ry: 0,   rz: 0,  s: 3.1, hue: 25,  tt: 'OVERVIEW', sub: 'See everything' },
];

// 飞行时刻表:0 停在 step0,之后三段飞行
const FLY_AT = [0.22, 0.48, 0.76];
const FLY = 0.16;

export const Basic3DScene: React.FC = () => {
  const t = useT();

  // activeFloat = 已完成的飞行进度之和 → 当前相机在哪个 step 之间
  let af = 0;
  const cam = { ...POSES[0] };
  for (let i = 0; i < FLY_AT.length; i++) {
    const f = seg(t, FLY_AT[i], FLY_AT[i] + FLY, E.inOutCubic);
    af += f;
    const p = POSES[i + 1];
    cam.x = lerp(f, cam.x, p.x); cam.y = lerp(f, cam.y, p.y); cam.z = lerp(f, cam.z, p.z);
    cam.rx = lerp(f, cam.rx, p.rx); cam.ry = lerp(f, cam.ry, p.ry); cam.rz = lerp(f, cam.rz, p.rz);
    cam.s = lerp(f, cam.s, p.s);
  }
  // overview 段进度(此时全部卡片点亮)
  const over = seg(t, FLY_AT[2], FLY_AT[2] + FLY);

  return (
    <DesignStage bg="#0a0b10">
      <div
        style={{
          position: 'absolute',
          inset: 0,
          overflow: 'hidden',
          background: 'radial-gradient(ellipse at 50% 40%,#141828 0%,#0a0b10 70%)',
          perspective: '1000px',
        }}
      >
        {/* world:相机 = 场景逆变换 —— 先反平移,再反旋转,再 1/scale */}
        <div
          style={{
            position: 'absolute',
            left: '50%',
            top: '50%',
            width: 0,
            height: 0,
            transformStyle: 'preserve-3d',
            willChange: 'transform',
            transform: `scale(${1 / cam.s})
              rotateZ(${-cam.rz}deg) rotateY(${-cam.ry}deg) rotateX(${-cam.rx}deg)
              translate3d(${-cam.x}px,${-cam.y}px,${-cam.z}px)`,
          }}
        >
          {POSES.map((p, i) => {
            const last = i === POSES.length - 1;
            // enter/exit:距当前视点越远越暗越糊(overview 时全部点亮)
            const d = Math.min(1, Math.abs(af - i));
            const focus = Math.max(1 - d, over);
            return (
              <div
                key={i}
                style={{
                  position: 'absolute',
                  left: last ? -160 : -110,
                  top: last ? -100 : -70,
                  width: last ? 320 : 220,
                  height: last ? 200 : 140,
                  boxSizing: 'border-box',
                  borderRadius: 10,
                  padding: '18px 20px',
                  willChange: 'opacity,filter',
                  background: `linear-gradient(150deg,hsl(${p.hue},45%,16%),hsl(${p.hue},55%,9%))`,
                  border: `1px solid hsl(${p.hue},60%,34%)`,
                  boxShadow: `0 18px 50px rgba(0,0,0,.55), inset 0 1px 0 hsla(${p.hue},70%,70%,.25)`,
                  transform: `translate3d(${p.x}px,${p.y}px,${p.z}px) rotateX(${p.rx}deg) rotateY(${p.ry}deg) rotateZ(${p.rz}deg) scale(${p.s / (last ? 2.2 : 1)})`,
                  fontFamily: '-apple-system,system-ui,sans-serif',
                  color: '#eef1f8',
                  opacity: 0.28 + focus * 0.72,
                  filter: `blur(${(1 - focus) * 3.5}px)`,
                }}
              >
                <div style={{ fontSize: 11, letterSpacing: 3, color: `hsl(${p.hue},80%,68%)`, fontWeight: 700 }}>
                  {p.tt}
                </div>
                <div style={{ fontSize: last ? 26 : 21, fontWeight: 800, marginTop: 8 }}>{p.sub}</div>
                <div style={{ marginTop: 12, height: 5, width: '56%', borderRadius: 3, background: `hsl(${p.hue},70%,45%)` }} />
                <div style={{ marginTop: 7, height: 5, width: '34%', borderRadius: 3, background: `hsla(${p.hue},50%,60%,.4)` }} />
              </div>
            );
          })}
        </div>
      </div>
    </DesignStage>
  );
};
- Read the recipePrompt = when to use, intention, parameter table with typical values and how each one feels, known pitfalls. Treat values as calibrated starting points.
- Get the codetool: git
git clone https://github.com/Vincentwei1021/video-shotcraft && cd video-shotcraft && npm install - Register + rendertool: remotion
npx remotion render <CompositionId> out.mp4 # component: demos/camera/basic-3d-scene/Basic3DScene.tsx - Or re-implementPort the timing/easing from the recipe to HTML + WAAPI (gimgs motion contract) or any engine; keep the same segment windows and easing.
| param | type | default | description |
|---|---|---|---|
| — | |||
More in this category
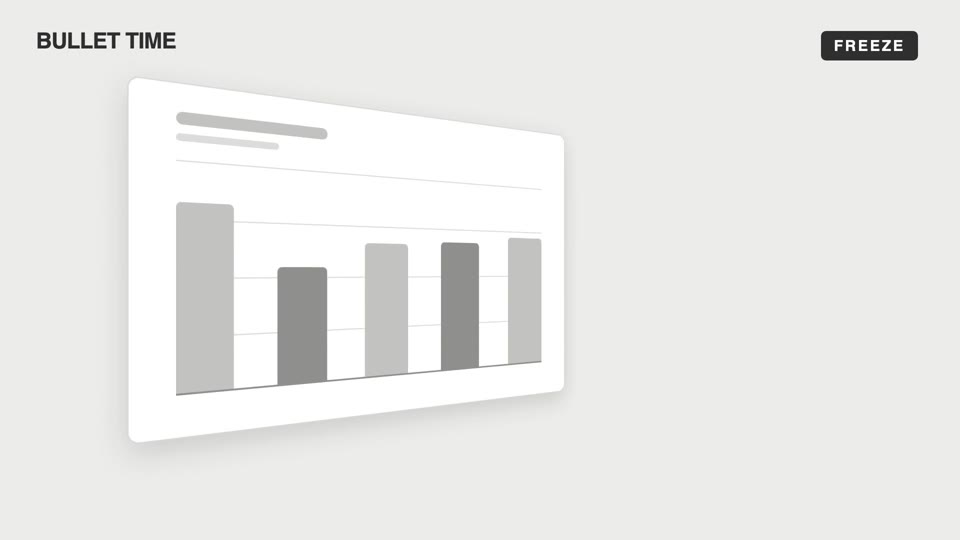
Emotional camera moves
Four emotional camera moves — bullet-time freeze-orbit, dutch-roll to level, slow-push-in, and pull-back isolation; the camera makes the viewer "feel" rather than "see."
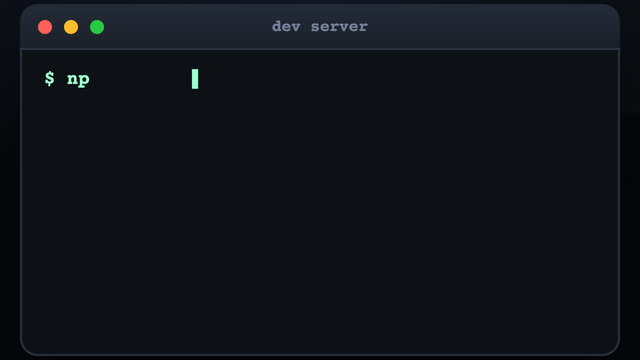
3D terminal flythrough
Three terminal windows scattered in 3D space; the camera flies between them with a sinusoidal pull-back en route, typing out a command at each stop as results slide out line by line.
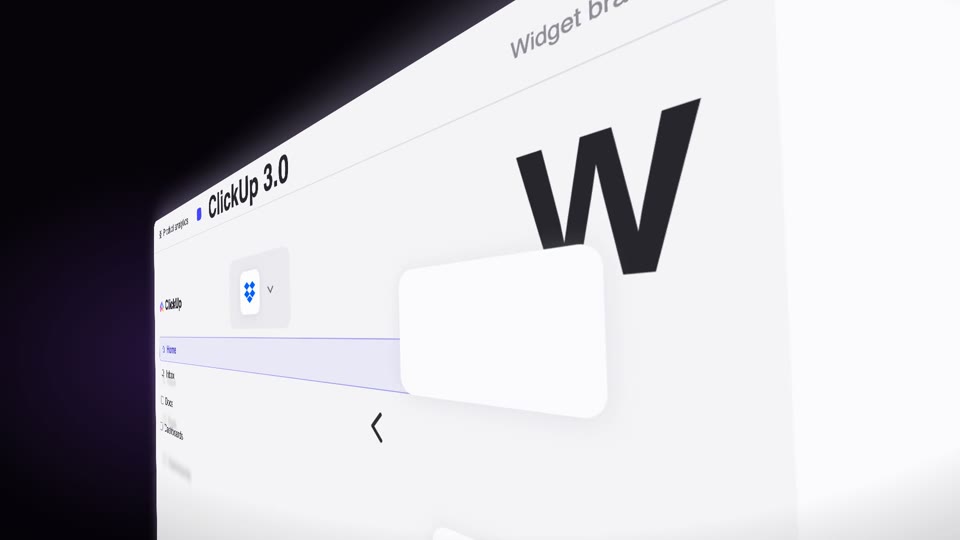
Steep-tilt page glide
A fixed camera holds an upright page in a strong 60° perspective tilt (near right, far left); the page glides sideways across the lens on its own (the object moves, not the camera), with speed-streak afterimages and floating text settling as it lifts from dark to light.
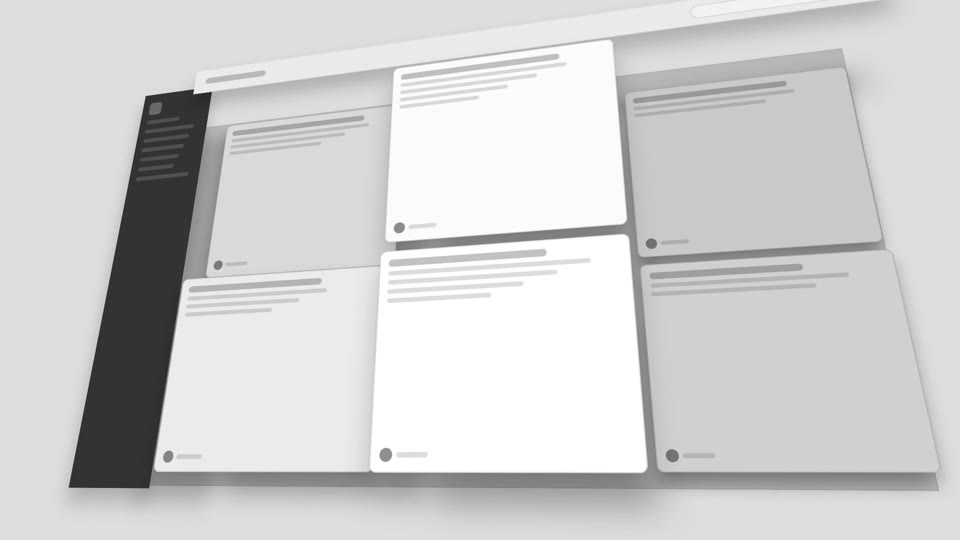
3D space camera moves
Two 3D spatial camera moves — exploded-view (parts blow apart along Z then reassemble) and drone-dive-landing (a drone dives and lands).