Motion · Camera
Cảnh 3D cơ bản dạo quanh
Trình chiếu không gian kiểu impress.js: các thẻ rải rác trong không gian 3D với vị trí/xoay/tỉ lệ khác nhau, camera bay theo nghịch đảo tư thế từng bước để căn chỉnh, bước cuối kéo về OVERVIEW tổng quan.
Nguồn: video-shotcraft (Vincent Wei) ↗ · Apache-2.0 · Composition Remotion (React/TSX) — có video preview, không có player trong trình duyệt
Khi nào dùng
Không gian hóa một khái niệm/lộ trình/quy trình ba bước; thay thế slide phẳng bằng cảm giác "mỗi bước một góc nhìn không gian khác".
Ý đồ
Biến "lật trang" thành "du hành trong không gian của một ý tưởng": mỗi thẻ không chỉ có vị trí mà còn có tư thế (bước hai nghiêng 40°, bước ba xoay cả khung hình 90°), khi camera căn chỉnh theo nó, thế giới của người xem cũng xoay theo — bản thân sự thay đổi không gian trở thành nghi thức "bước sang chương mới".
Thời lượng & năng lượng
- Thời lượng: Khoảng 6.0s (180f@30fps; bốn điểm dừng, ba chặng bay mỗi chặng 0.96s).
- Năng lượng: Trung bình (mỗi lần chuyển cảnh là một bất ngờ không gian, đoạn dừng lại là thời gian đọc yên tĩnh).
Công thức cảnh quay (bản gốc tiếng Trung — timing, easing, bảng tham số, lỗi hay gặp)
意图
把"翻页"变成"在想法的空间里旅行":每张卡不仅有位置还有姿态(第二步侧转 40°、第三步整个画框转 90°),相机对齐它时观众的世界也跟着转——空间变化本身成为"进入新章节"的仪式感。
动效核心
- 核心配方一行:camera = stepTransform.inverse()。每步只写卡片自己的 pose(x/y/z/rx/ry/rz/s),相机变换按
scale(1/s) rotateZ(-rz) rotateY(-ry) rotateX(-rx) translate3d(-x,-y,-z)取逆,顺序严格相反 - 四站姿态各有戏剧点:STEP01 原点正视 → STEP02 右移 520px + ry−40°(世界左转)→ STEP03 rz90°(画框侧躺,相机跟着转正它)→ OVERVIEW s=3.1(相机 1/3.1 拉远总览)
- 飞行链式插值:三段
flyAt=[0.22,0.48,0.76]各 0.16(inOutCubic),cam 从当前值向下一站 lerp——中断任一段都是合法姿态 - enter/exit 聚焦:
af(累计飞行进度)与卡片序号距离决定opacity 0.28–1 + blur 0–3.5px;OVERVIEW 段强制全员点亮(max(1-d, over)) - OVERVIEW 卡本身放大 3.1 倍但内容预除 2.2——总览时它是"标题牌"而非巨物
参数表
| 参数 | 典型值 | 调节手感 | |------|--------|----------| | 站点姿态 | 每站至少一个新变换维度 | 只挪 x/y 是平移幻灯片;rz 站(画框旋转)是记忆点,一支片用一次 | | 飞行时长 | 0.16(约 0.96s) | 有旋转的段别快于 0.12,观众需要时间理解"世界在转" | | 停留间隔 | 0.10–0.12 | 读卡位;卡内文字多时优先加停留而不是减飞行 | | OVERVIEW 缩放 | s=3.1(相机拉远 1/3.1) | 值越大总览越"高空";保证所有卡都进画框再留 10% 边距 | | 聚焦衰减 | opacity 0.28 底 + blur 3.5px 峰 | 底值别低于 0.2——离焦卡要"在场",纯黑会丢空间感 | | perspective | 1000px | 与最大 |z|(520)比值约 2:1;更深的 z 需同步加大 persp 防畸变 |
已知坑
- 逆变换的旋转顺序(Z→Y→X 反着正变换的 X→Y→Z)不能乱——乱序在单轴旋转时看不出来,多轴复合站会歪
- 卡片 pose 写在卡自身 transform 和相机公式两处消费,加站只改 poses 表,两处 transform 字符串别动
- rz90° 站的卡内文字会跟着躺倒,相机转正后才可读——这是设计(转正瞬间"啊看懂了"),但该站文案要短
- OVERVIEW 后无返程,作段落收尾用;要循环回 STEP01 就在末尾加一段 fly back(cam 再 lerp 回 poses[0])
参考实现
demos/camera/basic-3d-scene/ (Basic3DScene.tsx)
Mã nguồn tham chiếu (Remotion)
- demos/camera/basic-3d-scene/Basic3DScene.tsx — https://raw.githubusercontent.com/Vincentwei1021/video-shotcraft/main/demos/camera/basic-3d-scene/Basic3DScene.tsx
Component import fixture chung từ demos/_fixtures và helper từ assets/lib của repo; xem SKILL.md trong repo để biết quy trình render.
Mọi thứ trên trang này đều có bản máy đọc. Đưa agent link JSON, hoặc thêm MCP server gimgs rồi bảo nó tìm motion template.
- Tải JSON — trong đó có công thức cảnh quay (timing, easing, bảng tham số, lỗi hay gặp) và toàn bộ source TSX.
- Clone repo video-shotcraft; component import fixture chung từ demos/_fixtures và helper từ assets/lib.
- Đăng ký component thành <Composition> trong project Remotion rồi render bằng `npx remotion render`, hoặc dựng lại công thức bằng engine của bạn.
curl -s https://gimgs.net/motion/basic-3d-scene.jsongit clone https://github.com/Vincentwei1021/video-shotcraft
# component: demos/camera/basic-3d-scene/Basic3DScene.tsx
npx remotion render <CompositionId> out.mp4claude mcp add --transport http gimgs https://gimgs.net/mcp
# then: search_motion_templates / get_motion_template("basic-3d-scene")Prompt
Use the video-shotcraft shot recipe "Cảnh 3D cơ bản dạo quanh" (Remotion composition, Apache-2.0) published on gimgs.net.
Recipe JSON (prompt = timing/easing/parameter table/pitfalls, files = TSX source): https://gimgs.net/motion/basic-3d-scene.json
Raw TSX: https://gimgs.net/motion/basic-3d-scene/template.html
Repository: https://github.com/Vincentwei1021/video-shotcraft  (component: demos/camera/basic-3d-scene/Basic3DScene.tsx; imports demos/_fixtures and assets/lib)
Spec: 1920x1080, 30 fps, 6.5s

1. Read the JSON and follow its "prompt" section (when to use, intention, parameter table, known pitfalls).
2. Adapt it for: <describe what you want>.
3. Either clone the repo, register the component as a <Composition> in a Remotion project and run npx remotion render <CompositionId> out.mp4 — or re-implement the recipe in your own engine (HTML/WAAPI works: keep the same timing and easing).
// ===== demos/camera/basic-3d-scene/Basic3DScene.tsx =====
// basic-3d-scene — Impress 3D Steps 空间步进(motion-lab 定稿转原生 Remotion)
// impress.js 式演示:卡片散布 3D 空间各处(不同 xyz+旋转+缩放),相机依次飞到
// 每个 Step 的姿态对齐观看;核心配方 camera = stepTransform.inverse(),
// 非当前 step 半透明+模糊做 enter/exit。
// 设计坐标 480×270(DesignStage 等比放大),参数表数值以此坐标系标定。
import React from 'react';
import { DesignStage, E, lerp, seg, useT } from '../../_fixtures/Motion';

export const BASIC_3D_SCENE_DURATION = 180; // 6000ms @30fps

// 每个 step:位置 + 姿态 + 缩放(相机将取其逆)
const POSES = [
  { x: 0,   y: 0,   z: 0,    rx: 0, ry: 0,   rz: 0,  s: 1,   hue: 215, tt: 'STEP 01',  sub: 'Position the idea' },
  { x: 520, y: -60, z: -180, rx: 0, ry: -40, rz: 0,  s: 1,   hue: 265, tt: 'STEP 02',  sub: 'Rotate the view' },
  { x: 160, y: 300, z: -520, rx: 0, ry: 0,   rz: 90, s: 1,   hue: 165, tt: 'STEP 03',  sub: 'Spin the frame' },
  { x: 220, y: 90,  z: -260, rx: 0, ry: 0,   rz: 0,  s: 3.1, hue: 25,  tt: 'OVERVIEW', sub: 'See everything' },
];

// 飞行时刻表:0 停在 step0,之后三段飞行
const FLY_AT = [0.22, 0.48, 0.76];
const FLY = 0.16;

export const Basic3DScene: React.FC = () => {
  const t = useT();

  // activeFloat = 已完成的飞行进度之和 → 当前相机在哪个 step 之间
  let af = 0;
  const cam = { ...POSES[0] };
  for (let i = 0; i < FLY_AT.length; i++) {
    const f = seg(t, FLY_AT[i], FLY_AT[i] + FLY, E.inOutCubic);
    af += f;
    const p = POSES[i + 1];
    cam.x = lerp(f, cam.x, p.x); cam.y = lerp(f, cam.y, p.y); cam.z = lerp(f, cam.z, p.z);
    cam.rx = lerp(f, cam.rx, p.rx); cam.ry = lerp(f, cam.ry, p.ry); cam.rz = lerp(f, cam.rz, p.rz);
    cam.s = lerp(f, cam.s, p.s);
  }
  // overview 段进度(此时全部卡片点亮)
  const over = seg(t, FLY_AT[2], FLY_AT[2] + FLY);

  return (
    <DesignStage bg="#0a0b10">
      <div
        style={{
          position: 'absolute',
          inset: 0,
          overflow: 'hidden',
          background: 'radial-gradient(ellipse at 50% 40%,#141828 0%,#0a0b10 70%)',
          perspective: '1000px',
        }}
      >
        {/* world:相机 = 场景逆变换 —— 先反平移,再反旋转,再 1/scale */}
        <div
          style={{
            position: 'absolute',
            left: '50%',
            top: '50%',
            width: 0,
            height: 0,
            transformStyle: 'preserve-3d',
            willChange: 'transform',
            transform: `scale(${1 / cam.s})
              rotateZ(${-cam.rz}deg) rotateY(${-cam.ry}deg) rotateX(${-cam.rx}deg)
              translate3d(${-cam.x}px,${-cam.y}px,${-cam.z}px)`,
          }}
        >
          {POSES.map((p, i) => {
            const last = i === POSES.length - 1;
            // enter/exit:距当前视点越远越暗越糊(overview 时全部点亮)
            const d = Math.min(1, Math.abs(af - i));
            const focus = Math.max(1 - d, over);
            return (
              <div
                key={i}
                style={{
                  position: 'absolute',
                  left: last ? -160 : -110,
                  top: last ? -100 : -70,
                  width: last ? 320 : 220,
                  height: last ? 200 : 140,
                  boxSizing: 'border-box',
                  borderRadius: 10,
                  padding: '18px 20px',
                  willChange: 'opacity,filter',
                  background: `linear-gradient(150deg,hsl(${p.hue},45%,16%),hsl(${p.hue},55%,9%))`,
                  border: `1px solid hsl(${p.hue},60%,34%)`,
                  boxShadow: `0 18px 50px rgba(0,0,0,.55), inset 0 1px 0 hsla(${p.hue},70%,70%,.25)`,
                  transform: `translate3d(${p.x}px,${p.y}px,${p.z}px) rotateX(${p.rx}deg) rotateY(${p.ry}deg) rotateZ(${p.rz}deg) scale(${p.s / (last ? 2.2 : 1)})`,
                  fontFamily: '-apple-system,system-ui,sans-serif',
                  color: '#eef1f8',
                  opacity: 0.28 + focus * 0.72,
                  filter: `blur(${(1 - focus) * 3.5}px)`,
                }}
              >
                <div style={{ fontSize: 11, letterSpacing: 3, color: `hsl(${p.hue},80%,68%)`, fontWeight: 700 }}>
                  {p.tt}
                </div>
                <div style={{ fontSize: last ? 26 : 21, fontWeight: 800, marginTop: 8 }}>{p.sub}</div>
                <div style={{ marginTop: 12, height: 5, width: '56%', borderRadius: 3, background: `hsl(${p.hue},70%,45%)` }} />
                <div style={{ marginTop: 7, height: 5, width: '34%', borderRadius: 3, background: `hsla(${p.hue},50%,60%,.4)` }} />
              </div>
            );
          })}
        </div>
      </div>
    </DesignStage>
  );
};
- Read the recipePrompt = when to use, intention, parameter table with typical values and how each one feels, known pitfalls. Treat values as calibrated starting points.
- Get the codetool: git
git clone https://github.com/Vincentwei1021/video-shotcraft && cd video-shotcraft && npm install - Register + rendertool: remotion
npx remotion render <CompositionId> out.mp4 # component: demos/camera/basic-3d-scene/Basic3DScene.tsx - Or re-implementPort the timing/easing from the recipe to HTML + WAAPI (gimgs motion contract) or any engine; keep the same segment windows and easing.
| param | type | default | description |
|---|---|---|---|
| — | |||
Cùng danh mục
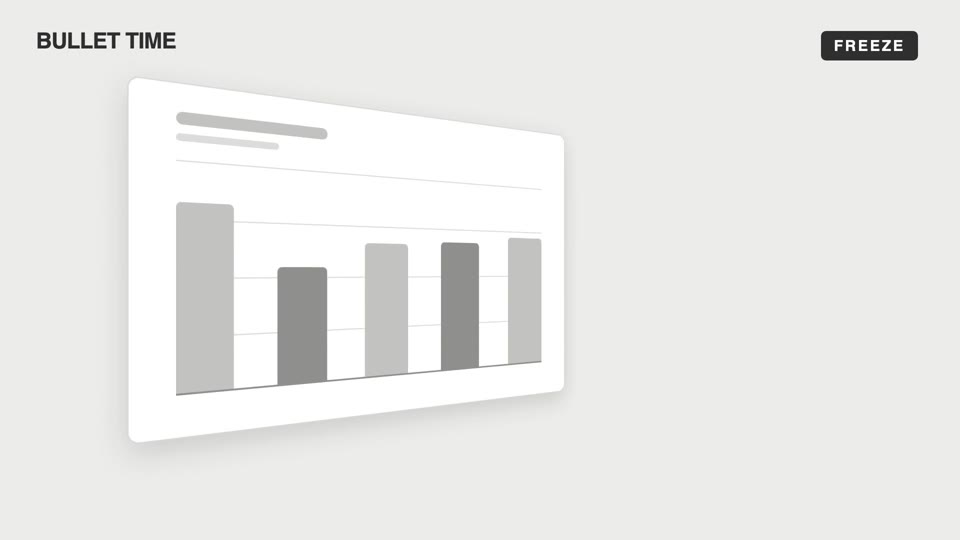
Chuyển động máy quay cảm xúc
Bốn kiểu chuyển động máy quay cảm xúc — bullet-time đóng băng xoay quanh, dutch-roll lật về ngang, slow-push đẩy chậm dồn nén, pull-back kéo xa cô lập; máy quay khiến khán giả "cảm" thay vì "nhìn".
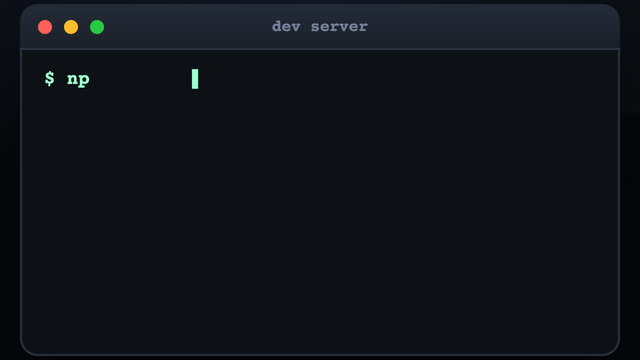
Bay lượn giữa terminal 3D
Ba cửa sổ terminal rải rác trong không gian 3D, máy quay bay giữa các cửa sổ kèm kéo xa hình sin dọc đường, tới mỗi cửa sổ gõ lệnh kiểu máy đánh chữ, kết quả trượt ra từng dòng.
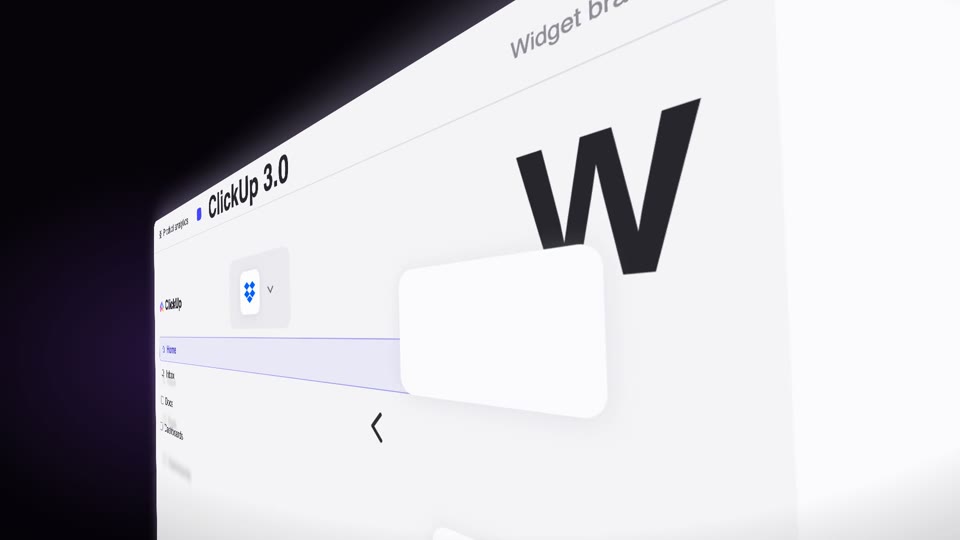
Lượn nghiêng dốc qua trang
Máy quay cố định giữ trang đứng nghiêng phối cảnh mạnh 60° (phải gần trái xa), trang tự trượt dọc theo mặt phẳng 3D của nó lướt qua ống kính (vật động máy không động), kèm ảnh bóng tốc độ, cấu kiện chữ lơ lửng áp vào, từ tối hiện sáng.
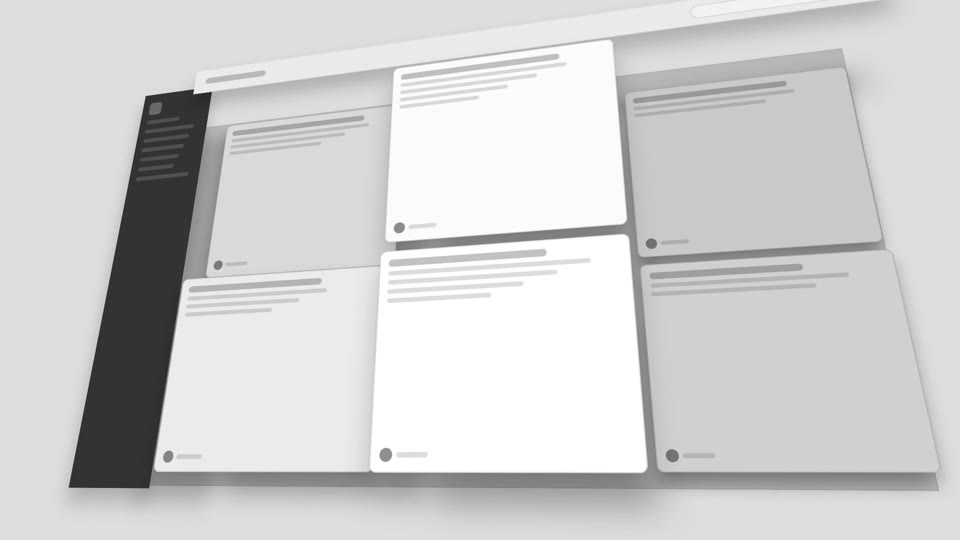
Chuyển động máy quay không gian 3D
Hai kiểu chuyển động máy quay hóa 3D — exploded-view (linh kiện nổ ra dọc trục Z rồi hợp lại) và drone-dive-landing (drone bổ nhào rồi hạ cánh).