Motion · Data
Before/After Slider Scrub
A before/after comparison bar — "before" and "after" versions stacked, the divider whips fast then scrubs slow, revealing the new version as it "develops" past.
Source: video-shotcraft (Vincent Wei) ↗ · Apache-2.0 · Remotion composition (React/TSX) — preview video, no in-browser player
When to use
The effect-comparison segment for AI enhancement/optimization/refactor features ("before vs. after" told in one shot).
Intention
The standard comparison grammar of AI-image launch films: the same frame's "before" (low-contrast, hazy gray) and "after" (clear) stacked, with a round-handled vertical divider whipping fast from the left edge to 70% (overshoot and spring back), holding a beat, then scrubbing back slowly at about 1/5 the speed so viewers can see the difference clearly — the speed contrast between the fast whip and slow scrub is the rhythm itself: the fast whip announces "it changed," the slow scrub proves "where it changed."
Duration & energy
- Duration: 4–5s
- Energy: Medium (the fast whip is the impact beat, the slow scrub is the reading period).
Shot recipe (original Chinese — timing, easing, parameter table, known pitfalls)
意图
AI 图像产品发布片的标准对比语法:同一画面"处理前"(低对比灰蒙) 与"处理后"(清晰版)叠放,带圆手柄的竖分割杆先从左端猛甩到 70% (overshoot 回弹)、停一拍,再以约 1/5 的速度慢扫回来让观众看清 差异——快甩慢扫的速度对比就是节奏:快甩宣告"变了", 慢扫证明"变在哪"。
动作阶段
| 阶段 | 帧段参考 | 内容 | |------|------|------| | 1 静置 | f0–14 | 杆停 8%,画面几乎全是"处理前" | | 2 快甩 | 12f | 8%→76%(out cubic)过冲 | | 3 回弹 | 12f | 76%→70% | | 4 停顿 | ~18f | 让观众看清 after | | 5 慢扫 | ~48f | 70%→40% 二次展示差异 | | 6 定格 | 末 ≥40f | 真静止 |
参数表
| 参数 | 典型值 | 调节手感 | |------|--------|----------| | 速度比 | 快甩 12f vs 慢扫 48f,约 5:1 | 比例 <3:1 节奏对比不可感 | | 揭示 | after 层 clip-path inset 右边界跟随杆 x | 杆和揭示边界错位即穿帮 | | 手柄 | 圆形手柄 + 速度差分驱动 scaleX 微拉伸(峰值 1.18),静止自动归 1 | 拉伸给手柄"被甩"的重量感 | | before 处理 | 低对比灰蒙版 | before 太难看是自黑,"差"要可信(真实旧版/未优化态) | | 角标 | BEFORE/AFTER 角标放内容区 | demo 判例:初版压住侧栏/头像穿帮 |
已知坑
- demo 在灰阶/占位素材上调校通过——参数是调校起点非实战定稿,
首次实战须以真实素材回验
- 两版必须同布局同机位——布局不同读作两个页面,对比失效
(theme-switch-moves 同款约束)
- 实战 before/after 都用真实截图(Q1):before 是注入旧数据/关闭
功能的真实态,不手搓"故意丑"的假 before
- 慢扫终点停 40% 而非 0%——留一段 after 在画面上定格(结论可见)
- 声音:快甩一声 whoosh + 回弹轻 tick,慢扫无声或极轻摩擦音(S4)
参考实现
demos/data/before-after-slider-scrub/ (BeforeAfterSliderScrub.tsx)
Reference implementation (Remotion)
- demos/data/before-after-slider-scrub/BeforeAfterSliderScrub.tsx — https://raw.githubusercontent.com/Vincentwei1021/video-shotcraft/main/demos/data/before-after-slider-scrub/BeforeAfterSliderScrub.tsx
The component imports shared fixtures from demos/_fixtures and helpers from assets/lib in the repo; SKILL.md there documents the render workflow.
Everything on this page is also machine-readable. Point your agent at the JSON, or add the gimgs MCP server and ask it to search motion templates.
- Fetch the JSON — it holds the shot recipe (timing, easing, parameter table, pitfalls) and the full TSX source.
- Clone the video-shotcraft repo; the component imports shared fixtures from demos/_fixtures and helpers from assets/lib.
- Register the component as a <Composition> in a Remotion project and render with `npx remotion render`, or re-implement the recipe in your own engine.
curl -s https://gimgs.net/motion/before-after-slider-scrub.jsongit clone https://github.com/Vincentwei1021/video-shotcraft
# component: demos/data/before-after-slider-scrub/BeforeAfterSliderScrub.tsx
npx remotion render <CompositionId> out.mp4claude mcp add --transport http gimgs https://gimgs.net/mcp
# then: search_motion_templates / get_motion_template("before-after-slider-scrub")Prompt
Use the video-shotcraft shot recipe "Before/After Slider Scrub" (Remotion composition, Apache-2.0) published on gimgs.net.
Recipe JSON (prompt = timing/easing/parameter table/pitfalls, files = TSX source): https://gimgs.net/motion/before-after-slider-scrub.json
Raw TSX: https://gimgs.net/motion/before-after-slider-scrub/template.html
Repository: https://github.com/Vincentwei1021/video-shotcraft  (component: demos/data/before-after-slider-scrub/BeforeAfterSliderScrub.tsx; imports demos/_fixtures and assets/lib)
Spec: 1920x1080, 30 fps, 5.06s

1. Read the JSON and follow its "prompt" section (when to use, intention, parameter table, known pitfalls).
2. Adapt it for: <describe what you want>.
3. Either clone the repo, register the component as a <Composition> in a Remotion project and run npx remotion render <CompositionId> out.mp4 — or re-implement the recipe in your own engine (HTML/WAAPI works: keep the same timing and easing).
// ===== demos/data/before-after-slider-scrub/BeforeAfterSliderScrub.tsx =====
// before-after-slider-scrub —— 前后对比拉杆
// FakeDashboard 两版叠放:before = 低对比灰蒙版("处理前"),after = 正常清晰版。
// 竖分割杆带圆手柄:从左端 8% 快甩到 70%(overshoot 至 76% 回弹),
// 再慢速回扫到 40% 停住。杆经过处 after 揭出(clip-path inset 跟随杆 x)。
// 先快甩后慢扫速度对比是节奏关键。f=110 后全静止(40f)。
import React from 'react';
import { useCurrentFrame, interpolate, Easing } from 'remotion';
import { G, FakeDashboard } from '../../_fixtures/Fixtures';

const CL = { extrapolateLeft: 'clamp', extrapolateRight: 'clamp' } as const;

// 时间轴(杆位置以画面宽度百分比表示)
const T0 = 14; // 前 14f 初始静置,杆停在 8%
const FLING = 26; // 快甩:14→26(12f 冲到 76%)
const BOUNCE = 38; // 回弹:26→38 落到 70%
const HOLD = 56; // 停顿看清
const SCRUB = 104; // 慢扫:56→104(48f 回到 40%)——速度约为快甩的 1/5

const posAt = (f: number): number => {
  if (f < FLING)
    return interpolate(f, [T0, FLING], [8, 76], { easing: Easing.out(Easing.cubic), ...CL });
  if (f < BOUNCE)
    return interpolate(f, [FLING, BOUNCE], [76, 70], { easing: Easing.inOut(Easing.cubic), ...CL });
  if (f < HOLD) return 70;
  return interpolate(f, [HOLD, SCRUB], [70, 40], { easing: Easing.inOut(Easing.quad), ...CL });
};

export const BeforeAfterSliderScrub: React.FC = () => {
  const frame = useCurrentFrame();
  const p = posAt(frame); // 杆位置 %
  const x = (p / 100) * 1920;

  // 手柄挤压:速度差分驱动(快甩期手柄微拉伸,静止归 1)
  const v = Math.abs(posAt(frame) - posAt(frame - 1)); // %/frame
  const squish = 1 + Math.min(v / 8, 1) * 0.18;

  return (
    <div style={{ width: 1920, height: 1080, position: 'relative', overflow: 'hidden', background: G.bg }}>
      {/* before:低对比灰蒙版模拟"处理前" */}
      <div style={{ position: 'absolute', inset: 0, filter: 'contrast(0.55) brightness(1.06) grayscale(1)' }}>
        <FakeDashboard variant="A" />
      </div>
      <div style={{ position: 'absolute', inset: 0, background: 'rgba(160,160,158,0.35)' }} />

      {/* after:正常清晰版,杆左侧揭出 */}
      <div style={{ position: 'absolute', inset: 0, clipPath: `inset(0 ${1920 - x}px 0 0)` }}>
        <FakeDashboard variant="A" />
      </div>

      {/* 分割杆 + 圆手柄 */}
      <div
        style={{
          position: 'absolute',
          left: x - 3,
          top: 0,
          width: 6,
          height: 1080,
          background: '#ffffff',
          boxShadow: '0 0 14px rgba(0,0,0,0.35)',
        }}
      />
      <div
        style={{
          position: 'absolute',
          left: x - 44,
          top: 540 - 44,
          width: 88,
          height: 88,
          borderRadius: 44,
          background: '#ffffff',
          border: `3px solid ${G.border}`,
          boxShadow: '0 6px 24px rgba(0,0,0,0.3)',
          transform: `scaleX(${squish})`,
          display: 'flex',
          alignItems: 'center',
          justifyContent: 'center',
          gap: 10,
          boxSizing: 'border-box',
        }}
      >
        {/* 左右箭头示意(灰阶三角) */}
        <div style={{ width: 0, height: 0, borderTop: '10px solid transparent', borderBottom: '10px solid transparent', borderRight: `14px solid ${G.mid}` }} />
        <div style={{ width: 0, height: 0, borderTop: '10px solid transparent', borderBottom: '10px solid transparent', borderLeft: `14px solid ${G.mid}` }} />
      </div>

      {/* 角标:BEFORE / AFTER 灰块标签 */}
      <div style={{ position: 'absolute', left: 260, top: 100, padding: '10px 22px', borderRadius: 10, background: 'rgba(47,47,47,0.85)', display: 'flex', gap: 8 }}>
        {Array.from({ length: 5 }).map((_, i) => (
          <div key={i} style={{ width: 16, height: 20, borderRadius: 4, background: '#e6e6e4' }} />
        ))}
      </div>
      <div style={{ position: 'absolute', right: 60, top: 100, padding: '10px 22px', borderRadius: 10, background: 'rgba(240,240,238,0.9)', border: `2px solid ${G.border}`, display: 'flex', gap: 8 }}>
        {Array.from({ length: 5 }).map((_, i) => (
          <div key={i} style={{ width: 16, height: 20, borderRadius: 4, background: G.ink }} />
        ))}
      </div>
    </div>
  );
};
- Read the recipePrompt = when to use, intention, parameter table with typical values and how each one feels, known pitfalls. Treat values as calibrated starting points.
- Get the codetool: git
git clone https://github.com/Vincentwei1021/video-shotcraft && cd video-shotcraft && npm install - Register + rendertool: remotion
npx remotion render <CompositionId> out.mp4 # component: demos/data/before-after-slider-scrub/BeforeAfterSliderScrub.tsx - Or re-implementPort the timing/easing from the recipe to HTML + WAAPI (gimgs motion contract) or any engine; keep the same segment windows and easing.
| param | type | default | description |
|---|---|---|---|
| — | |||
More in this category
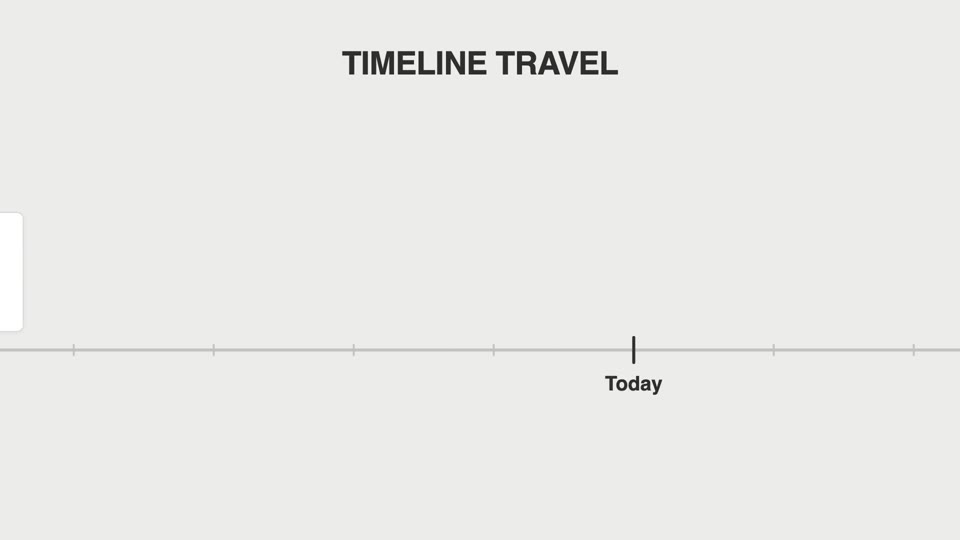
Timeline travel pan
Timeline travel — the camera accelerates along a horizontal ruler axis past version tick marks, a card springs upright and pauses briefly at each tick, and an abrupt stop pushes in on the final tick.
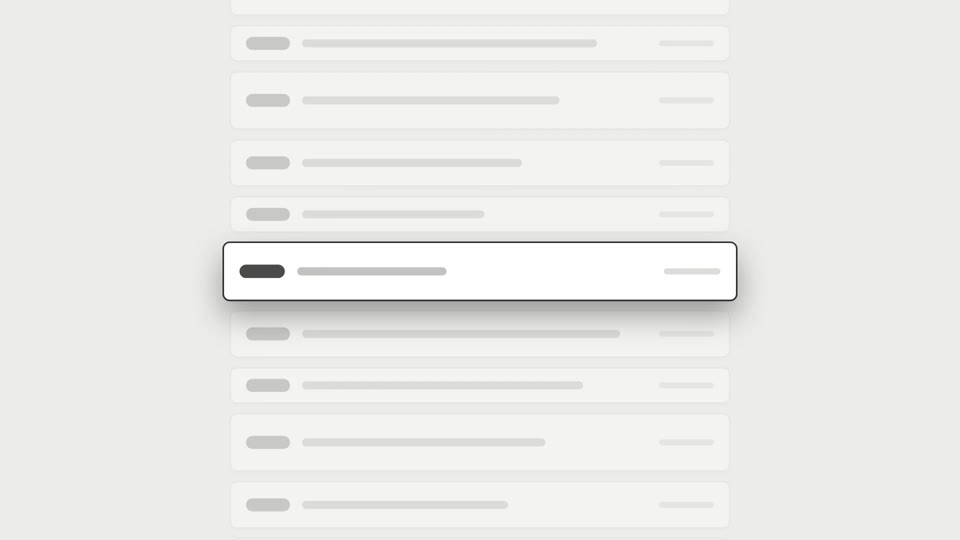
Scroll brake moves
A long scroll decelerates to a precise stop on the latest item; a variant adds a reticle lock on the same frame.
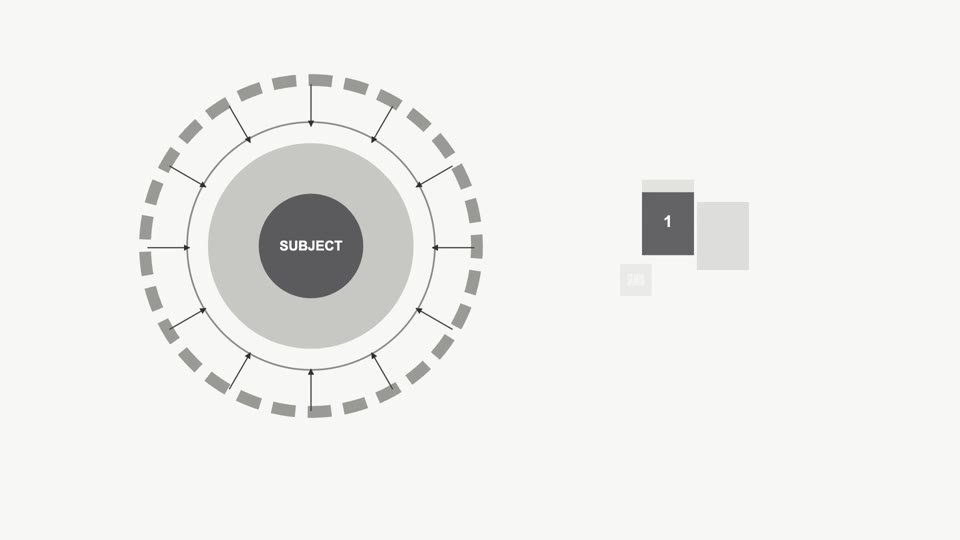
Ring diagram annotation reveal
A full-screen subject is squeezed into a ring diagram by a circular window, then the group shrinks left to reveal annotations.
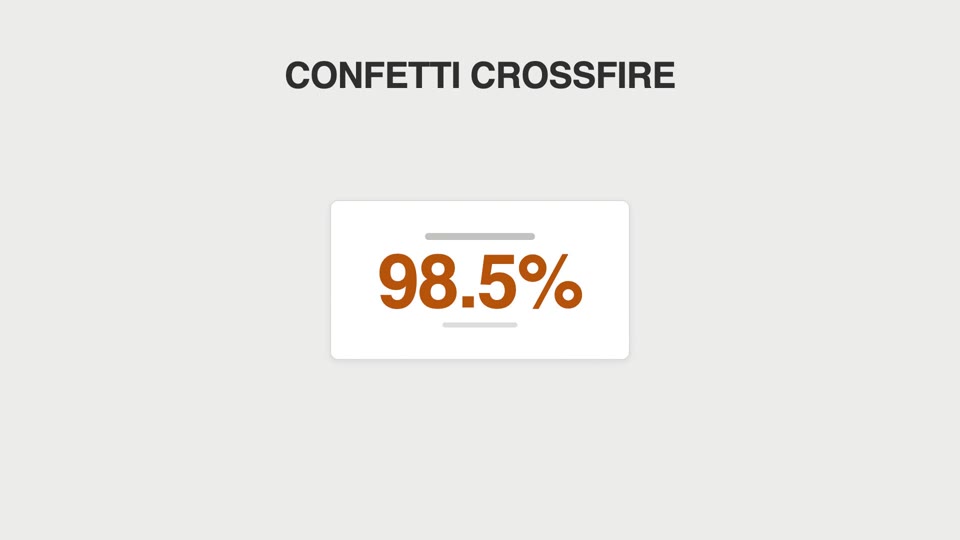
Particle celebration hits
Confetti cannons fire from both sides, or sparks fizz off the counter each time it ticks past a thousand.