Motion · Typography
Two code reveals, side by side
The same syntax-highlighted code reveals two ways side by side — left: line-level stagger fading up 8px, right: character-by-character typing keeping each token's original color, with a #3a4468 block cursor on the current character.
Source: video-shotcraft (Vincent Wei) ↗ · Apache-2.0 · Remotion composition (React/TSX) — preview video, no in-browser player
When to use
Code/config reveal shots; the "just three lines" demo for developer products; a side-by-side reference for choosing between two reveal paces
Intention
There are really only two honest solutions for revealing code: whole lines floating up (reading structure) and typing one character at a time (reading process). This card puts both side by side on the same code block as a reference for choosing between them: the left side, 4 lines in 4 beats, done — good for "the code isn't the point, the result is"; the right side, 138 frames to type 59 characters — good for "watch me write it." The key detail is that the right side never loses its color while typing — the common mistake is typing in white first and coloring it after, which degrades into a terminal echo, not a code editor.
Duration & energy
- Duration: ~4.6s (138f@30fps)
- Energy: Medium (the right side keeps typing continuously, the left side resolves in one beat)
Shot recipe (original Chinese — timing, easing, parameter table, known pitfalls)
意图
代码揭示只有两种真解法:整行浮出来(读的是结构)和一个字一个字打 (读的是过程)。这卡把两者并排放在同一段代码上,是选型用的对照镜: 左侧 4 行 4 拍就完,适合"代码不是重点、结果才是";右侧 138 帧才打完 59 个字符,适合"看我写"。关键细节是右侧打字不丢色——常见错误是 打字时先出白字再着色,那就退化成终端回显,不是代码编辑器。
动效核心
- token 模型:每行是
[[文本, 颜色], …],6 色板(关键字 #c792ea、
标识 #e8eaf0、函数 #82aaff、字符串 #c3e88d、标点 #89ddff、注释 #546e7a)
- 左侧行级 stagger:
seg(t, 0.08+i·0.14, +0.3, E.outCubic)——行间 0.14
(≈19f)、单行窗 0.3(≈41f),opacity = k、translateY = (1-k)·8px
- 右侧逐字符:
typed = floor(seg(t, 0.08, 0.9) · chars.length)线性推进,
每个字符 span 建的时候就带 token 色,打到时只翻 opacity 0→1 —— 着色在 setup 期完成,render 期不碰颜色,所以字一出来就是对的色
- 光标是背景块不是竖线:
i === typed的字符background:#3a4468且强制
opacity:1 —— 下一个待打字符先以色块占位,块往右挪即是光标移动
- 两侧面板同规格(45% 宽、72% 高、#10121a 底 + #1c2030 边框、圆角 8),
顶部 8px 字距 2px 的小标签 LINE FADE-IN / CHAR TYPING 标注手法
- 右侧行
min-height:1.9em撑住空行——不撑的话未打的行高度为 0,
面板内容会随打字往下长(跳版)
参数表
| 参数 | 典型值 | 调节手感 | |------|--------|----------| | 代码量 | 4 行 / 约 59 字符 | 打字速度 = 字符数 / 113f;行数超过 6 行面板要缩字号,超过 100 字符右侧打不完 | | 行 stagger | 0.14(≈19f),单行窗 0.3(≈41f) | 19f 是"逐行"可读下限;<8f 四行齐亮没有 stagger,>28f 最后一行等太久 | | 行位移 | (1-k)·8px 上浮 | 8px 是代码块该有的克制幅度;>20px 行像卡片飞进来,抢了代码本身 | | 打字窗 | seg(t, 0.08, 0.9)(11f→124f) | 结束点留 14f 静置读全文;推到 1.0 打完即切,最后一行没人读 | | 光标块 | #3a4468 背景,仅当前字符 | 方块光标是编辑器语感;换成竖线要另加闪烁,代码块里反而更碎 | | 面板 | 45%×72%、#10121a 底、#1c2030 边框、圆角 8、12px/1.9 行高 | 1.9 行高是代码可读下限;两侧必须同规格,尺寸不一就不是对照而是两个镜头 | | 空行占位 | 右侧行 min-height:1.9em | 不设则面板随打字长高,整块跳版——这是本卡最容易漏的一处 |
已知坑
- demo 在灰阶/占位素材上调校通过——参数是调校起点非实战定稿,
首次实战须以真实素材回验
- 换成项目代码时字符总数要贴近 59:右侧打字是把 113f 平摊到全部
字符上的,代码翻倍则每字符不到 1 帧(糊成整行刷出),代码减半则一字 一拍慢得像卡顿——改代码量必须同步调打字窗,别只换文案
- 着色必须在 setup 期写进每个 span:render 期改色(先白后染)会把
"代码编辑器"降级成"终端回显",这是同类效果最常见的失手
- 左侧行级淡入与右侧逐字符不同步(左侧 4 行 ~68f 就收完,右侧要打到
124f),这是对照镜的本意;若实战只留一侧,另一侧的时间窗要重新铺满全片
- token 数组是手写的,没有真词法分析——换代码时得手动切 token;
切错色比不着色更糟(关键字被染成字符串色,懂代码的观众立刻出戏)
- 实战里通常只留一侧:对照版是选型镜,正片里两块面板一起动会分散
注意力,选定手法后单面板居中放大
参考实现
demos/typography/typing-code-block/ (TypingCodeBlock.tsx)
Reference implementation (Remotion)
- demos/typography/typing-code-block/TypingCodeBlock.tsx — https://raw.githubusercontent.com/Vincentwei1021/video-shotcraft/main/demos/typography/typing-code-block/TypingCodeBlock.tsx
The component imports shared fixtures from demos/_fixtures and helpers from assets/lib in the repo; SKILL.md there documents the render workflow.
Everything on this page is also machine-readable. Point your agent at the JSON, or add the gimgs MCP server and ask it to search motion templates.
- Fetch the JSON — it holds the shot recipe (timing, easing, parameter table, pitfalls) and the full TSX source.
- Clone the video-shotcraft repo; the component imports shared fixtures from demos/_fixtures and helpers from assets/lib.
- Register the component as a <Composition> in a Remotion project and render with `npx remotion render`, or re-implement the recipe in your own engine.
curl -s https://gimgs.net/motion/typing-code-block.jsongit clone https://github.com/Vincentwei1021/video-shotcraft
# component: demos/typography/typing-code-block/TypingCodeBlock.tsx
npx remotion render <CompositionId> out.mp4claude mcp add --transport http gimgs https://gimgs.net/mcp
# then: search_motion_templates / get_motion_template("typing-code-block")Prompt
Use the video-shotcraft shot recipe "Two code reveals, side by side" (Remotion composition, Apache-2.0) published on gimgs.net.
Recipe JSON (prompt = timing/easing/parameter table/pitfalls, files = TSX source): https://gimgs.net/motion/typing-code-block.json
Raw TSX: https://gimgs.net/motion/typing-code-block/template.html
Repository: https://github.com/Vincentwei1021/video-shotcraft  (component: demos/typography/typing-code-block/TypingCodeBlock.tsx; imports demos/_fixtures and assets/lib)
Spec: 1920x1080, 30 fps, 5.1s

1. Read the JSON and follow its "prompt" section (when to use, intention, parameter table, known pitfalls).
2. Adapt it for: <describe what you want>.
3. Either clone the repo, register the component as a <Composition> in a Remotion project and run npx remotion render <CompositionId> out.mp4 — or re-implement the recipe in your own engine (HTML/WAAPI works: keep the same timing and easing).
// ===== demos/typography/typing-code-block/TypingCodeBlock.tsx =====
// typing-code-block — Code Block Reveal 代码块揭示(motion-lab 定稿转原生 Remotion)
// 同一段语法高亮代码的两种 reveal 对照:左侧逐行淡入上浮(行级 stagger),
// 右侧逐字符打字但保持 token 着色,当前字符位以方块底色块提示光标。
// 设计坐标 480×270(DesignStage 等比放大),参数表数值以此坐标系标定。
import React from 'react';
import { DesignStage, E, seg, useT } from '../../_fixtures/Motion';

export const TYPING_CODE_BLOCK_DURATION = 138; // 4600ms @30fps

// token 配色:关键字/标识符/函数/字符串/标点/注释
const K = '#c792ea';
const ID = '#e8eaf0';
const FN = '#82aaff';
const ST = '#c3e88d';
const PU = '#89ddff';
const CM = '#546e7a';
// 每行是 [text, color] token 序列
const LINES: [string, string][][] = [
  [['const ', K], ['app', ID], [' = ', PU], ['createApp', FN], ['();', ID]],
  [['app', ID], ['.', PU], ['use', FN], ['(', ID], ['router', ID], [');', ID]],
  [['app', ID], ['.', PU], ['mount', FN], ['(', ID], ["'#root'", ST], [');', ID]],
  [['// ready', CM]],
];
// 右侧打字用的逐字符扁平序列(保留 token 颜色 + 行号)
const FLAT: { ch: string; color: string; row: number }[] = [];
LINES.forEach((line, row) => {
  for (const [txt, color] of line) for (const ch of txt) FLAT.push({ ch, color, row });
});

// 代码面板容器:左右两块共用的外框 + 顶部小标签
const Panel: React.FC<{ x: number; label: string; children: React.ReactNode }> = ({
  x,
  label,
  children,
}) => (
  <div
    style={{
      position: 'absolute',
      left: `${x}%`,
      top: '14%',
      width: '45%',
      height: '72%',
      background: '#10121a',
      border: '1px solid #1c2030',
      borderRadius: 8,
      padding: '10px 12px',
      boxSizing: 'border-box',
      fontFamily: '"SF Mono",Menlo,monospace',
      fontSize: 12,
      lineHeight: 1.9,
    }}
  >
    <div style={{ fontSize: 8, letterSpacing: 2, color: '#4a5270', marginBottom: 6 }}>{label}</div>
    {children}
  </div>
);

export const TypingCodeBlock: React.FC = () => {
  const t = useT();
  // 右侧打字进度:t∈[0.08,0.9] 线性推进到全部字符
  const typed = Math.floor(seg(t, 0.08, 0.9) * FLAT.length);
  return (
    <DesignStage bg="#0a0b10">
      {/* 左:逐行淡入上浮(行级 stagger) */}
      <Panel x={3.5} label="LINE FADE-IN">
        {LINES.map((line, i) => {
          const k = seg(t, 0.08 + i * 0.14, 0.08 + i * 0.14 + 0.3, E.outCubic);
          return (
            <div key={i} style={{ opacity: k, transform: `translateY(${(1 - k) * 8}px)` }}>
              {line.map(([txt, color], j) => (
                <span key={j} style={{ color }}>
                  {txt}
                </span>
              ))}
            </div>
          );
        })}
      </Panel>
      {/* 右:逐字符打字(保色),当前字符位带方块光标底色 */}
      <Panel x={51.5} label="CHAR TYPING">
        {LINES.map((_, row) => (
          <div key={row} style={{ minHeight: '1.9em' }}>
            {FLAT.map((c, i) =>
              c.row === row ? (
                <span
                  key={i}
                  style={{
                    color: c.color,
                    // 光标位字符以底色块形式提示(保持可见)
                    opacity: i < typed || i === typed ? 1 : 0,
                    background: i === typed && typed < FLAT.length ? '#3a4468' : 'transparent',
                  }}
                >
                  {c.ch}
                </span>
              ) : null,
            )}
          </div>
        ))}
      </Panel>
    </DesignStage>
  );
};
- Read the recipePrompt = when to use, intention, parameter table with typical values and how each one feels, known pitfalls. Treat values as calibrated starting points.
- Get the codetool: git
git clone https://github.com/Vincentwei1021/video-shotcraft && cd video-shotcraft && npm install - Register + rendertool: remotion
npx remotion render <CompositionId> out.mp4 # component: demos/typography/typing-code-block/TypingCodeBlock.tsx - Or re-implementPort the timing/easing from the recipe to HTML + WAAPI (gimgs motion contract) or any engine; keep the same segment windows and easing.
| param | type | default | description |
|---|---|---|---|
| — | |||
More in this category
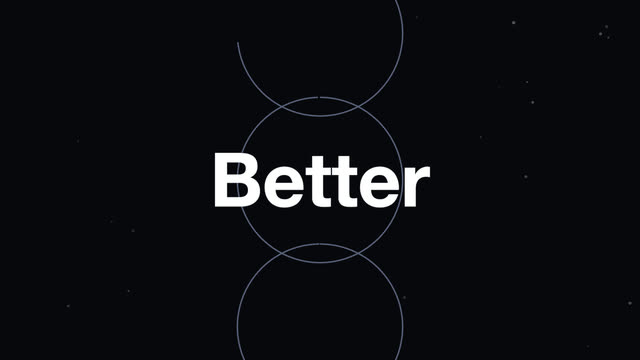
Word relay geometry
Three benefit words each carry their own dedicated geometry relay — a dashed circle spins and shrinks → three solid circles trim-grow in sequence → a metallic sheen sweeps then collapses to pure white; each new word outlines then fills in.
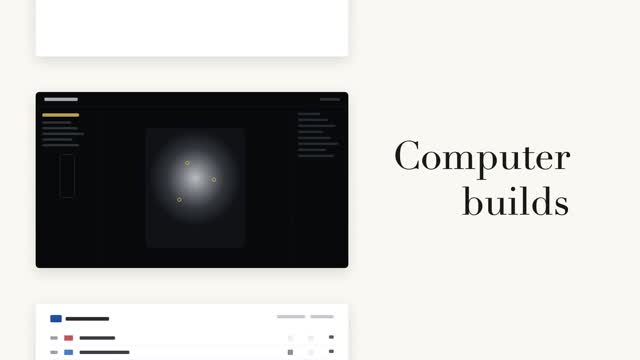
Word relay filmstrip
A left column of black-and-white page cards steps forward while a serif big word on the right relays in place (a fixed noun + a cycling verb) — the column steps only when the word changes, aligned to the current page card's midpoint.
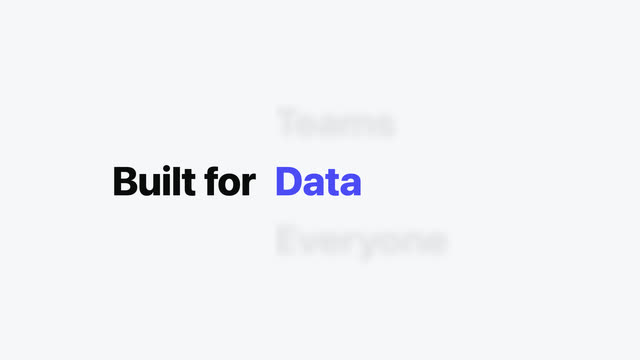
Vertical word-roll cycle
The sentence's last word cycles on a vertical roller, 3 swaps at 0.55s each, fast then very slow with a slight overshoot; neighboring rows carry vertical blur and grayscale by distance, the centered word snapping from gray to accent color as it lands.
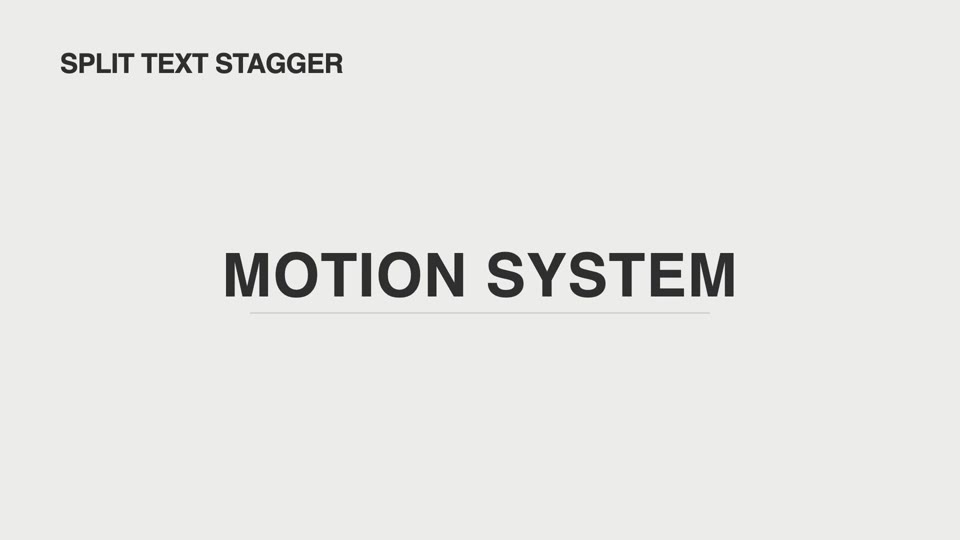
Type assembly: four moves
Four type-assembly moves — split-text-stagger, letters rising into place; drift-assembly, letters drifting together; tracking-expand, breathing letter-spacing; text-on-path, flowing in along a curve.