Motion · Luz & ênfase
Brand Frame Snap
A brand-color frame grammar — a thick solid frame grows before the content to enclose the whole screen, with the screen recording dropping in; on mode switch the frame hard-flips color on the same frame as the layout inside swaps.
Fonte: video-shotcraft (Vincent Wei) ↗ · Apache-2.0 · Composição Remotion (React/TSX) — vídeo de prévia, sem player no navegador
When to use
A whole-film wrapper for dual-mode/dual-chapter product films (blue = mode A, green = mode B color coding); brand-wrapping real screen-recording footage.
Intention
Raw screen recording filling the frame has no brand presence, and slapping a logo watermark on it feels cheap. This card "mats" the recording with a thick brand-color frame: the frame appears before the content (frame first, footage second, for ritual weight), and afterward the frame color becomes a semantic code across the film — blue for Design, green for Dev Mode. On a chapter switch, the whole frame hard-flips color within a single frame, no gradient — a hard color cut is the visual equivalent of a "gear shift" sound effect; the layout inside switches A→B and the corner badge/label text change on the same frame, and all three landing together nails "mode switched." Division of labor with theme-switch-moves: that one changes the UI's own skin (with a sweeping boundary), this one changes the "frame" wrapper layer (same-frame, no boundary) — the semantics are mode/chapter switch, not theme switch.
Duration & energy
- Duration: One color flip ~4.3s (130f); the frame itself can stay on screen the whole film.
- Energy: Medium (the color-flip instant is high, the rest is a quiet wrapper layer).
Shot recipe (original Chinese — timing, easing, parameter table, known pitfalls)
意图
真实录屏直接铺满屏没有品牌存在感,加 logo 水印又廉价。本卡用一圈 粗品牌色画框把录屏"装裱"起来:画框先于内容出现(先立画框再放 画,仪式感),之后画框颜色成为全片的语义编码——蓝=Design、绿=Dev Mode。章节切换时整圈画框一帧内硬翻色,无渐变,颜色硬切就是"换挡" 声效的视觉等价物;窗内布局同帧 A→B、角标与徽标同步换字,三处同帧 共振把"模式切换"砸实。与 theme-switch-moves 分工:那换的是 UI 本体 肤色(有扫过边界),本卡换的是"画框"这个包装层(同帧无边界), 语义是模式/章节切换不是主题切换。
动效核心
- 画框用 4 条实体色带(非 border 属性),厚度 0→44px ease-out 18f
长出;翻色 = 同一帧换 background,帧确定
- 录屏窗口 spring(damping 16) 从下方 560px + scale 0.82→1 落进框内
(帧 14 起,画框长出中段——框未成形窗先到会读作框追窗)
- 翻色帧三件事同帧:画框换色 + 窗内布局 A→B 硬切 + 框带角标/窗口
徽标换字(DESIGN→DEV MODE)
- 翻色瞬间叠 2 帧白闪脉冲(opacity 0.55 起阶梯衰减)+ 画框厚度阻尼
弹跳(exp(-0.22t)·cos(0.9t)·10px),给"换挡"打击感
参数表
| 参数 | 典型值 | 调节手感 | |------|--------|----------| | 画框厚度 | 44px(1080p) | 太薄读作描边不读作"装裱";>60px 开始吃内容区 | | 画框生长 | 18f ease-out,先于窗口 14f | 画框必须先立——内容先到画框后包读作补救 | | 窗口落位 | spring(damping 16, stiffness 110),y 560→0 + scale 0.82→1 | 落进"框内"是语义关键,落点必须完全在框带内侧 | | 翻色时刻 | demo 78f;停一拍(窗口落定后 ≥30f)再翻 | 落定没坐稳就翻,观众还没建立"蓝=当前模式"的编码 | | 白闪脉冲 | 2–3f,0.55→0.19 阶梯 | 帮眼睛登记"这一帧变了";>4f 抢了 cel-flash 的活 | | 厚度弹跳 | exp 衰减 cos,初幅 10px | 纯硬切略干;弹跳是"挡位卡进去"的机械回馈 |
已知坑
- demo 在灰阶/占位素材上调校通过——参数是调校起点非实战定稿,
首次实战须以真实素材回验
- 翻色必须真同帧:画框、窗内布局、角标文字三者错开哪怕 2f,"换挡"就散成三个小动画
- 颜色编码要全片守约:蓝框段落里不许出现绿色主 UI 元素,编码被稀释后翻色就只是换色
- 画框是包装层不是主角:全片翻色 ≤2 次,翻多了读作霓虹灯(P4 克制原则)
- 两个模式的品牌色对比度要够(demo 蓝 #3E7BFA / 绿 #1BC47D);同明度邻近色翻了等于没翻
- 声音:翻色帧钉一声干脆的机械 click/换挡声,白闪与声同帧;画框生长段可静
参考实现
demos/effects/brand-frame-snap/ (BrandFrameSnap.tsx) 原片出处:figma-devmode 0:28–0:32 + 0:43–0:47
Reference implementation (Remotion)
- demos/effects/brand-frame-snap/BrandFrameSnap.tsx — https://raw.githubusercontent.com/Vincentwei1021/video-shotcraft/main/demos/effects/brand-frame-snap/BrandFrameSnap.tsx
The component imports shared fixtures from demos/_fixtures and helpers from assets/lib in the repo; SKILL.md there documents the render workflow.
Tudo nesta página também é legível por máquina. Aponte seu agente para o JSON ou adicione o servidor MCP do gimgs e peça para buscar templates de motion.
- Baixe o JSON — contém a receita do plano (timing, easing, tabela de parâmetros, armadilhas) e o código TSX completo.
- Clone o repositório video-shotcraft; o componente importa fixtures de demos/_fixtures e helpers de assets/lib.
- Registre o componente como <Composition> em um projeto Remotion e renderize com `npx remotion render`, ou reimplemente a receita no seu próprio engine.
curl -s https://gimgs.net/motion/brand-frame-snap.jsongit clone https://github.com/Vincentwei1021/video-shotcraft
# component: demos/effects/brand-frame-snap/BrandFrameSnap.tsx
npx remotion render <CompositionId> out.mp4claude mcp add --transport http gimgs https://gimgs.net/mcp
# then: search_motion_templates / get_motion_template("brand-frame-snap")Prompt
Use the video-shotcraft shot recipe "Brand Frame Snap" (Remotion composition, Apache-2.0) published on gimgs.net.
Recipe JSON (prompt = timing/easing/parameter table/pitfalls, files = TSX source): https://gimgs.net/motion/brand-frame-snap.json
Raw TSX: https://gimgs.net/motion/brand-frame-snap/template.html
Repository: https://github.com/Vincentwei1021/video-shotcraft  (component: demos/effects/brand-frame-snap/BrandFrameSnap.tsx; imports demos/_fixtures and assets/lib)
Spec: 1920x1080, 30 fps, 4.39s

1. Read the JSON and follow its "prompt" section (when to use, intention, parameter table, known pitfalls).
2. Adapt it for: <describe what you want>.
3. Either clone the repo, register the component as a <Composition> in a Remotion project and run npx remotion render <CompositionId> out.mp4 — or re-implement the recipe in your own engine (HTML/WAAPI works: keep the same timing and easing).
// ===== demos/effects/brand-frame-snap/BrandFrameSnap.tsx =====
// brand-frame-snap —— figma-devmode 0:28–0:32 (brand-frame-snap) + 0:43–0:47 (frame-color-flip)
// 一圈粗品牌色画框先于内容出现包住全屏 → 灰阶"录屏窗口"在框内落位 →
// 停一拍 → 画框整圈蓝→绿同帧硬翻色,窗口内容同帧换布局。
// 一个 borderColor 完成章节导航/状态提示/品牌露出。
import React from 'react';
import { useCurrentFrame, spring, interpolate } from 'remotion';
import { G, FakeDashboard } from '../../_fixtures/Fixtures';

const FPS = 30;
const FIGMA_BLUE = '#3E7BFA';
const DEV_GREEN = '#1BC47D';
const FLIP_FRAME = 78; // 同帧硬翻色时刻

const clamp01 = (t: number) => Math.min(1, Math.max(0, t));
const easeOut = (t: number) => 1 - Math.pow(1 - t, 3);

export const BrandFrameSnap: React.FC = () => {
  const f = useCurrentFrame();
  const mode: 'design' | 'dev' = f < FLIP_FRAME ? 'design' : 'dev';
  const frameColor = mode === 'design' ? FIGMA_BLUE : DEV_GREEN;

  // 1) 画框先登场:厚度从 0 长到 44px(ease-out,前 18 帧)
  const frameGrow = easeOut(clamp01(f / 18));
  const frameW = 44 * frameGrow;

  // 2) 窗口在框内落位:从下方 + 略缩,弹簧弹入(帧 14 起)
  const drop = spring({ frame: f - 14, fps: FPS, config: { damping: 16, stiffness: 110, mass: 1 } });
  const winY = interpolate(drop, [0, 1], [560, 0]);
  const winS = interpolate(drop, [0, 1], [0.82, 1]);
  const winO = interpolate(drop, [0, 0.25], [0, 1], { extrapolateRight: 'clamp' });

  // 3) 翻色瞬间给 2 帧白闪脉冲 + 画框轻微厚度弹跳,强化"换挡"
  const sinceFlip = f - FLIP_FRAME;
  const flash = sinceFlip >= 0 && sinceFlip < 3 ? 0.55 - sinceFlip * 0.18 : 0;
  const snapPulse = sinceFlip >= 0 ? Math.exp(-sinceFlip * 0.22) * Math.cos(sinceFlip * 0.9) * 10 : 0;

  // 模式标签
  const label = mode === 'design' ? 'DESIGN' : 'DEV MODE';

  return (
    <div style={{ width: 1920, height: 1080, background: '#161618', position: 'relative', overflow: 'hidden' }}>
      {/* 框内内容区 */}
      <div style={{
        position: 'absolute', inset: frameW + snapPulse, background: G.bg,
        overflow: 'hidden', borderRadius: 8,
      }}>
        {/* 录屏窗口(带标题栏的窗口卡)落位 */}
        <div style={{
          position: 'absolute', left: '50%', top: '50%',
          width: 1560, height: 830,
          transform: `translate(-50%, -50%) translateY(${winY}px) scale(${winS})`,
          opacity: winO,
          borderRadius: 16, overflow: 'hidden',
          boxShadow: '0 24px 70px rgba(0,0,0,0.28)',
          border: `2px solid ${G.border}`, background: G.panel,
        }}>
          {/* 窗口标题栏 */}
          <div style={{
            height: 52, background: '#e9e9e7', borderBottom: `2px solid ${G.line}`,
            display: 'flex', alignItems: 'center', gap: 10, padding: '0 22px', boxSizing: 'border-box',
          }}>
            {[0, 1, 2].map((i) => (
              <div key={i} style={{ width: 16, height: 16, borderRadius: 8, background: G.bar }} />
            ))}
            <div style={{ marginLeft: 18, height: 12, width: 260, background: G.line, borderRadius: 6 }} />
            {/* 模式徽标:随画框同帧换色换字 */}
            <div style={{
              marginLeft: 'auto', background: frameColor, color: '#fff',
              fontFamily: 'Helvetica, Arial, sans-serif', fontWeight: 800, fontSize: 15,
              letterSpacing: 1.5, padding: '6px 16px', borderRadius: 8,
              opacity: winO,
            }}>
              {label}
            </div>
          </div>
          {/* 窗口内容:翻色同帧换布局 A→B */}
          <div style={{ transform: 'scale(0.81)', transformOrigin: '0 0', width: 1920, height: 1080 }}>
            <FakeDashboard variant={mode === 'design' ? 'A' : 'B'} />
          </div>
        </div>
      </div>

      {/* 品牌色画框:用 4 条实体边而非 border,翻色是纯 background 同帧硬切 */}
      {([
        { left: 0, top: 0, right: 0, height: frameW + snapPulse },
        { left: 0, bottom: 0, right: 0, height: frameW + snapPulse },
        { left: 0, top: 0, bottom: 0, width: frameW + snapPulse },
        { right: 0, top: 0, bottom: 0, width: frameW + snapPulse },
      ] as React.CSSProperties[]).map((pos, i) => (
        <div key={i} style={{ position: 'absolute', background: frameColor, ...pos }} />
      ))}

      {/* 画框上的模式角标(左上,嵌在框带里) */}
      <div style={{
        position: 'absolute', left: 70, top: 0, height: frameW + snapPulse,
        display: 'flex', alignItems: 'center',
        fontFamily: 'Helvetica, Arial, sans-serif', fontWeight: 800,
        fontSize: 22, letterSpacing: 3, color: '#ffffff',
        opacity: frameGrow,
      }}>
        {label}
      </div>

      {/* 翻色白闪脉冲 */}
      {flash > 0 && (
        <div style={{ position: 'absolute', inset: 0, background: '#ffffff', opacity: flash }} />
      )}
    </div>
  );
};
- Read the recipePrompt = when to use, intention, parameter table with typical values and how each one feels, known pitfalls. Treat values as calibrated starting points.
- Get the codetool: git
git clone https://github.com/Vincentwei1021/video-shotcraft && cd video-shotcraft && npm install - Register + rendertool: remotion
npx remotion render <CompositionId> out.mp4 # component: demos/effects/brand-frame-snap/BrandFrameSnap.tsx - Or re-implementPort the timing/easing from the recipe to HTML + WAAPI (gimgs motion contract) or any engine; keep the same segment windows and easing.
| param | type | default | description |
|---|---|---|---|
| — | |||
Mais nesta categoria
Dark-stage spotlight reveals
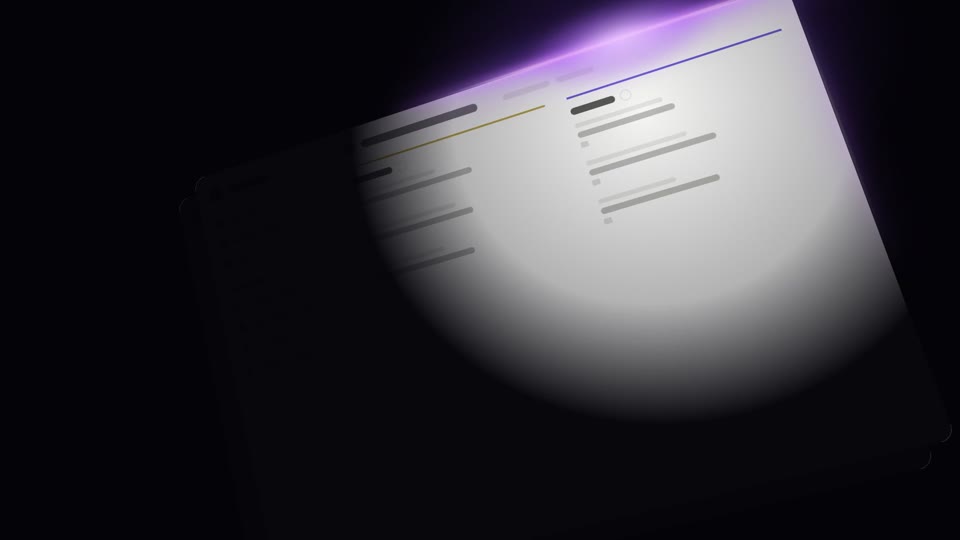
Three dark-stage spotlight reveals — A wake-sleep sweep (light in = bright, light out = dark), B edge-hugging glow pan (violet light seeps along UI edges + steady rightward sweep), C corner reveal (radial light expands steadily from a corner to light the whole screen); light itself narrates in the dark.
Slam entrance moves
Three high-energy slam entrances: a whip-in perspective stop, a heavy KPI drop, and a shockwave that hits neighboring cards.
Scanline assemble fly-in
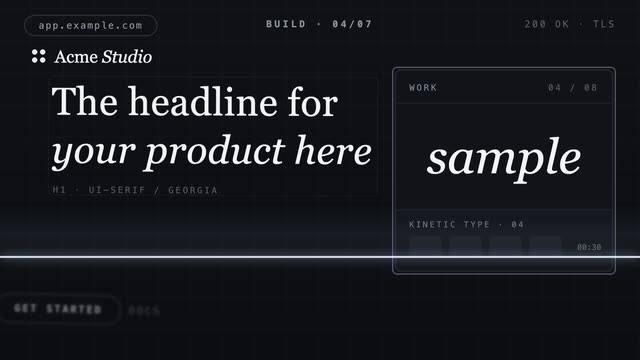
A scan line sweeps down an empty grid, flying each region's component in from off-screen — finishing as the scan ends.
Scanline annotate focus
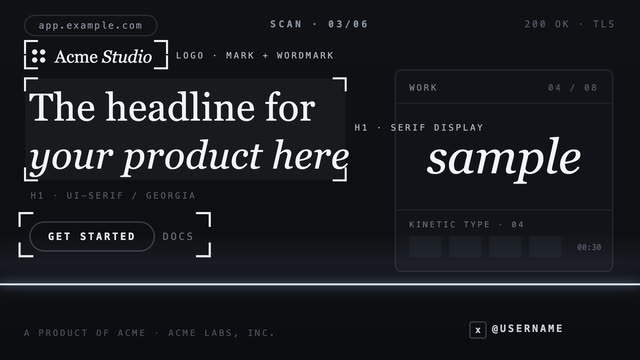
A bright scan line sweeps down the page, framing each element it passes and labeling it with monospace annotations.