Motion · Interação
Canvas Materialize Moves
Two ways content "materializes onto the canvas" — panel-to-canvas row-to-card (a panel table row flies out along an arc, morphing across containers into a canvas card) and diagram-cascade tree generation (nodes pop in layer by layer after a typed prompt, with connectors growing before the nodes).
Fonte: video-shotcraft (Vincent Wei) ↗ · Apache-2.0 · Composição Remotion (React/TSX) — vídeo de prévia, sem player no navegador
Variantes
复选框逐个自动打勾→按钮按下→三行沿上抛弧线错峰飞出,途中行形态与卡形态交叉淡化,落位带随机倾角;面板行槽塌陷成虚线留白
批量导入/一键上板:内容从列表态迁移为空间态
prompt 逐字敲出(敲完描边变深确认)→根(深色)→2 子→4 孙逐层弹出,折角连线描线先行 8f,成树后整棵呼吸一拍
AI 生成结构图/脑图/ER 图:一句话长出一棵树
When to use
Narrative segments where AI/collaboration tools "land generated results on a canvas"; A tells "existing content changed its form of existence," B tells "a whole structure grows from one sentence."
Intention
The library's existing generation narratives are only "streaming writes inside a panel" (ai-stream-response's evidence rows flowing into a panel) and "a chart coming alive" (chart-live-moves) — none cover content leaving its container to materialize as a new entity on an open canvas. This card fills that gap: the canvas is the stage, and the generated content is the performer taking it. Style A's key move is cross-container form migration — the same piece of content morphs from a "row" into a "card," with position/size/corner-radius/inner layout interpolating together on one spring, so viewers read "it flew over there and became that" rather than "one got deleted, another got added." Style B's key move is cascading timing — lines pull nodes out, layers feed layers; the sense of structure comes from sequence, not simultaneity.
Duration & energy
- Duration: A ~4.3s (130f) / B ~5.3s (160f).
- Energy: Medium
Shot recipe (original Chinese — timing, easing, parameter table, known pitfalls)
意图
库内生成叙事只有"面板内流式写入"(ai-stream-response 证据行汇入面板) 和"图表自己活起来"(chart-live-moves),没有词管内容离开容器、在 开放画布上物化成新实体。本卡补这一块:画布是舞台,生成物是登台的 演员。A 式的命门是跨容器形态迁移——同一条内容从"行"变成"卡",位置 /宽高/圆角/内容布局在一条 spring 上同步插值,观众读到"是它飞过去 变的"而不是"删一个加一个";B 式的命门是级联时序——线牵出节点、层 喂出层,结构感来自先后而非同时。
两式选型
| 式 | 做法 | 适用 | |----|------|------| | A panel-to-canvas 行倒卡 | 复选框逐个自动打勾→按钮按下→三行沿上抛弧线错峰飞出,途中行形态与卡形态交叉淡化,落位带随机倾角;面板行槽塌陷成虚线留白 | 批量导入/一键上板:内容从列表态迁移为空间态 | | B diagram-cascade 级联生成树 | prompt 逐字敲出(敲完描边变深确认)→根(深色)→2 子→4 孙逐层弹出,折角连线描线先行 8f,成树后整棵呼吸一拍 | AI 生成结构图/脑图/ER 图:一句话长出一棵树 |
参数表
| 参数 | 典型值 | 调节手感 | |------|--------|----------| | A 打勾 | 12/22/32f 逐个,spring(damping 10, stiffness 260) pop | 打勾是"预告",全删观众不知道要飞谁;同帧齐勾读作静态已选 | | A 起飞错峰 | 按钮 46f 按下,三行 54/60/66f 起飞(错峰 6f) | 同帧齐飞读作复制粘贴;错峰 >12f 尾行像掉队 | | A 飞行插值 | spring(damping 16, stiffness 60, 34f);位置走二次贝塞尔,中点上抬 170px | 直线飞读作平移不读作"倒出来";中点抬 <100px 弧线感消失 | | A 形态迁移 | 行 560×80 → 卡 480×240,圆角 10→18,rowOp 在 u≈0.45 前灭、cardOp 后亮 | 两套内容交叉淡化必须错开——中段两态同显即穿帮 | | A 落位倾角 | ±2° 随机(-2/1.5/2) | 全正读作网格排版;>4° 读作散落故障 | | B 打字 | 1.1 字符/帧,敲完 prompt 条描边 G.border→G.ink 确认 | 无确认态则"敲完"与"开始生成"之间没有因果扣 | | B 级联时序 | 根 52f 起,层间隔 20f、同层兄弟错峰 6f;节点 spring(damping 11, stiffness 170) | 层间隔 <12f 读作一次性全出;兄弟同帧读作复制 | | B 连线先行 | SVG 折角 path(父底边→中线→子顶边)描线 16f ease-out,比子节点早 8f | "线牵出节点"是因果感来源;线晚于节点就成了补笔 | | B 收尾呼吸 | 末节点 +22f 起,以树心为原点 scale 1→1.035→1(sin inOut,28f) | 呼吸是"成树"的句号;>1.06 读作缩放故障 |
已知坑
- demo 在灰阶/占位素材上调校通过——参数是调校起点非实战定稿,
首次实战须以真实素材回验
- 与 ai-stream-response 分工:那卡内容在面板内流式落位(结论先到、
证据随后),本卡内容离开面板上画布;同片可串(先流式生成→再倒上画布), 串用时 A 式的打勾段可省——流式完成态即"已选"
- 与 chart-live-moves 分工:那卡是数据图表自身的活性(流线/点阵/爆轴),
B 式是结构图的诞生过程——图活着≠图正在被生成,别拿 B 式去演已有图表
- A 式行槽必须塌陷成虚线留白——行飞走后原位完好如初,"迁移"就退化成
"复制",语义全失
- A 式交叉淡化窗口(rowOp 灭于 u≈0.45 前、cardOp 亮于其后)是防穿帮的
命门;spring 有过冲,u 可能短暂 >1,内容 opacity 都要 clamp
- B 式呼吸原点必须是树的视觉重心(demo 960,620)而非画面中心,
不然读作整屏 zoom
参考实现
demos/interaction/canvas-materialize-moves/ (DiagramCascadeBuild.tsx / PanelToCanvasMaterialize.tsx) 原片出处:miro-promo 84–92s(A 式)/ 104–116s(B 式)
Reference implementation (Remotion)
- demos/interaction/canvas-materialize-moves/DiagramCascadeBuild.tsx — https://raw.githubusercontent.com/Vincentwei1021/video-shotcraft/main/demos/interaction/canvas-materialize-moves/DiagramCascadeBuild.tsx
- demos/interaction/canvas-materialize-moves/PanelToCanvasMaterialize.tsx — https://raw.githubusercontent.com/Vincentwei1021/video-shotcraft/main/demos/interaction/canvas-materialize-moves/PanelToCanvasMaterialize.tsx
The component imports shared fixtures from demos/_fixtures and helpers from assets/lib in the repo; SKILL.md there documents the render workflow.
Tudo nesta página também é legível por máquina. Aponte seu agente para o JSON ou adicione o servidor MCP do gimgs e peça para buscar templates de motion.
- Baixe o JSON — contém a receita do plano (timing, easing, tabela de parâmetros, armadilhas) e o código TSX completo.
- Clone o repositório video-shotcraft; o componente importa fixtures de demos/_fixtures e helpers de assets/lib.
- Registre o componente como <Composition> em um projeto Remotion e renderize com `npx remotion render`, ou reimplemente a receita no seu próprio engine.
curl -s https://gimgs.net/motion/canvas-materialize-moves.jsongit clone https://github.com/Vincentwei1021/video-shotcraft
# component: demos/interaction/canvas-materialize-moves/DiagramCascadeBuild.tsx, demos/interaction/canvas-materialize-moves/PanelToCanvasMaterialize.tsx
npx remotion render <CompositionId> out.mp4claude mcp add --transport http gimgs https://gimgs.net/mcp
# then: search_motion_templates / get_motion_template("canvas-materialize-moves")Prompt
Use the video-shotcraft shot recipe "Canvas Materialize Moves" (Remotion composition, Apache-2.0) published on gimgs.net.
Recipe JSON (prompt = timing/easing/parameter table/pitfalls, files = TSX source): https://gimgs.net/motion/canvas-materialize-moves.json
Raw TSX: https://gimgs.net/motion/canvas-materialize-moves/template.html
Repository: https://github.com/Vincentwei1021/video-shotcraft  (component: demos/interaction/canvas-materialize-moves/DiagramCascadeBuild.tsx, demos/interaction/canvas-materialize-moves/PanelToCanvasMaterialize.tsx; imports demos/_fixtures and assets/lib)
Spec: 1920x1080, 30 fps, 4.39s

1. Read the JSON and follow its "prompt" section (when to use, intention, parameter table, known pitfalls).
2. Adapt it for: <describe what you want>.
3. Either clone the repo, register the component as a <Composition> in a Remotion project and run npx remotion render <CompositionId> out.mp4 — or re-implement the recipe in your own engine (HTML/WAAPI works: keep the same timing and easing).
// ===== demos/interaction/canvas-materialize-moves/DiagramCascadeBuild.tsx =====
// diagram-cascade-build —— miro-promo 104–116s
// prompt 行打字 → 图表节点自上而下逐层级联弹出(根→2 子→4 孙),
// 连线跟随节点生长(SVG path 描线),成树后整体呼吸一拍。
import React from 'react';
import { AbsoluteFill, useCurrentFrame, interpolate, spring, useVideoConfig, Easing } from 'remotion';
import { G } from '../../_fixtures/Fixtures';

const PROMPT = 'Generate an entity-relationship diagram';
const TYPE_START = 6;
const TYPE_CPS = 1.1; // 字符/帧

// 树布局(画布坐标,节点中心)
const NODE_W = 300;
const NODE_H = 110;
const NODES = [
  // level 0
  { id: 0, x: 960, y: 330, level: 0, parent: -1 },
  // level 1
  { id: 1, x: 620, y: 570, level: 1, parent: 0 },
  { id: 2, x: 1300, y: 570, level: 1, parent: 0 },
  // level 2
  { id: 3, x: 400, y: 820, level: 2, parent: 1 },
  { id: 4, x: 810, y: 820, level: 2, parent: 1 },
  { id: 5, x: 1110, y: 820, level: 2, parent: 2 },
  { id: 6, x: 1520, y: 820, level: 2, parent: 2 },
];

const CASCADE_START = 52; // 根节点弹出时刻
const LEVEL_GAP = 20; // 层间隔
const SIBLING_STAGGER = 6;

const nodeStart = (n: (typeof NODES)[number]) => {
  if (n.level === 0) return CASCADE_START;
  const siblingIdx = NODES.filter((m) => m.level === n.level && m.id < n.id).length;
  return CASCADE_START + n.level * LEVEL_GAP + siblingIdx * SIBLING_STAGGER;
};

// 折角连线 path:父底边中点 → 垂直下探 → 水平 → 垂直进子顶边
const edgePath = (p: (typeof NODES)[number], c: (typeof NODES)[number]) => {
  const x1 = p.x;
  const y1 = p.y + NODE_H / 2;
  const x2 = c.x;
  const y2 = c.y - NODE_H / 2;
  const my = (y1 + y2) / 2;
  return `M ${x1} ${y1} L ${x1} ${my} L ${x2} ${my} L ${x2} ${y2}`;
};

const edgeLen = (p: (typeof NODES)[number], c: (typeof NODES)[number]) => {
  const y1 = p.y + NODE_H / 2;
  const y2 = c.y - NODE_H / 2;
  return Math.abs(y2 - y1) + Math.abs(c.x - p.x);
};

export const DiagramCascadeBuild: React.FC = () => {
  const frame = useCurrentFrame();
  const { fps } = useVideoConfig();

  const typed = Math.min(PROMPT.length, Math.max(0, Math.floor((frame - TYPE_START) * TYPE_CPS)));
  const caretOn = Math.floor(frame / 8) % 2 === 0;
  const promptDone = typed >= PROMPT.length;

  // 成树后整体呼吸一拍
  const lastStart = nodeStart(NODES[NODES.length - 1]);
  const breathe = interpolate(frame, [lastStart + 22, lastStart + 34, lastStart + 50], [1, 1.035, 1], {
    extrapolateLeft: 'clamp',
    extrapolateRight: 'clamp',
    easing: Easing.inOut(Easing.sin),
  });

  return (
    <AbsoluteFill style={{ background: G.bg, overflow: 'hidden' }}>
      <AbsoluteFill
        style={{
          backgroundImage: `radial-gradient(${G.line} 3px, transparent 3px)`,
          backgroundSize: '52px 52px',
        }}
      />

      {/* prompt 条 */}
      <div
        style={{
          position: 'absolute',
          left: 460,
          top: 88,
          width: 1000,
          height: 84,
          background: G.card,
          border: `3px solid ${promptDone ? G.ink : G.border}`,
          borderRadius: 42,
          display: 'flex',
          alignItems: 'center',
          padding: '0 36px',
          boxSizing: 'border-box',
          boxShadow: '0 6px 24px rgba(0,0,0,0.08)',
          fontFamily: 'Helvetica, Arial, sans-serif',
          fontSize: 30,
          fontWeight: 600,
          color: G.ink,
        }}
      >
        <div style={{ width: 30, height: 30, borderRadius: 15, background: G.mid, marginRight: 20, flexShrink: 0 }} />
        <span>
          {PROMPT.slice(0, typed)}
          <span style={{ opacity: caretOn ? 1 : 0, fontWeight: 400 }}>|</span>
        </span>
      </div>

      {/* 树(呼吸缩放以树心为原点) */}
      <div style={{ position: 'absolute', inset: 0, transform: `scale(${breathe})`, transformOrigin: '960px 620px' }}>
        {/* 连线层 */}
        <svg width={1920} height={1080} style={{ position: 'absolute', inset: 0 }}>
          {NODES.filter((n) => n.parent >= 0).map((n) => {
            const p = NODES[n.parent];
            const start = nodeStart(n) - 8; // 线比子节点先长
            const len = edgeLen(p, n);
            const grow = interpolate(frame, [start, start + 16], [0, 1], {
              extrapolateLeft: 'clamp',
              extrapolateRight: 'clamp',
              easing: Easing.out(Easing.cubic),
            });
            if (grow <= 0) return null;
            return (
              <path
                key={n.id}
                d={edgePath(p, n)}
                stroke={G.mid}
                strokeWidth={5}
                fill="none"
                strokeLinejoin="round"
                strokeDasharray={len}
                strokeDashoffset={len * (1 - grow)}
              />
            );
          })}
        </svg>

        {/* 节点层 */}
        {NODES.map((n) => {
          const start = nodeStart(n);
          const pop = spring({ frame: frame - start, fps, config: { damping: 11, stiffness: 170 } });
          if (frame < start) return null;
          return (
            <div
              key={n.id}
              style={{
                position: 'absolute',
                left: n.x - NODE_W / 2,
                top: n.y - NODE_H / 2,
                width: NODE_W,
                height: NODE_H,
                background: n.level === 0 ? G.side : G.card,
                border: `3px solid ${n.level === 0 ? G.side : G.border}`,
                borderRadius: 16,
                boxSizing: 'border-box',
                boxShadow: '0 6px 20px rgba(0,0,0,0.10)',
                transform: `scale(${pop})`,
                display: 'flex',
                flexDirection: 'column',
                justifyContent: 'center',
                gap: 10,
                padding: '0 24px',
              }}
            >
              <div style={{ height: 16, width: `${44 + (n.id * 17) % 34}%`, background: n.level === 0 ? '#9a9a98' : G.bar, borderRadius: 8 }} />
              <div style={{ height: 10, width: `${70 - (n.id * 13) % 26}%`, background: n.level === 0 ? G.sideBar : G.line, borderRadius: 5 }} />
            </div>
          );
        })}
      </div>
    </AbsoluteFill>
  );
};


// ===== demos/interaction/canvas-materialize-moves/PanelToCanvasMaterialize.tsx =====
// panel-to-canvas-materialize —— miro-promo 84–92s
// 侧面板表格行复选框自动逐个打勾 → 按钮按下 → 三行内容飞出面板、
// 物化成画布上三张独立卡片落位(行→卡跨容器形态迁移,尺寸/形状插值)。
import React from 'react';
import { AbsoluteFill, useCurrentFrame, interpolate, spring, useVideoConfig, Easing } from 'remotion';
import { G } from '../../_fixtures/Fixtures';

const PANEL_X = 1210;
const PANEL_Y = 90;
const PANEL_W = 620;
const ROW_H = 92;
const ROWS_TOP = 210; // 面板内第一行的画面 y

// 行 → 卡的目标位(画布左侧区域)
const TARGETS = [
  { x: 150, y: 150, rot: -2 },
  { x: 480, y: 420, rot: 1.5 },
  { x: 180, y: 660, rot: 2 },
];
const CARD_W = 480;
const CARD_H = 240;

const CHECK_FRAMES = [12, 22, 32]; // 三个复选框打勾时刻
const BUTTON_FRAME = 46; // 按钮按下
const FLY_START = [54, 60, 66]; // 三行错峰起飞

export const PanelToCanvasMaterialize: React.FC = () => {
  const frame = useCurrentFrame();
  const { fps } = useVideoConfig();

  const btnPress = interpolate(frame, [BUTTON_FRAME, BUTTON_FRAME + 3, BUTTON_FRAME + 9], [0, 1, 0], {
    extrapolateLeft: 'clamp',
    extrapolateRight: 'clamp',
  });

  return (
    <AbsoluteFill style={{ background: G.bg, overflow: 'hidden' }}>
      {/* 画布点阵底 */}
      <AbsoluteFill
        style={{
          backgroundImage: `radial-gradient(${G.line} 3px, transparent 3px)`,
          backgroundSize: '52px 52px',
        }}
      />

      {/* 侧面板 */}
      <div
        style={{
          position: 'absolute',
          left: PANEL_X,
          top: PANEL_Y,
          width: PANEL_W,
          height: 900,
          background: G.panel,
          border: `2px solid ${G.border}`,
          borderRadius: 20,
          boxShadow: '0 8px 32px rgba(0,0,0,0.10)',
          boxSizing: 'border-box',
          padding: 28,
        }}
      >
        {/* 面板标题 */}
        <div style={{ height: 20, width: 260, background: G.bar, borderRadius: 10, marginBottom: 14 }} />
        <div style={{ height: 12, width: 380, background: G.line, borderRadius: 6, marginBottom: 26 }} />
        {/* 表头 */}
        <div style={{ height: 34, background: G.line, borderRadius: 8, marginBottom: 12, opacity: 0.6 }} />
        {/* 行槽位(行飞走后留白) */}
        {[0, 1, 2].map((i) => (
          <RowSlot key={i} idx={i} frame={frame} fps={fps} />
        ))}
        {/* 面板底部按钮 */}
        <div
          style={{
            position: 'absolute',
            left: 28,
            bottom: 28,
            right: 28,
            height: 64,
            borderRadius: 14,
            background: btnPress > 0 ? G.ink : G.side,
            transform: `scale(${1 - btnPress * 0.06})`,
            display: 'flex',
            alignItems: 'center',
            justifyContent: 'center',
          }}
        >
          <div style={{ fontFamily: 'Helvetica, Arial, sans-serif', fontWeight: 700, fontSize: 22, color: '#f2f2f0', letterSpacing: 0.5 }}>
            Add all to canvas
          </div>
        </div>
      </div>

      {/* 飞行中/落位的三张卡(行→卡形态插值) */}
      {[0, 1, 2].map((i) => (
        <FlyingCard key={i} idx={i} frame={frame} fps={fps} />
      ))}

      {/* 光标 */}
      <Cursor frame={frame} />
    </AbsoluteFill>
  );
};

// 面板内的一行:复选框自动打勾;起飞后槽位塌陷成虚线留白
const RowSlot: React.FC<{ idx: number; frame: number; fps: number }> = ({ idx, frame, fps }) => {
  const checkF = CHECK_FRAMES[idx];
  const flyF = FLY_START[idx];
  const checked = frame >= checkF;
  const checkPop = spring({ frame: frame - checkF, fps, config: { damping: 10, stiffness: 260 } });
  const flown = frame >= flyF;

  return (
    <div
      style={{
        height: ROW_H - 12,
        marginBottom: 12,
        borderRadius: 10,
        border: flown ? `2px dashed ${G.line}` : `2px solid ${G.border}`,
        background: flown ? 'transparent' : G.card,
        boxSizing: 'border-box',
        display: 'flex',
        alignItems: 'center',
        gap: 18,
        padding: '0 20px',
        opacity: flown ? 0.7 : 1,
      }}
    >
      {!flown && (
        <>
          {/* 复选框 */}
          <div
            style={{
              width: 30,
              height: 30,
              borderRadius: 8,
              border: `3px solid ${checked ? G.ink : G.bar}`,
              background: checked ? G.ink : 'transparent',
              boxSizing: 'border-box',
              transform: checked ? `scale(${0.8 + 0.2 * checkPop})` : 'scale(1)',
              display: 'flex',
              alignItems: 'center',
              justifyContent: 'center',
            }}
          >
            {checked && (
              <svg width="18" height="18" viewBox="0 0 18 18">
                <path d="M3 9.5 L7.2 13.5 L15 4.5" stroke="#fff" strokeWidth="3.2" fill="none" strokeLinecap="round" strokeLinejoin="round" />
              </svg>
            )}
          </div>
          <div style={{ height: 14, width: 180 + idx * 40, background: G.bar, borderRadius: 7 }} />
          <div style={{ marginLeft: 'auto', height: 12, width: 90, background: G.line, borderRadius: 6 }} />
        </>
      )}
    </div>
  );
};

// 行→卡:位置沿贝塞尔弧线飞、尺寸/圆角/内容布局同步插值
const FlyingCard: React.FC<{ idx: number; frame: number; fps: number }> = ({ idx, frame, fps }) => {
  const flyF = FLY_START[idx];
  if (frame < flyF) return null;

  const t = spring({ frame: frame - flyF, fps, config: { damping: 16, stiffness: 60 }, durationInFrames: 34 });

  // 起点:面板内该行的屏幕位置/尺寸
  const sx = PANEL_X + 30;
  const sy = ROWS_TOP + idx * ROW_H;
  const sw = PANEL_W - 60;
  const sh = ROW_H - 12;
  const tgt = TARGETS[idx];

  // 弧线:中点向上抬,像被"倒"出来
  const mx = (sx + tgt.x) / 2;
  const my = Math.min(sy, tgt.y) - 170;
  const u = t;
  const x = (1 - u) * (1 - u) * sx + 2 * (1 - u) * u * mx + u * u * tgt.x;
  const y = (1 - u) * (1 - u) * sy + 2 * (1 - u) * u * my + u * u * tgt.y;

  const w = sw + (CARD_W - sw) * u;
  const h = sh + (CARD_H - sh) * u;
  const rot = tgt.rot * u;
  const radius = 10 + 8 * u;
  const shadow = interpolate(u, [0, 1], [0.08, 0.16]);
  // 行内容(单行水平) → 卡内容(标题+行+footer) 交叉淡化
  const rowOp = Math.max(0, 1 - u * 2.2);
  const cardOp = Math.max(0, (u - 0.45) / 0.55);

  return (
    <div
      style={{
        position: 'absolute',
        left: x,
        top: y,
        width: w,
        height: h,
        background: G.card,
        border: `2px solid ${G.border}`,
        borderRadius: radius,
        boxShadow: `0 ${10 + 14 * u}px ${24 + 20 * u}px rgba(0,0,0,${shadow})`,
        transform: `rotate(${rot}deg)`,
        boxSizing: 'border-box',
        overflow: 'hidden',
        zIndex: 10 + idx,
      }}
    >
      {/* 行形态内容 */}
      <div style={{ position: 'absolute', inset: 0, display: 'flex', alignItems: 'center', gap: 18, padding: '0 20px', opacity: rowOp }}>
        <div style={{ width: 30, height: 30, borderRadius: 8, background: G.ink }} />
        <div style={{ height: 14, width: 180 + idx * 40, background: G.bar, borderRadius: 7 }} />
      </div>
      {/* 卡形态内容 */}
      <div style={{ position: 'absolute', inset: 0, padding: 24, display: 'flex', flexDirection: 'column', gap: 12, opacity: cardOp, boxSizing: 'border-box' }}>
        <div style={{ height: 18, width: `${52 + idx * 12}%`, background: G.bar, borderRadius: 9 }} />
        <div style={{ height: 11, width: '84%', background: G.line, borderRadius: 5 }} />
        <div style={{ height: 11, width: '66%', background: G.line, borderRadius: 5 }} />
        <div style={{ marginTop: 'auto', display: 'flex', gap: 10, alignItems: 'center' }}>
          <div style={{ width: 28, height: 28, borderRadius: 14, background: G.mid }} />
          <div style={{ height: 11, width: 70, background: G.line, borderRadius: 5 }} />
        </div>
      </div>
    </div>
  );
};

const Cursor: React.FC<{ frame: number }> = ({ frame }) => {
  // 光标:从画面中部移到按钮上并停留按下
  const bx = PANEL_X + PANEL_W / 2;
  const by = PANEL_Y + 900 - 60;
  const x = interpolate(frame, [8, BUTTON_FRAME - 4], [900, bx], {
    extrapolateLeft: 'clamp',
    extrapolateRight: 'clamp',
    easing: Easing.inOut(Easing.quad),
  });
  const y = interpolate(frame, [8, BUTTON_FRAME - 4], [560, by], {
    extrapolateLeft: 'clamp',
    extrapolateRight: 'clamp',
    easing: Easing.inOut(Easing.quad),
  });
  const press = interpolate(frame, [BUTTON_FRAME, BUTTON_FRAME + 3, BUTTON_FRAME + 8], [1, 0.78, 1], {
    extrapolateLeft: 'clamp',
    extrapolateRight: 'clamp',
  });
  return (
    <svg
      width={40}
      height={44}
      viewBox="0 0 20 22"
      style={{ position: 'absolute', left: x, top: y, transform: `scale(${press})`, zIndex: 40 }}
    >
      <path d="M2 1 L2 17 L6.5 13.2 L9.4 20 L12.4 18.7 L9.5 12 L15 11.6 Z" fill={G.ink} stroke="#fff" strokeWidth="1.4" />
    </svg>
  );
};
- Read the recipePrompt = when to use, intention, parameter table with typical values and how each one feels, known pitfalls. Treat values as calibrated starting points.
- Get the codetool: git
git clone https://github.com/Vincentwei1021/video-shotcraft && cd video-shotcraft && npm install - Register + rendertool: remotion
npx remotion render <CompositionId> out.mp4 # component: demos/interaction/canvas-materialize-moves/DiagramCascadeBuild.tsx, demos/interaction/canvas-materialize-moves/PanelToCanvasMaterialize.tsx - Or re-implementPort the timing/easing from the recipe to HTML + WAAPI (gimgs motion contract) or any engine; keep the same segment windows and easing.
| param | type | default | description |
|---|---|---|---|
| — | |||
Mais nesta categoria
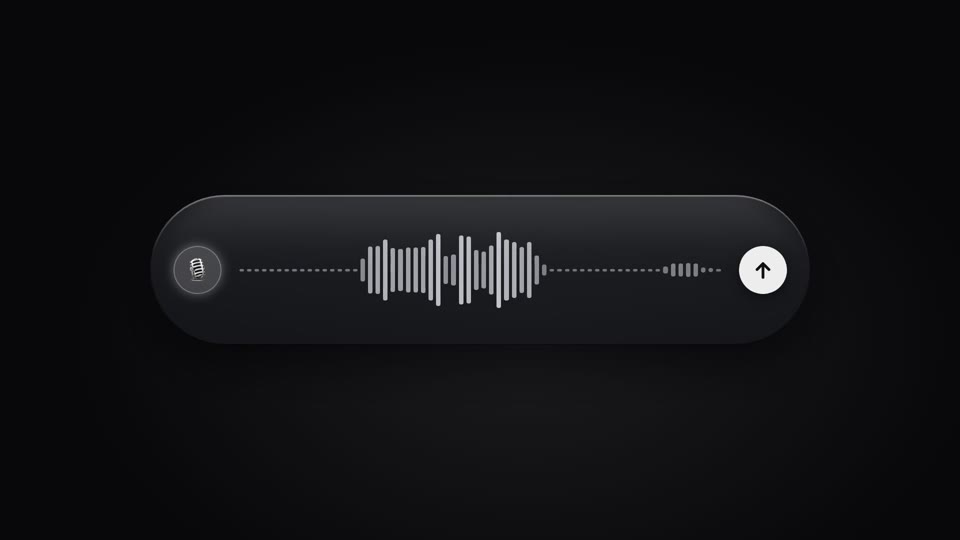
Live voice waveform
A live waveform in a recording pill — 64 thin bars rise and fall with "speech," spiking tall mid-speech and shrinking to a dotted line on pauses, scrolling right to left; a full speak-pause-speak-submit performance.
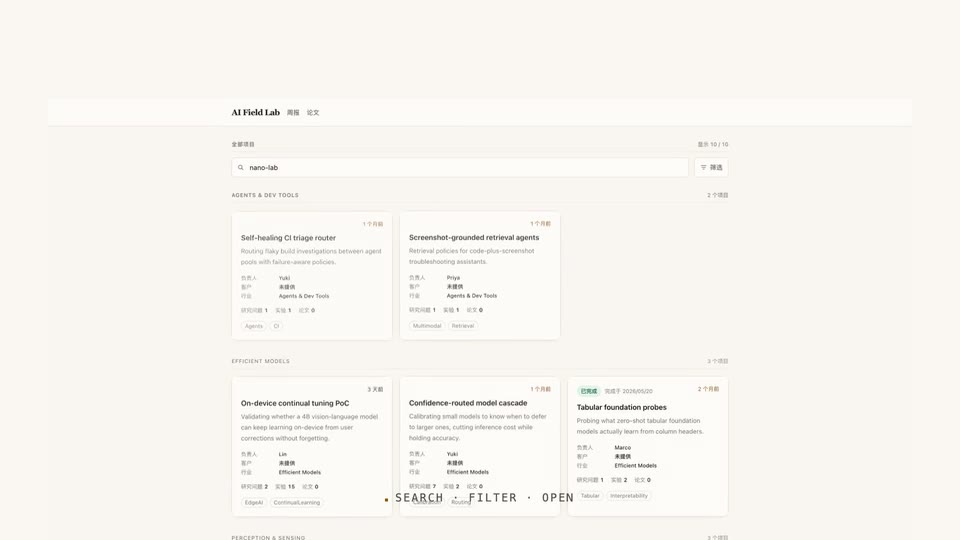
Type, filter, drill in
Typing a search on a real UI, the grid converges to a single card on its own, then a click drills through into the detail page.
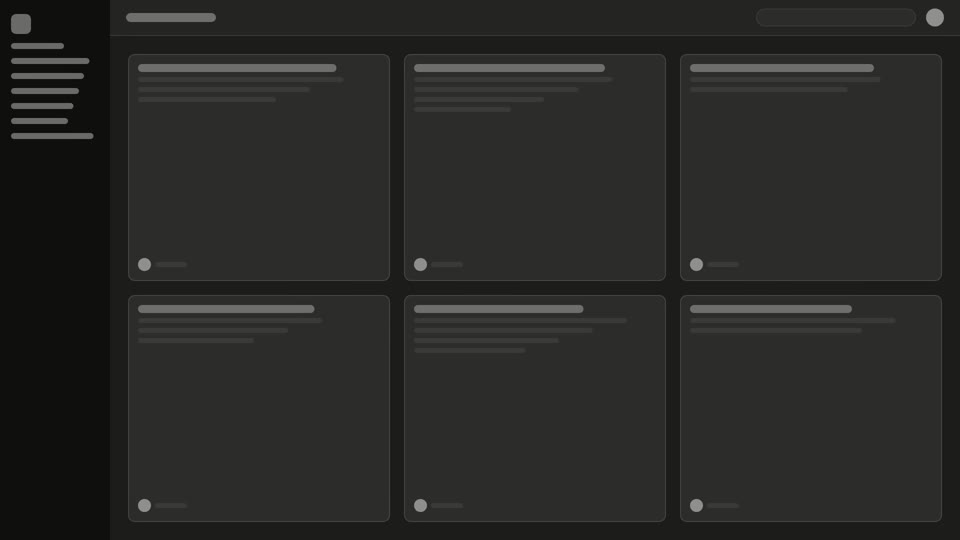
Theme switch: sweep and ripple
Two theme-switch moves — theme-sweep, a diagonal wipe (the skin changes wherever the boundary passes), and palette-ripple, a combo move (a ⌘K panel collapses to a point, a ripple spreads from it to re-skin).
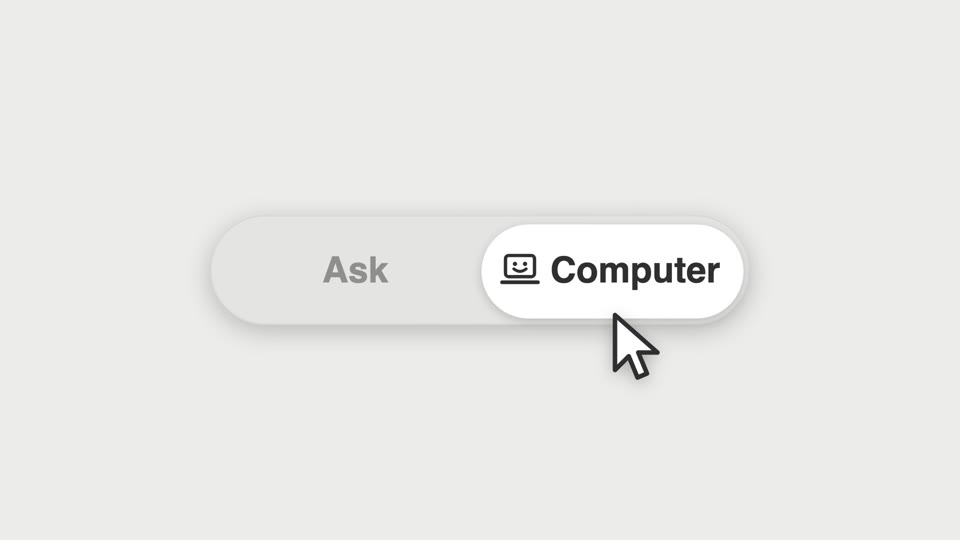
Segmented thumb hero
A segmented control's thumb shift becomes the star of a close-up — a cursor clicks it and a new icon springs in.