Motion · Câmera
3D space camera moves
Two 3D spatial camera moves — exploded-view (parts blow apart along Z then reassemble) and drone-dive-landing (a drone dives and lands).
Fonte: video-shotcraft (Vincent Wei) ↗ · Apache-2.0 · Composição Remotion (React/TSX) — vídeo de prévia, sem player no navegador
Variantes
整页 3D 倾斜后构件沿 Z 轴错峰炸开悬停,一拍后逆序合体震屏收口
架构/组成展示:"这个产品里有什么";模块总览段
近垂直俯角悬停 → 猛扎俯冲 → 气垫减速停在 hero 卡特写
开场定场→入题;全局地图砸进单点的章节启动
When to use
Highlight passages that shoot a flat page as a 3D object; both are "big moves" — at most 2 uses total per film
Intention
The depth-layer card adds depth to a pan — layers move, the page stays a page. These two go further: the whole page is treated as one 3D solid, and the camera (or the world) performs a live-action-grade maneuver around it. The two moves each cover distinct narrative ground: A says "see what it's made of" (a teardown reveal, Apple-keynote language); C says "a god's-eye view plunging into the hero" (wide shot to close-up focus, overview to focal point).
Duration & energy
- Duration: A: 5s (full explode–hover–reassemble arc); C: 3–5s single-direction dive
- Energy: High
Shot recipe (original Chinese — timing, easing, parameter table, known pitfalls)
意图
depth-layer 卡是给平移加纵深——层在动、页面还是页面。这两式更进一步: 整页被当成一个 3D 实体,相机(或世界)绕着它做实拍级机动。两式叙事 语义各占一格:A 说"看看它由什么组成"(拆解展示,Apple 发布片语言); C 说"从全局俯瞰砸到主角"(上帝视角一头扎进 hero 特写,全景→焦点)。
两式选型
| 式 | 做法 | 适用段落 | |----|------|----------| | A exploded-view | 整页 3D 倾斜后构件沿 Z 轴错峰炸开悬停,一拍后逆序合体震屏收口 | 架构/组成展示:"这个产品里有什么";模块总览段 | | C drone-dive-landing | 近垂直俯角悬停 → 猛扎俯冲 → 气垫减速停在 hero 卡特写 | 开场定场→入题;全局地图砸进单点的章节启动 |
参数表
| 参数 | 典型值 | 调节手感 | |------|--------|----------| | A 空间基座 | perspective 1600 + 整组 scale 0.76 + rotateX 18° rotateY -12° + preserve-3d | 倾角是空间感来源;正视炸开读不出深度 | | A 炸开 | 各构件 translateZ 60–320px 错落分布,错峰 3f,每层 14f ease-out-back(1.7) | back 回弹给"咔"一声的机械感;深度全同读作整页浮起 | | A 合体 | 逆序 ease-in 12f,归位帧 2f 指数衰减震屏(幅 ~13px) | 震屏是落锤——没有它合体读作软趴趴的淡入 | | A 深度锚 | 投影随 z·p 下移变虚 + 底板压暗 22% + 远层 brightness ↓28% | 三个线索缺一层间关系就糊 | | C 行程 | 同一条 p 驱动 rotateX 72°→0 + scale 0.42→1.35 + translate 收拢;origin 钉死 hero 卡中心(如 518,335) | 一条 p = 一台相机一次机动;分开驱动读作三个动画打架 | | C 速度曲线 | 主俯冲 25f Easing.in(cubic) 吃 82% 行程 → 气垫 20f Easing.out(poly(5)) 走 18% | 切换帧速度骤降 = 气垫顶住的体感;82/18 比例比帧数更关键 | | C 氛围 | 全场包 CameraMotionBlur(shutterAngle 220, samples 9);俯视期页面下方椭圆软影随落地收干 | 软影卖"悬空高度";blur 卖速度,缺一维就假 |
已知坑
- demo 在灰阶/占位素材上调校通过——参数是调校起点非实战定稿,
首次实战须以真实素材回验
- 两式都吃真实截图分层/高清纹理:A 需页面按构件切块截图(顶栏/侧栏/
卡各自独立成图,整页一张图炸不开);C 终点是特写,素材先按 审美准则 Q2 的高分辨率栅格化技法处理
- C 式易错:Remotion 无 Easing.quint,写 Easing.poly(5)(本批实渲踩坑)
- A 式构件布局要绝对定位复刻原页面网格(demo 里 8 层复刻 FakeDashboard
A),流式布局做不了 per-构件 translateZ
参考实现
demos/camera/space-camera-moves/ (DroneDiveLanding.tsx / ExplodedView.tsx)
Reference implementation (Remotion)
- demos/camera/space-camera-moves/DroneDiveLanding.tsx — https://raw.githubusercontent.com/Vincentwei1021/video-shotcraft/main/demos/camera/space-camera-moves/DroneDiveLanding.tsx
- demos/camera/space-camera-moves/ExplodedView.tsx — https://raw.githubusercontent.com/Vincentwei1021/video-shotcraft/main/demos/camera/space-camera-moves/ExplodedView.tsx
The component imports shared fixtures from demos/_fixtures and helpers from assets/lib in the repo; SKILL.md there documents the render workflow.
Tudo nesta página também é legível por máquina. Aponte seu agente para o JSON ou adicione o servidor MCP do gimgs e peça para buscar templates de motion.
- Baixe o JSON — contém a receita do plano (timing, easing, tabela de parâmetros, armadilhas) e o código TSX completo.
- Clone o repositório video-shotcraft; o componente importa fixtures de demos/_fixtures e helpers de assets/lib.
- Registre o componente como <Composition> em um projeto Remotion e renderize com `npx remotion render`, ou reimplemente a receita no seu próprio engine.
curl -s https://gimgs.net/motion/space-camera-moves.jsongit clone https://github.com/Vincentwei1021/video-shotcraft
# component: demos/camera/space-camera-moves/DroneDiveLanding.tsx, demos/camera/space-camera-moves/ExplodedView.tsx
npx remotion render <CompositionId> out.mp4claude mcp add --transport http gimgs https://gimgs.net/mcp
# then: search_motion_templates / get_motion_template("space-camera-moves")Prompt
Use the video-shotcraft shot recipe "3D space camera moves" (Remotion composition, Apache-2.0) published on gimgs.net.
Recipe JSON (prompt = timing/easing/parameter table/pitfalls, files = TSX source): https://gimgs.net/motion/space-camera-moves.json
Raw TSX: https://gimgs.net/motion/space-camera-moves/template.html
Repository: https://github.com/Vincentwei1021/video-shotcraft  (component: demos/camera/space-camera-moves/DroneDiveLanding.tsx, demos/camera/space-camera-moves/ExplodedView.tsx; imports demos/_fixtures and assets/lib)
Spec: 1920x1080, 30 fps, 5.06s

1. Read the JSON and follow its "prompt" section (when to use, intention, parameter table, known pitfalls).
2. Adapt it for: <describe what you want>.
3. Either clone the repo, register the component as a <Composition> in a Remotion project and run npx remotion render <CompositionId> out.mp4 — or re-implement the recipe in your own engine (HTML/WAAPI works: keep the same timing and easing).
// ===== demos/camera/space-camera-moves/DroneDiveLanding.tsx =====
import React from 'react';
import { AbsoluteFill, Easing, interpolate, useCurrentFrame } from 'remotion';
import { CameraMotionBlur } from '@remotion/motion-blur';
import { FakeDashboard, G } from '../../_fixtures/Fixtures';

// drone-dive-landing:上帝视角俯视整页平躺的 dashboard(近垂直俯角、缩小居中),
// 相机猛扎下来——俯角抬平、页面放大立正,最后一段气垫式长尾减速,
// 稳稳停在 hero 卡正前方特写。FPV 无人机俯冲降落的运镜翻译。
//
// hero 卡 = FakeDashboard A 网格左上格:
// 侧栏 220 + padding 36 = x 256 起,列宽 (1628-56)/3 = 524;
// 顶栏 72 + padding 36 = y 108 起,行高 (936-28)/2 = 454。
// 卡中心 (256+262, 108+227) = (518, 335),全程 transform-origin 钉在这里。
const HERO = { cx: 518, cy: 335 };
const DIVE_START = 20; // 开头 hold 20f:上帝视角建立
const DIVE_END = 45;   // 主俯冲段 25f,ease-in(cubic) 越冲越快
const LAND_END = 65;   // 气垫段 20f,ease-out(quint) 长尾减速,之后真静止
const DIVE_SHARE = 0.82; // 俯冲段吃掉 82% 行程,剩 18% 留给气垫

const Scene: React.FC = () => {
  const frame = useCurrentFrame();

  // 两段速度曲线拼一条行程 p∈[0,1]:先猛加速扎下,切换帧速度骤降 = 气垫顶住的体感
  const pDive = interpolate(frame, [DIVE_START, DIVE_END], [0, DIVE_SHARE], {
    extrapolateLeft: 'clamp',
    extrapolateRight: 'clamp',
    easing: Easing.in(Easing.cubic),
  });
  const pLand = interpolate(frame, [DIVE_END, LAND_END], [0, 1 - DIVE_SHARE], {
    extrapolateLeft: 'clamp',
    extrapolateRight: 'clamp',
    easing: Easing.out(Easing.poly(5)),
  });
  const p = frame < DIVE_END ? pDive : DIVE_SHARE + pLand;

  // 三轴联动,全部由同一条 p 驱动(同一台"相机"的一次连续机动)
  const rotX = interpolate(p, [0, 1], [72, 0]);      // 俯角抬平
  const scale = interpolate(p, [0, 1], [0.42, 1.35]); // 缩小全景 → hero 特写
  // 平移:起点让整页平躺在画面中央偏上;终点 hero 卡中心正对画面中心
  const tx = interpolate(p, [0, 1], [256, 960 - HERO.cx]);
  const ty = interpolate(p, [0, 1], [150, 540 - HERO.cy]);

  // 地面投影:俯视时页面悬空、下方拖一团椭圆软影;落地立正后影子收干
  const shadowOp = interpolate(p, [0, 0.8], [0.32, 0], {
    extrapolateLeft: 'clamp',
    extrapolateRight: 'clamp',
  });
  const shadowW = 1300 * (0.6 + scale * 0.4);

  return (
    <AbsoluteFill style={{ background: G.bg, overflow: 'hidden' }}>
      {/* 地面软影(高度感线索) */}
      <div
        style={{
          position: 'absolute',
          left: 960 - shadowW / 2,
          top: 620,
          width: shadowW,
          height: 320,
          borderRadius: '50%',
          background: 'radial-gradient(ellipse at center, rgba(0,0,0,0.55) 0%, rgba(0,0,0,0) 68%)',
          opacity: shadowOp,
          filter: 'blur(18px)',
        }}
      />
      {/* 相机 = perspective 容器;页面绕 hero 卡中心做 rotateX + scale + translate */}
      <AbsoluteFill style={{ perspective: 1400 }}>
        <div
          style={{
            position: 'absolute',
            width: 1920,
            height: 1080,
            transformOrigin: `${HERO.cx}px ${HERO.cy}px`,
            transform: `translate(${tx}px, ${ty}px) rotateX(${rotX}deg) scale(${scale})`,
            boxShadow: `0 ${6 + (1 - p) * 30}px ${20 + (1 - p) * 60}px rgba(0,0,0,${0.1 + (1 - p) * 0.14})`,
            borderRadius: 6,
            overflow: 'hidden',
          }}
        >
          <FakeDashboard variant="A" />
        </div>
      </AbsoluteFill>
    </AbsoluteFill>
  );
};

export const DroneDiveLanding: React.FC = () => (
  <CameraMotionBlur shutterAngle={220} samples={9}>
    <Scene />
  </CameraMotionBlur>
);


// ===== demos/camera/space-camera-moves/ExplodedView.tsx =====
import React from 'react';
import { AbsoluteFill, Easing, interpolate, useCurrentFrame } from 'remotion';
import { Card, G } from '../../_fixtures/Fixtures';

// exploded-view:整页 dashboard 带 3D 倾斜,咔地沿 Z 轴炸开——顶栏/侧栏/六卡
// 各自浮到不同深度悬停(近大而实、远略暗),层间透出投影;hold 一拍后
// 逆序咔哒合体,2f 震屏收口。
//
// 节拍:0–24 静止建立(已倾斜)→ 24–59 错峰炸开(每层 14f ease-out-back)
//      → 悬停 → 90–123 逆序合体(每层 12f ease-in)→ 123 震屏 → 静止到 150

const EXPLODE = 24; // 炸开起始帧
const ASSEMBLE = 90; // 合体起始帧
const STAGGER = 3; // 层间错峰
const N = 8; // 可动层数(顶栏 + 侧栏 + 6 卡)
const CLOSE = ASSEMBLE + (N - 1) * STAGGER + 12; // = 123,最后一层归位

// FakeDashboard variant A 的布局常量(绝对定位复刻)
const SIDE_W = 220;
const TOP_H = 72;
const PAD = 36;
const GAP = 28;
const CARD_W = (1920 - SIDE_W - PAD * 2 - GAP * 2) / 3; // 524
const CARD_H = (1080 - TOP_H - PAD * 2 - GAP) / 2; // 454

type Layer = {
  key: string;
  x: number;
  y: number;
  w: number;
  h: number;
  z: number; // 炸开深度 60–320
  order: number; // 错峰序
  radius: number;
  node: React.ReactNode;
};

const Sidebar: React.FC = () => (
  <div style={{ width: SIDE_W, height: 1080, background: G.side, padding: '28px 22px', boxSizing: 'border-box', display: 'flex', flexDirection: 'column', gap: 18 }}>
    <div style={{ width: 40, height: 40, borderRadius: 10, background: '#777775' }} />
    {Array.from({ length: 7 }).map((_, i) => (
      <div key={i} style={{ height: 12, width: `${60 + ((i * 29) % 35)}%`, background: G.sideBar, borderRadius: 6 }} />
    ))}
  </div>
);

const Topbar: React.FC = () => (
  <div style={{ width: 1920 - SIDE_W, height: TOP_H, background: G.panel, borderBottom: `2px solid ${G.line}`, display: 'flex', alignItems: 'center', padding: '0 32px', gap: 20, boxSizing: 'border-box' }}>
    <div style={{ height: 18, width: 180, background: G.bar, borderRadius: 9 }} />
    <div style={{ marginLeft: 'auto', height: 36, width: 320, background: '#fff', border: `2px solid ${G.line}`, borderRadius: 18, boxSizing: 'border-box' }} />
    <div style={{ width: 36, height: 36, borderRadius: 18, background: G.mid }} />
  </div>
);

// 六卡深度:错落分布在 60–320,近的自然更大(perspective 缩放)
const CARD_Z = [150, 300, 80, 230, 320, 110];

const LAYERS: Layer[] = [
  { key: 'top', x: SIDE_W, y: 0, w: 1920 - SIDE_W, h: TOP_H, z: 260, order: 0, radius: 0, node: <Topbar /> },
  { key: 'side', x: 0, y: 0, w: SIDE_W, h: 1080, z: 190, order: 1, radius: 0, node: <Sidebar /> },
  ...Array.from({ length: 6 }).map((_, i) => {
    const col = i % 3;
    const row = Math.floor(i / 3);
    return {
      key: `card${i}`,
      x: SIDE_W + PAD + col * (CARD_W + GAP),
      y: TOP_H + PAD + row * (CARD_H + GAP),
      w: CARD_W,
      h: CARD_H,
      z: CARD_Z[i],
      order: 2 + i,
      radius: 14,
      node: <Card w={CARD_W} h={CARD_H} seed={i + 1} />,
    };
  }),
];

export const ExplodedView: React.FC = () => {
  const frame = useCurrentFrame();

  // 每层进度:炸开 ease-out-back(带一点回弹的“咔”)× 合体逆序 ease-in
  const layerP = (order: number) => {
    const out = interpolate(
      frame,
      [EXPLODE + order * STAGGER, EXPLODE + order * STAGGER + 14],
      [0, 1],
      { extrapolateLeft: 'clamp', extrapolateRight: 'clamp', easing: Easing.out(Easing.back(1.7)) },
    );
    const back = interpolate(
      frame,
      [ASSEMBLE + (N - 1 - order) * STAGGER, ASSEMBLE + (N - 1 - order) * STAGGER + 12],
      [0, 1],
      { extrapolateLeft: 'clamp', extrapolateRight: 'clamp', easing: Easing.in(Easing.cubic) },
    );
    return out * (1 - back);
  };

  // 全局散开度(驱动底板变暗)
  const g =
    interpolate(frame, [EXPLODE, EXPLODE + 24], [0, 1], { extrapolateLeft: 'clamp', extrapolateRight: 'clamp', easing: Easing.out(Easing.cubic) }) *
    (1 - interpolate(frame, [ASSEMBLE, CLOSE], [0, 1], { extrapolateLeft: 'clamp', extrapolateRight: 'clamp', easing: Easing.in(Easing.cubic) }));

  // 合体收口:2f 震屏,指数衰减
  const since = frame - CLOSE;
  const env = since >= 0 ? 13 * Math.exp(-since / 1.3) : 0;
  const shakeX = env * Math.sin(since * 3.3);
  const shakeY = env * 0.7 * Math.sin(since * 4.7 + 1.1);

  return (
    <AbsoluteFill style={{ background: '#dedddb', overflow: 'hidden' }}>
      <AbsoluteFill style={{ perspective: 1600, transform: `translate(${shakeX}px, ${shakeY}px)` }}>
        <div
          style={{
            position: 'absolute',
            left: 0,
            top: 0,
            width: 1920,
            height: 1080,
            transform: 'scale(0.76) rotateX(18deg) rotateY(-12deg)',
            transformOrigin: '50% 50%',
            transformStyle: 'preserve-3d',
          }}
        >
          {/* 底板:页面背景留在 Z=0,炸开时整体压暗,衬出层间深度 */}
          <div style={{ position: 'absolute', inset: 0, background: G.bg, border: `2px solid ${G.border}`, boxSizing: 'border-box', filter: `brightness(${1 - g * 0.22})` }} />

          {/* 投到底板上的假投影:随层浮起而下移/变虚 */}
          {LAYERS.map((L) => {
            const p = Math.min(1, Math.max(0, layerP(L.order)));
            if (p <= 0.01) return null;
            return (
              <div
                key={`sh-${L.key}`}
                style={{
                  position: 'absolute',
                  left: L.x + L.z * 0.16 * p,
                  top: L.y + L.z * 0.26 * p,
                  width: L.w,
                  height: L.h,
                  borderRadius: L.radius,
                  background: 'rgba(0,0,0,0.30)',
                  filter: `blur(${8 + L.z * 0.09 * p}px)`,
                  opacity: 0.5 * p,
                  transform: 'translateZ(2px)',
                }}
              />
            );
          })}

          {/* 可动层:沿 Z 浮起,近的更大更实、远的略暗 */}
          {LAYERS.map((L) => {
            const p = layerP(L.order);
            const pc = Math.min(1, Math.max(0, p));
            const bright = 1 - (1 - L.z / 320) * 0.28 * pc; // 深度越浅(z 小=离底板近=远离镜头)越暗
            return (
              <div
                key={L.key}
                style={{
                  position: 'absolute',
                  left: L.x,
                  top: L.y,
                  width: L.w,
                  height: L.h,
                  borderRadius: L.radius,
                  transform: `translateZ(${L.z * p}px)`,
                  filter: `brightness(${bright})`,
                  boxShadow: pc > 0.02 ? `0 ${10 + L.z * 0.1 * pc}px ${16 + L.z * 0.14 * pc}px rgba(0,0,0,${0.12 + 0.1 * pc})` : 'none',
                }}
              >
                {L.node}
              </div>
            );
          })}
        </div>
      </AbsoluteFill>
    </AbsoluteFill>
  );
};
- Read the recipePrompt = when to use, intention, parameter table with typical values and how each one feels, known pitfalls. Treat values as calibrated starting points.
- Get the codetool: git
git clone https://github.com/Vincentwei1021/video-shotcraft && cd video-shotcraft && npm install - Register + rendertool: remotion
npx remotion render <CompositionId> out.mp4 # component: demos/camera/space-camera-moves/DroneDiveLanding.tsx, demos/camera/space-camera-moves/ExplodedView.tsx - Or re-implementPort the timing/easing from the recipe to HTML + WAAPI (gimgs motion contract) or any engine; keep the same segment windows and easing.
| param | type | default | description |
|---|---|---|---|
| — | |||
Mais nesta categoria
Emotional camera moves
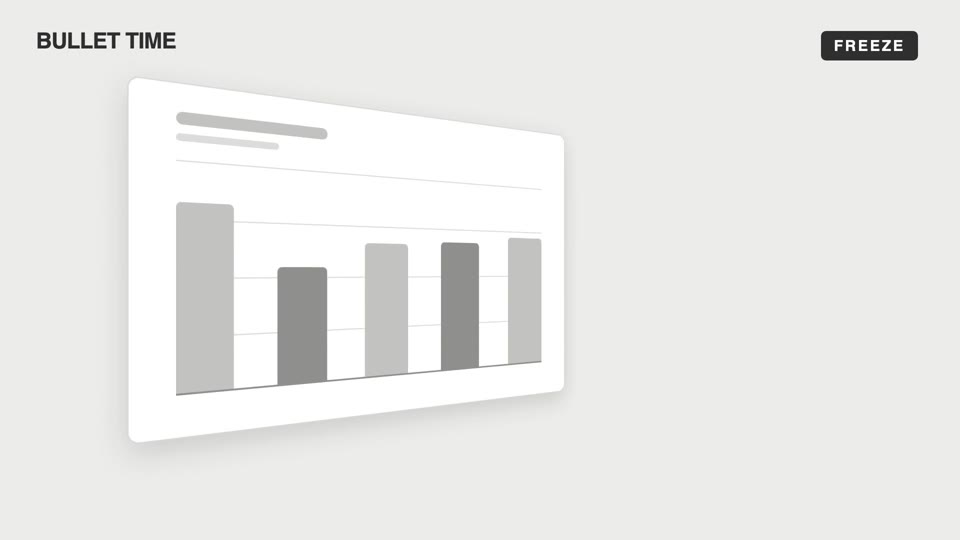
Four emotional camera moves — bullet-time freeze-orbit, dutch-roll to level, slow-push-in, and pull-back isolation; the camera makes the viewer "feel" rather than "see."
3D terminal flythrough
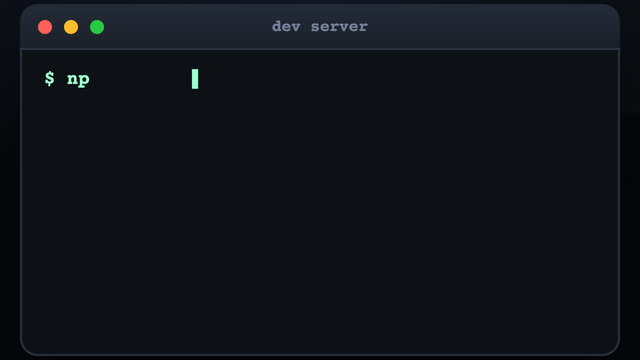
Three terminal windows scattered in 3D space; the camera flies between them with a sinusoidal pull-back en route, typing out a command at each stop as results slide out line by line.
Steep-tilt page glide
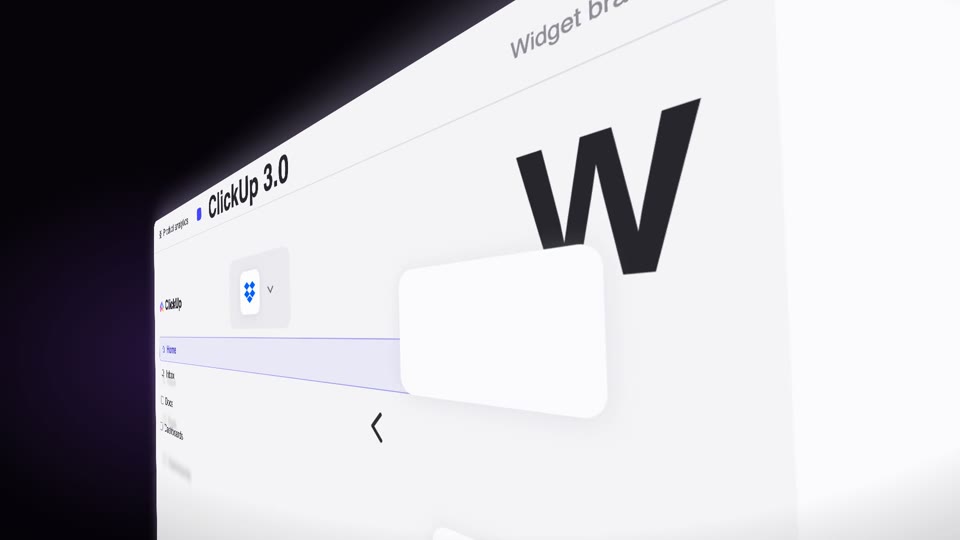
A fixed camera holds an upright page in a strong 60° perspective tilt (near right, far left); the page glides sideways across the lens on its own (the object moves, not the camera), with speed-streak afterimages and floating text settling as it lifts from dark to light.
Overhead camera moves
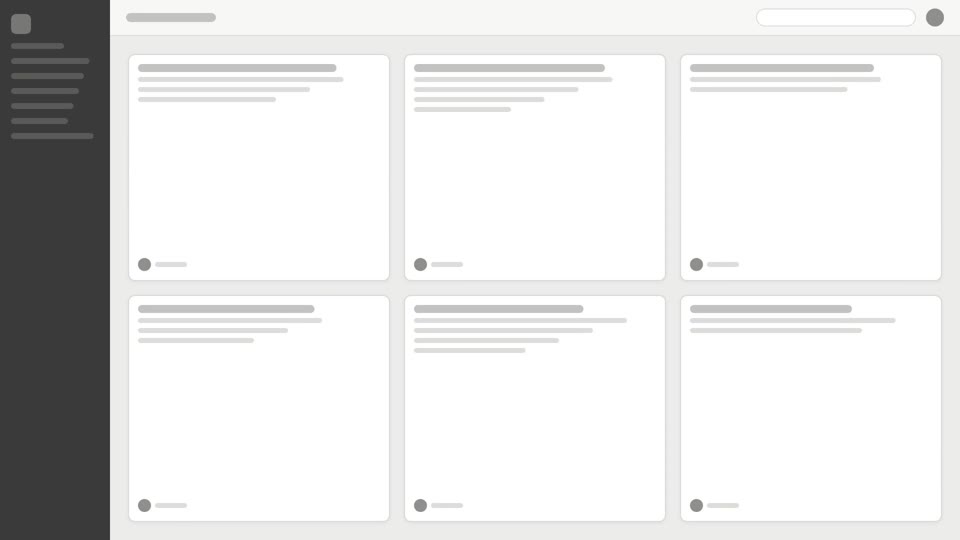
Two overhead reveal techniques: tilt-reveal pitches up to level, and overhead-tabletop-drop slides across a card array then dives in.