Motion · Câmera
3D terminal flythrough
Three terminal windows scattered in 3D space; the camera flies between them with a sinusoidal pull-back en route, typing out a command at each stop as results slide out line by line.
Fonte: video-shotcraft (Vincent Wei) ↗ · Apache-2.0 · Composição Remotion (React/TSX) — vídeo de prévia, sem player no navegador
When to use
CLI/workflow demos for developer products: shooting "three commands" as a three-stop journey through space
Intention
Terminal output is naturally "flat scrolling," an anti-cinematic language; this card spatializes it: each command occupies a real window in space, and the camera visits window by window as if moving through a server room. The pull-back during flight lets the viewer glimpse "there are more windows" — a sense of the whole workflow.
Duration & energy
- Duration: ~6.0s (180f@30fps; each of the 3 stops ~1.6s dwell + 0.85s flight)
- Energy: Medium (the flight gives motion, the typing gives rhythm; overall a steady, technical narrative)
Shot recipe (original Chinese — timing, easing, parameter table, known pitfalls)
意图
终端输出天生是"平面滚动"的反电影语言,这张卡把它空间化:每条命令占据空间中一个实体窗口,相机像穿过机房一样逐窗拜访。飞行途中的拉远让观众瞥见"还有更多窗口"——工作流的全貌感。
动效核心
- 三窗各持 pose(x/y/z/ry),相机走逆变换:
translateZ(300-pull) rotateY(-ry) translate3d(-x,-y,-z)——写窗口姿态表即得相机路径 - 两段飞行窗口 STEP
[0.30,0.44][0.64,0.78](inOutCubic),途中sin(π)*210px正弦拉远鼓包——起飞时后撤、到站时贴近,"呼吸式"过渡 - 距离聚焦:每窗按与相机 x 距离算 focus,
opacity 0.34–1 + blur 0–2.2px + brightness 0.7–1——离焦窗虚化成背景,不抢戏 - 打字机三要素:命令逐字符(0.09 窗口)、光标两种闪烁频率(打字中 40Hz 基快闪 / 打完 26Hz 慢闪)、输出行按
0.022/行错峰从左滑入(−7px→0) - 打字起点 TYPE
[0.05,0.47,0.81]均在到站后——飞行中不打字,注意力不分裂
参数表
| 参数 | 典型值 | 调节手感 | |------|--------|----------| | 拉远鼓包 | sin(π)×210px | 砍掉后飞行是"平移"没有"起降";>300 会穿出背景渐变边界 | | 飞行/停留比 | 0.14 / 0.20 | 停留必须容下打字 0.09 + 输出 0.145 + 读秒余量 | | 聚焦衰减 | /420px,blur 峰值 2.2px | 分母越小离焦越狠;三窗 x 间距(约 640px)应 >1.5 倍分母 | | 打字速度 | 命令 0.09 归一化(约 16 字符) | 换长命令保持字符数近似,或按字符数反算窗口宽度 | | 输出错峰 | 0.022/行,各 0.035 时长 | 4 行输出合计约 0.15;行多时压缩间隔保证停留段内吐完 | | 窗口姿态 | ry ±16–32°,z −110~+90 | 角度差是"空间散布感"来源;全部朝正前会退化成平面轮播 |
已知坑
- 相机是逆变换实现,窗口自身 transform 与相机公式必须严格互逆——改姿态表只改 pose 数据,别动两处 transform 字符串
- 命令/输出文案是通用工具链占位(git/npm/log),换项目真实命令时保持"命令短、输出 3–4 行"的信息结构
- 光标闪烁走
floor(t*26/40),dur 改变后闪烁频率跟着变,需目检"打字中快闪、待机慢闪"的对比还在 - 第三窗打字 0.81 起步,输出到 0.955 + settle——TYPE 表后移时留 ≥0.04 尾量,否则末行没进完就切黑
参考实现
demos/camera/terminal-3d/ (Terminal3D.tsx)
Reference implementation (Remotion)
- demos/camera/terminal-3d/Terminal3D.tsx — https://raw.githubusercontent.com/Vincentwei1021/video-shotcraft/main/demos/camera/terminal-3d/Terminal3D.tsx
The component imports shared fixtures from demos/_fixtures and helpers from assets/lib in the repo; SKILL.md there documents the render workflow.
Tudo nesta página também é legível por máquina. Aponte seu agente para o JSON ou adicione o servidor MCP do gimgs e peça para buscar templates de motion.
- Baixe o JSON — contém a receita do plano (timing, easing, tabela de parâmetros, armadilhas) e o código TSX completo.
- Clone o repositório video-shotcraft; o componente importa fixtures de demos/_fixtures e helpers de assets/lib.
- Registre o componente como <Composition> em um projeto Remotion e renderize com `npx remotion render`, ou reimplemente a receita no seu próprio engine.
curl -s https://gimgs.net/motion/terminal-3d.jsongit clone https://github.com/Vincentwei1021/video-shotcraft
# component: demos/camera/terminal-3d/Terminal3D.tsx
npx remotion render <CompositionId> out.mp4claude mcp add --transport http gimgs https://gimgs.net/mcp
# then: search_motion_templates / get_motion_template("terminal-3d")Prompt
Use the video-shotcraft shot recipe "3D terminal flythrough" (Remotion composition, Apache-2.0) published on gimgs.net.
Recipe JSON (prompt = timing/easing/parameter table/pitfalls, files = TSX source): https://gimgs.net/motion/terminal-3d.json
Raw TSX: https://gimgs.net/motion/terminal-3d/template.html
Repository: https://github.com/Vincentwei1021/video-shotcraft  (component: demos/camera/terminal-3d/Terminal3D.tsx; imports demos/_fixtures and assets/lib)
Spec: 1920x1080, 30 fps, 6.5s

1. Read the JSON and follow its "prompt" section (when to use, intention, parameter table, known pitfalls).
2. Adapt it for: <describe what you want>.
3. Either clone the repo, register the component as a <Composition> in a Remotion project and run npx remotion render <CompositionId> out.mp4 — or re-implement the recipe in your own engine (HTML/WAAPI works: keep the same timing and easing).
// ===== demos/camera/terminal-3d/Terminal3D.tsx =====
// terminal-3d — Terminal 3D 命令执行叙事流(motion-lab 定稿转原生 Remotion)
// 多个通用桌面风格终端窗散布 3D 空间不同位置与角度,相机在窗间飞行(途中略微
// 拉远);每到一窗,窗内打字机敲出命令并逐行吐出结果,形成命令执行叙事流。
// 设计坐标 480×270(DesignStage 等比放大),参数表数值以此坐标系标定。
import React from 'react';
import { DesignStage, E, lerp, seg, useT } from '../../_fixtures/Motion';

export const TERMINAL_3D_DURATION = 180; // 6000ms @30fps

// 光栅化补偿系数:3D 子树里 Chrome 按布局尺寸取样文字,经 DesignStage 放大 4x
// 后小号等宽字会糊。把整个 3D 场景数值 ×K 建模、再用外层 scale(1/K) 抵消——
// 透视投影对整体缩放自相似(p·x/(p-z) 等比),画面几何与 effect.js 逐像素一致,
// 仅文字光栅化分辨率提升到与原样片(4x device scale 截帧)相同。
const K = 4;

// 关键帧累加器:base 起步,每段 [at0,at1] 内朝 to 推进(效果源文件级共享 helper)
type Vec = Record<string, number>;
const acc = (t: number, base: Vec, kfs: { at: number[]; to: Vec }[], keys: string[], ease: (x: number) => number) => {
  const out: Vec = {};
  for (const k of keys) out[k] = base[k];
  let prev = base;
  for (const kf of kfs) {
    const u = seg(t, kf.at[0], kf.at[1], ease);
    for (const k of keys) out[k] += u * (kf.to[k] - prev[k]);
    prev = kf.to;
  }
  return out;
};

// 三个终端窗:3D 位姿 + 标题 + 命令 + 输出行(数值为 480×270 设计坐标)
const DATA = [
  {
    pose: { x: -300, y: -34, z: -110, ry: 24 },
    title: '~/workspace — zsh',
    cmd: '$ git status -sb',
    out: ['## main...origin/main', ' M src/timeline.ts', ' M src/camera.ts', '?? fx/b01.js'],
  },
  {
    pose: { x: 96, y: 62, z: 90, ry: -16 },
    title: 'dev server',
    cmd: '$ npm run dev',
    out: ['vite v5.2.0  ready in 312 ms', '➜  local:   http://localhost:3000', '➜  network: 192.0.2.10:3000', 'watching 148 modules'],
  },
  {
    pose: { x: 402, y: -74, z: -60, ry: -32 },
    title: 'logs',
    cmd: '$ tail -f server.log',
    out: ['12:04:11 GET /api/render 200 41ms', '12:04:12 POST /api/queue 201 88ms', '12:04:14 worker#3 frame 240/270', '12:04:15 done → out/final.mp4'],
  },
];

// Step 时序:每窗 [飞行起, 飞行止];TYPE 为各窗打字起点
const STEP = [[0, 0.02], [0.30, 0.44], [0.64, 0.78]];
const TYPE = [0.05, 0.47, 0.81];
const PK = ['x', 'y', 'z', 'ry'];

export const Terminal3D: React.FC = () => {
  const t = useT();

  // 相机姿态 = 关键帧累加(两段飞行,inOutCubic)
  const v = acc(t, DATA[0].pose, [
    { at: STEP[1], to: DATA[1].pose },
    { at: STEP[2], to: DATA[2].pose },
  ], PK, E.inOutCubic);
  // 飞行途中拉远:两段过渡各一个正弦鼓包
  let pull = 0;
  for (let i = 1; i < 3; i++) {
    const u = seg(t, STEP[i][0], STEP[i][1]);
    pull += Math.sin(u * Math.PI) * 210;
  }

  return (
    <DesignStage bg="#07080e">
      {/* 反缩放包裹层:把 ×K 建模的场景缩回设计坐标(见 K 注释) */}
      <div
        style={{
          position: 'absolute',
          left: 0,
          top: 0,
          width: 480 * K,
          height: 270 * K,
          transform: `scale(${1 / K})`,
          transformOrigin: 'top left',
        }}
      >
        {/* scene:透视容器 + 深空渐变背景 */}
        <div
          style={{
            position: 'absolute',
            inset: 0,
            background: 'radial-gradient(120% 90% at 50% 0%,#141826,#07080e 70%)',
            perspective: `${900 * K}px`,
            overflow: 'hidden',
            WebkitFontSmoothing: 'antialiased', // 原样片截帧为灰度平滑,避免笔画偏粗
          }}
        >
          {/* world:相机逆变换载体 —— 先拉远/推近,再反转角,再反平移 */}
          <div
            style={{
              position: 'absolute',
              inset: 0,
              transformStyle: 'preserve-3d',
              transform: `translateZ(${(300 - pull) * K}px) rotateY(${-v.ry}deg) translate3d(${-v.x * K}px,${-v.y * K}px,${-v.z * K}px)`,
            }}
          >
            {DATA.map((d, i) => {
              const p = d.pose;
              // 离焦:与当前相机 x 距离越远越暗越糊
              const focus = 1 - Math.min(1, Math.abs(v.x - p.x) / 420);
              // 打字机:命令逐字点亮,光标闪烁,输出逐行滑入
              const ty = seg(t, TYPE[i], TYPE[i] + 0.09);
              const n = Math.floor(ty * d.cmd.length + 0.0001);
              const caretOp = ty >= 1
                ? (Math.floor(t * 26) % 2 ? 0.15 : 0.9)
                : (Math.floor(t * 40) % 2 ? 0.35 : 1);
              return (
                <div
                  key={i}
                  style={{
                    position: 'absolute',
                    left: '50%',
                    top: '50%',
                    width: 300 * K,
                    height: 176 * K,
                    margin: `${-88 * K}px 0 0 ${-150 * K}px`,
                    borderRadius: 9 * K,
                    background: '#0e1017',
                    overflow: 'hidden',
                    boxShadow: `0 ${24 * K}px ${60 * K}px rgba(0,0,0,.7),inset 0 0 0 ${K}px #2a3040`,
                    transform: `translate3d(${p.x * K}px,${p.y * K}px,${p.z * K}px) rotateY(${p.ry}deg)`,
                    opacity: 0.34 + focus * 0.66,
                    filter: `blur(${(1 - focus) * 2.2 * K}px) brightness(${0.7 + focus * 0.3})`,
                  }}
                >
                  {/* 标题栏:红黄绿灯 + 居中标题 */}
                  <div
                    style={{
                      position: 'absolute', left: 0, top: 0, width: '100%', height: 22 * K,
                      background: 'linear-gradient(180deg,#242a38,#1b202b)', borderBottom: `${K}px solid #2c3242`,
                    }}
                  >
                    {['#ff6058', '#ffbd2e', '#28ca42'].map((c, k) => (
                      <div
                        key={c}
                        style={{
                          position: 'absolute', left: (9 + k * 13) * K, top: 8 * K, width: 7 * K, height: 7 * K,
                          borderRadius: '50%', background: c,
                        }}
                      />
                    ))}
                    <div
                      style={{
                        position: 'absolute', left: 0, top: 0, width: '100%', height: 22 * K, textAlign: 'center',
                        font: `600 ${8 * K}px/${22 * K}px Courier,monospace`, color: '#77809b',
                      }}
                    >
                      {d.title}
                    </div>
                  </div>
                  {/* 命令行:逐字 opacity + 尾随光标 */}
                  <div
                    style={{
                      position: 'absolute', left: 12 * K, top: 32 * K,
                      font: `600 ${9.5 * K}px/1 Courier,monospace`, color: '#9dffcf', whiteSpace: 'pre',
                    }}
                  >
                    {Array.from(d.cmd, (ch, c) => (
                      // 空格换成 nbsp,对齐 effect.js 的 textContent 处理
                      <span key={c} style={{ opacity: c < n ? 1 : 0 }}>{ch === ' ' ? ' ' : ch}</span>
                    ))}
                    <span
                      style={{
                        color: '#9dffcf',
                        opacity: caretOp,
                        display: 'inline-block',
                        transform: `translateX(${(d.cmd.length - n) * -0.1 * K}px)`,
                      }}
                    >
                      ▌
                    </span>
                  </div>
                  {/* 输出行:命令敲完后逐行 stagger 淡入 + 左滑归位 */}
                  {d.out.map((o, k) => {
                    const ou = seg(t, TYPE[i] + 0.10 + k * 0.022, TYPE[i] + 0.145 + k * 0.022, E.outCubic);
                    return (
                      <div
                        key={k}
                        style={{
                          position: 'absolute', left: 12 * K, top: (52 + k * 16) * K,
                          font: `500 ${9 * K}px/1 Courier,monospace`,
                          color: k === 0 ? '#c9d3ea' : '#7f8aa6',
                          whiteSpace: 'pre',
                          opacity: ou,
                          transform: `translateX(${lerp(ou, -7, 0) * K}px)`,
                        }}
                      >
                        {o}
                      </div>
                    );
                  })}
                </div>
              );
            })}
          </div>
        </div>
      </div>
    </DesignStage>
  );
};
- Read the recipePrompt = when to use, intention, parameter table with typical values and how each one feels, known pitfalls. Treat values as calibrated starting points.
- Get the codetool: git
git clone https://github.com/Vincentwei1021/video-shotcraft && cd video-shotcraft && npm install - Register + rendertool: remotion
npx remotion render <CompositionId> out.mp4 # component: demos/camera/terminal-3d/Terminal3D.tsx - Or re-implementPort the timing/easing from the recipe to HTML + WAAPI (gimgs motion contract) or any engine; keep the same segment windows and easing.
| param | type | default | description |
|---|---|---|---|
| — | |||
Mais nesta categoria
Emotional camera moves
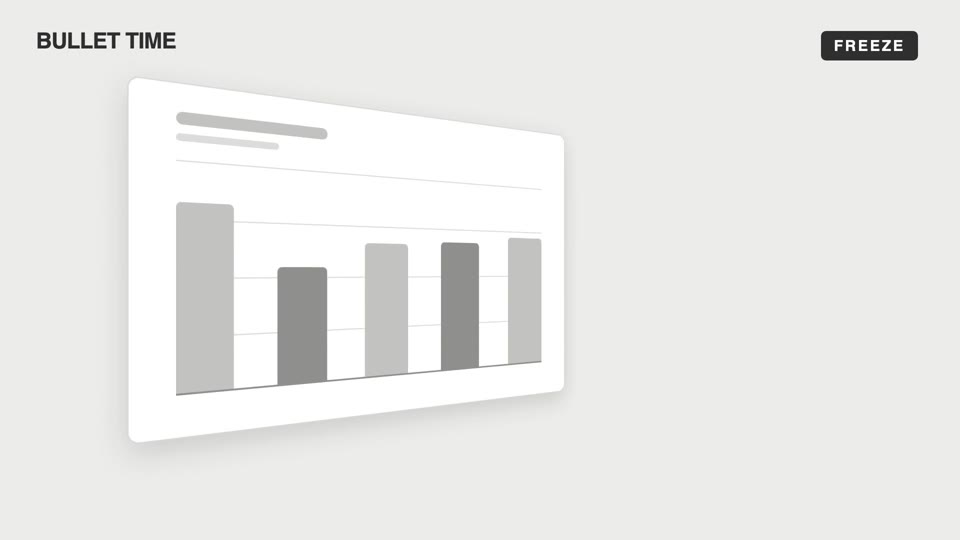
Four emotional camera moves — bullet-time freeze-orbit, dutch-roll to level, slow-push-in, and pull-back isolation; the camera makes the viewer "feel" rather than "see."
Steep-tilt page glide
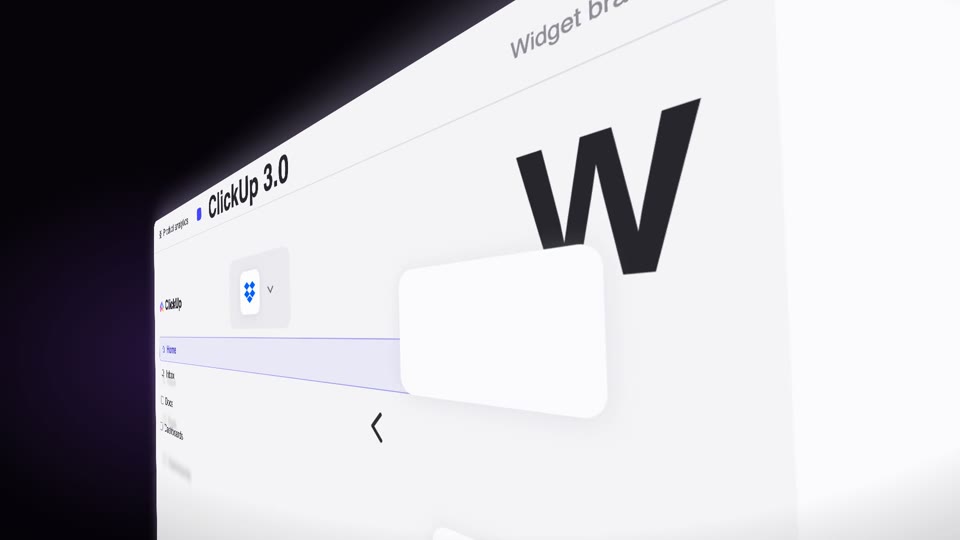
A fixed camera holds an upright page in a strong 60° perspective tilt (near right, far left); the page glides sideways across the lens on its own (the object moves, not the camera), with speed-streak afterimages and floating text settling as it lifts from dark to light.
3D space camera moves
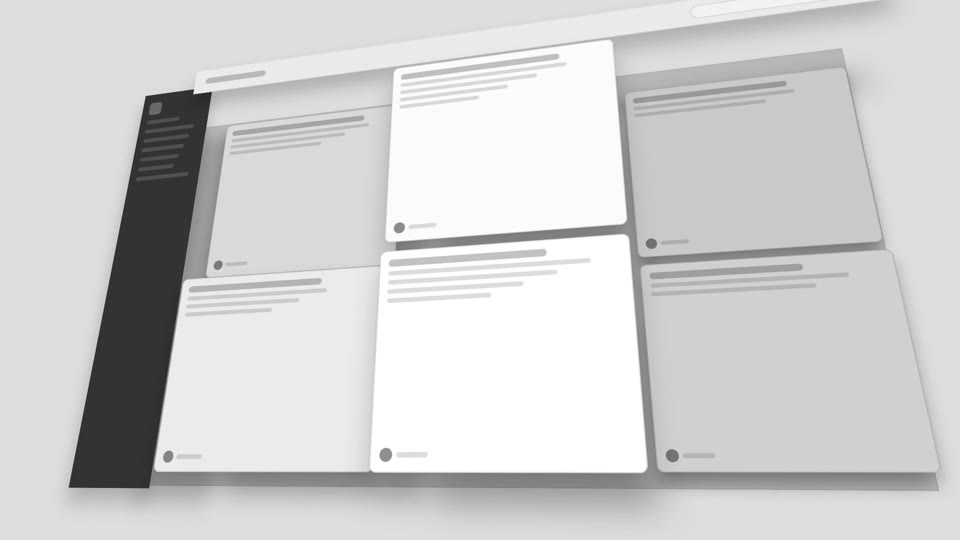
Two 3D spatial camera moves — exploded-view (parts blow apart along Z then reassemble) and drone-dive-landing (a drone dives and lands).
Overhead camera moves
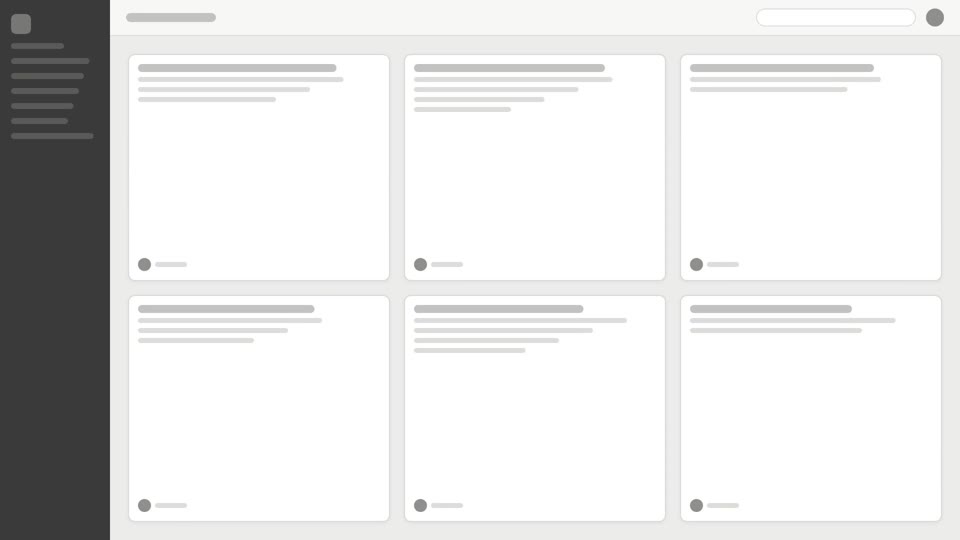
Two overhead reveal techniques: tilt-reveal pitches up to level, and overhead-tabletop-drop slides across a card array then dives in.