Motion · Camera
Chuyển động máy quay không gian 3D
Hai kiểu chuyển động máy quay hóa 3D — exploded-view (linh kiện nổ ra dọc trục Z rồi hợp lại) và drone-dive-landing (drone bổ nhào rồi hạ cánh).
Nguồn: video-shotcraft (Vincent Wei) ↗ · Apache-2.0 · Composition Remotion (React/TSX) — có video preview, không có player trong trình duyệt
Biến thể
Cả trang nghiêng 3D rồi các linh kiện nổ ra dọc trục Z lệch nhịp và lơ lửng, sau một nhịp hợp lại theo thứ tự ngược kèm rung màn hình khép lại
Trình bày kiến trúc/thành phần: "sản phẩm này gồm những gì"; đoạn tổng quan module
Lơ lửng gần như thẳng đứng từ trên cao → bổ nhào gấp → giảm tốc như đệm khí rồi dừng ở cận cảnh thẻ hero
Cảnh mở đầu dẫn vào chủ đề; mở chương kiểu bản đồ toàn cảnh lao vào một điểm
Khi nào dùng
Đoạn cao trào biến trang phẳng thành vật thể 3D để quay; cả hai đều là "động tác lớn", một phim dùng tổng cộng ≤2 lần
Ý đồ
Thẻ depth-layer thêm chiều sâu cho cú lia — lớp chuyển động, trang vẫn là trang. Hai kiểu này đi xa hơn: cả trang được coi như một khối 3D, máy quay (hoặc thế giới) thao tác quanh nó như quay thực. Hai kiểu chia nhau ngữ nghĩa: A nói "xem nó gồm những gì" (trình bày tháo rời, ngôn ngữ ra mắt kiểu Apple); C nói "từ góc nhìn toàn cảnh lao thẳng vào nhân vật chính" (toàn cảnh chuyển sang cận cảnh tiêu điểm).
Thời lượng & năng lượng
- Thời lượng: A: 5s (trọn vòng nổ ra–lơ lửng–hợp lại); C: 3–5s bổ nhào một chiều
- Năng lượng: Cao
Công thức cảnh quay (bản gốc tiếng Trung — timing, easing, bảng tham số, lỗi hay gặp)
意图
depth-layer 卡是给平移加纵深——层在动、页面还是页面。这两式更进一步: 整页被当成一个 3D 实体,相机(或世界)绕着它做实拍级机动。两式叙事 语义各占一格:A 说"看看它由什么组成"(拆解展示,Apple 发布片语言); C 说"从全局俯瞰砸到主角"(上帝视角一头扎进 hero 特写,全景→焦点)。
两式选型
| 式 | 做法 | 适用段落 | |----|------|----------| | A exploded-view | 整页 3D 倾斜后构件沿 Z 轴错峰炸开悬停,一拍后逆序合体震屏收口 | 架构/组成展示:"这个产品里有什么";模块总览段 | | C drone-dive-landing | 近垂直俯角悬停 → 猛扎俯冲 → 气垫减速停在 hero 卡特写 | 开场定场→入题;全局地图砸进单点的章节启动 |
参数表
| 参数 | 典型值 | 调节手感 | |------|--------|----------| | A 空间基座 | perspective 1600 + 整组 scale 0.76 + rotateX 18° rotateY -12° + preserve-3d | 倾角是空间感来源;正视炸开读不出深度 | | A 炸开 | 各构件 translateZ 60–320px 错落分布,错峰 3f,每层 14f ease-out-back(1.7) | back 回弹给"咔"一声的机械感;深度全同读作整页浮起 | | A 合体 | 逆序 ease-in 12f,归位帧 2f 指数衰减震屏(幅 ~13px) | 震屏是落锤——没有它合体读作软趴趴的淡入 | | A 深度锚 | 投影随 z·p 下移变虚 + 底板压暗 22% + 远层 brightness ↓28% | 三个线索缺一层间关系就糊 | | C 行程 | 同一条 p 驱动 rotateX 72°→0 + scale 0.42→1.35 + translate 收拢;origin 钉死 hero 卡中心(如 518,335) | 一条 p = 一台相机一次机动;分开驱动读作三个动画打架 | | C 速度曲线 | 主俯冲 25f Easing.in(cubic) 吃 82% 行程 → 气垫 20f Easing.out(poly(5)) 走 18% | 切换帧速度骤降 = 气垫顶住的体感;82/18 比例比帧数更关键 | | C 氛围 | 全场包 CameraMotionBlur(shutterAngle 220, samples 9);俯视期页面下方椭圆软影随落地收干 | 软影卖"悬空高度";blur 卖速度,缺一维就假 |
已知坑
- demo 在灰阶/占位素材上调校通过——参数是调校起点非实战定稿,
首次实战须以真实素材回验
- 两式都吃真实截图分层/高清纹理:A 需页面按构件切块截图(顶栏/侧栏/
卡各自独立成图,整页一张图炸不开);C 终点是特写,素材先按 审美准则 Q2 的高分辨率栅格化技法处理
- C 式易错:Remotion 无 Easing.quint,写 Easing.poly(5)(本批实渲踩坑)
- A 式构件布局要绝对定位复刻原页面网格(demo 里 8 层复刻 FakeDashboard
A),流式布局做不了 per-构件 translateZ
参考实现
demos/camera/space-camera-moves/ (DroneDiveLanding.tsx / ExplodedView.tsx)
Mã nguồn tham chiếu (Remotion)
- demos/camera/space-camera-moves/DroneDiveLanding.tsx — https://raw.githubusercontent.com/Vincentwei1021/video-shotcraft/main/demos/camera/space-camera-moves/DroneDiveLanding.tsx
- demos/camera/space-camera-moves/ExplodedView.tsx — https://raw.githubusercontent.com/Vincentwei1021/video-shotcraft/main/demos/camera/space-camera-moves/ExplodedView.tsx
Component import fixture chung từ demos/_fixtures và helper từ assets/lib của repo; xem SKILL.md trong repo để biết quy trình render.
Mọi thứ trên trang này đều có bản máy đọc. Đưa agent link JSON, hoặc thêm MCP server gimgs rồi bảo nó tìm motion template.
- Tải JSON — trong đó có công thức cảnh quay (timing, easing, bảng tham số, lỗi hay gặp) và toàn bộ source TSX.
- Clone repo video-shotcraft; component import fixture chung từ demos/_fixtures và helper từ assets/lib.
- Đăng ký component thành <Composition> trong project Remotion rồi render bằng `npx remotion render`, hoặc dựng lại công thức bằng engine của bạn.
curl -s https://gimgs.net/motion/space-camera-moves.jsongit clone https://github.com/Vincentwei1021/video-shotcraft
# component: demos/camera/space-camera-moves/DroneDiveLanding.tsx, demos/camera/space-camera-moves/ExplodedView.tsx
npx remotion render <CompositionId> out.mp4claude mcp add --transport http gimgs https://gimgs.net/mcp
# then: search_motion_templates / get_motion_template("space-camera-moves")Prompt
Use the video-shotcraft shot recipe "Chuyển động máy quay không gian 3D" (Remotion composition, Apache-2.0) published on gimgs.net.
Recipe JSON (prompt = timing/easing/parameter table/pitfalls, files = TSX source): https://gimgs.net/motion/space-camera-moves.json
Raw TSX: https://gimgs.net/motion/space-camera-moves/template.html
Repository: https://github.com/Vincentwei1021/video-shotcraft  (component: demos/camera/space-camera-moves/DroneDiveLanding.tsx, demos/camera/space-camera-moves/ExplodedView.tsx; imports demos/_fixtures and assets/lib)
Spec: 1920x1080, 30 fps, 5.06s

1. Read the JSON and follow its "prompt" section (when to use, intention, parameter table, known pitfalls).
2. Adapt it for: <describe what you want>.
3. Either clone the repo, register the component as a <Composition> in a Remotion project and run npx remotion render <CompositionId> out.mp4 — or re-implement the recipe in your own engine (HTML/WAAPI works: keep the same timing and easing).
// ===== demos/camera/space-camera-moves/DroneDiveLanding.tsx =====
import React from 'react';
import { AbsoluteFill, Easing, interpolate, useCurrentFrame } from 'remotion';
import { CameraMotionBlur } from '@remotion/motion-blur';
import { FakeDashboard, G } from '../../_fixtures/Fixtures';

// drone-dive-landing:上帝视角俯视整页平躺的 dashboard(近垂直俯角、缩小居中),
// 相机猛扎下来——俯角抬平、页面放大立正,最后一段气垫式长尾减速,
// 稳稳停在 hero 卡正前方特写。FPV 无人机俯冲降落的运镜翻译。
//
// hero 卡 = FakeDashboard A 网格左上格:
// 侧栏 220 + padding 36 = x 256 起,列宽 (1628-56)/3 = 524;
// 顶栏 72 + padding 36 = y 108 起,行高 (936-28)/2 = 454。
// 卡中心 (256+262, 108+227) = (518, 335),全程 transform-origin 钉在这里。
const HERO = { cx: 518, cy: 335 };
const DIVE_START = 20; // 开头 hold 20f:上帝视角建立
const DIVE_END = 45;   // 主俯冲段 25f,ease-in(cubic) 越冲越快
const LAND_END = 65;   // 气垫段 20f,ease-out(quint) 长尾减速,之后真静止
const DIVE_SHARE = 0.82; // 俯冲段吃掉 82% 行程,剩 18% 留给气垫

const Scene: React.FC = () => {
  const frame = useCurrentFrame();

  // 两段速度曲线拼一条行程 p∈[0,1]:先猛加速扎下,切换帧速度骤降 = 气垫顶住的体感
  const pDive = interpolate(frame, [DIVE_START, DIVE_END], [0, DIVE_SHARE], {
    extrapolateLeft: 'clamp',
    extrapolateRight: 'clamp',
    easing: Easing.in(Easing.cubic),
  });
  const pLand = interpolate(frame, [DIVE_END, LAND_END], [0, 1 - DIVE_SHARE], {
    extrapolateLeft: 'clamp',
    extrapolateRight: 'clamp',
    easing: Easing.out(Easing.poly(5)),
  });
  const p = frame < DIVE_END ? pDive : DIVE_SHARE + pLand;

  // 三轴联动,全部由同一条 p 驱动(同一台"相机"的一次连续机动)
  const rotX = interpolate(p, [0, 1], [72, 0]);      // 俯角抬平
  const scale = interpolate(p, [0, 1], [0.42, 1.35]); // 缩小全景 → hero 特写
  // 平移:起点让整页平躺在画面中央偏上;终点 hero 卡中心正对画面中心
  const tx = interpolate(p, [0, 1], [256, 960 - HERO.cx]);
  const ty = interpolate(p, [0, 1], [150, 540 - HERO.cy]);

  // 地面投影:俯视时页面悬空、下方拖一团椭圆软影;落地立正后影子收干
  const shadowOp = interpolate(p, [0, 0.8], [0.32, 0], {
    extrapolateLeft: 'clamp',
    extrapolateRight: 'clamp',
  });
  const shadowW = 1300 * (0.6 + scale * 0.4);

  return (
    <AbsoluteFill style={{ background: G.bg, overflow: 'hidden' }}>
      {/* 地面软影(高度感线索) */}
      <div
        style={{
          position: 'absolute',
          left: 960 - shadowW / 2,
          top: 620,
          width: shadowW,
          height: 320,
          borderRadius: '50%',
          background: 'radial-gradient(ellipse at center, rgba(0,0,0,0.55) 0%, rgba(0,0,0,0) 68%)',
          opacity: shadowOp,
          filter: 'blur(18px)',
        }}
      />
      {/* 相机 = perspective 容器;页面绕 hero 卡中心做 rotateX + scale + translate */}
      <AbsoluteFill style={{ perspective: 1400 }}>
        <div
          style={{
            position: 'absolute',
            width: 1920,
            height: 1080,
            transformOrigin: `${HERO.cx}px ${HERO.cy}px`,
            transform: `translate(${tx}px, ${ty}px) rotateX(${rotX}deg) scale(${scale})`,
            boxShadow: `0 ${6 + (1 - p) * 30}px ${20 + (1 - p) * 60}px rgba(0,0,0,${0.1 + (1 - p) * 0.14})`,
            borderRadius: 6,
            overflow: 'hidden',
          }}
        >
          <FakeDashboard variant="A" />
        </div>
      </AbsoluteFill>
    </AbsoluteFill>
  );
};

export const DroneDiveLanding: React.FC = () => (
  <CameraMotionBlur shutterAngle={220} samples={9}>
    <Scene />
  </CameraMotionBlur>
);


// ===== demos/camera/space-camera-moves/ExplodedView.tsx =====
import React from 'react';
import { AbsoluteFill, Easing, interpolate, useCurrentFrame } from 'remotion';
import { Card, G } from '../../_fixtures/Fixtures';

// exploded-view:整页 dashboard 带 3D 倾斜,咔地沿 Z 轴炸开——顶栏/侧栏/六卡
// 各自浮到不同深度悬停(近大而实、远略暗),层间透出投影;hold 一拍后
// 逆序咔哒合体,2f 震屏收口。
//
// 节拍:0–24 静止建立(已倾斜)→ 24–59 错峰炸开(每层 14f ease-out-back)
//      → 悬停 → 90–123 逆序合体(每层 12f ease-in)→ 123 震屏 → 静止到 150

const EXPLODE = 24; // 炸开起始帧
const ASSEMBLE = 90; // 合体起始帧
const STAGGER = 3; // 层间错峰
const N = 8; // 可动层数(顶栏 + 侧栏 + 6 卡)
const CLOSE = ASSEMBLE + (N - 1) * STAGGER + 12; // = 123,最后一层归位

// FakeDashboard variant A 的布局常量(绝对定位复刻)
const SIDE_W = 220;
const TOP_H = 72;
const PAD = 36;
const GAP = 28;
const CARD_W = (1920 - SIDE_W - PAD * 2 - GAP * 2) / 3; // 524
const CARD_H = (1080 - TOP_H - PAD * 2 - GAP) / 2; // 454

type Layer = {
  key: string;
  x: number;
  y: number;
  w: number;
  h: number;
  z: number; // 炸开深度 60–320
  order: number; // 错峰序
  radius: number;
  node: React.ReactNode;
};

const Sidebar: React.FC = () => (
  <div style={{ width: SIDE_W, height: 1080, background: G.side, padding: '28px 22px', boxSizing: 'border-box', display: 'flex', flexDirection: 'column', gap: 18 }}>
    <div style={{ width: 40, height: 40, borderRadius: 10, background: '#777775' }} />
    {Array.from({ length: 7 }).map((_, i) => (
      <div key={i} style={{ height: 12, width: `${60 + ((i * 29) % 35)}%`, background: G.sideBar, borderRadius: 6 }} />
    ))}
  </div>
);

const Topbar: React.FC = () => (
  <div style={{ width: 1920 - SIDE_W, height: TOP_H, background: G.panel, borderBottom: `2px solid ${G.line}`, display: 'flex', alignItems: 'center', padding: '0 32px', gap: 20, boxSizing: 'border-box' }}>
    <div style={{ height: 18, width: 180, background: G.bar, borderRadius: 9 }} />
    <div style={{ marginLeft: 'auto', height: 36, width: 320, background: '#fff', border: `2px solid ${G.line}`, borderRadius: 18, boxSizing: 'border-box' }} />
    <div style={{ width: 36, height: 36, borderRadius: 18, background: G.mid }} />
  </div>
);

// 六卡深度:错落分布在 60–320,近的自然更大(perspective 缩放)
const CARD_Z = [150, 300, 80, 230, 320, 110];

const LAYERS: Layer[] = [
  { key: 'top', x: SIDE_W, y: 0, w: 1920 - SIDE_W, h: TOP_H, z: 260, order: 0, radius: 0, node: <Topbar /> },
  { key: 'side', x: 0, y: 0, w: SIDE_W, h: 1080, z: 190, order: 1, radius: 0, node: <Sidebar /> },
  ...Array.from({ length: 6 }).map((_, i) => {
    const col = i % 3;
    const row = Math.floor(i / 3);
    return {
      key: `card${i}`,
      x: SIDE_W + PAD + col * (CARD_W + GAP),
      y: TOP_H + PAD + row * (CARD_H + GAP),
      w: CARD_W,
      h: CARD_H,
      z: CARD_Z[i],
      order: 2 + i,
      radius: 14,
      node: <Card w={CARD_W} h={CARD_H} seed={i + 1} />,
    };
  }),
];

export const ExplodedView: React.FC = () => {
  const frame = useCurrentFrame();

  // 每层进度:炸开 ease-out-back(带一点回弹的“咔”)× 合体逆序 ease-in
  const layerP = (order: number) => {
    const out = interpolate(
      frame,
      [EXPLODE + order * STAGGER, EXPLODE + order * STAGGER + 14],
      [0, 1],
      { extrapolateLeft: 'clamp', extrapolateRight: 'clamp', easing: Easing.out(Easing.back(1.7)) },
    );
    const back = interpolate(
      frame,
      [ASSEMBLE + (N - 1 - order) * STAGGER, ASSEMBLE + (N - 1 - order) * STAGGER + 12],
      [0, 1],
      { extrapolateLeft: 'clamp', extrapolateRight: 'clamp', easing: Easing.in(Easing.cubic) },
    );
    return out * (1 - back);
  };

  // 全局散开度(驱动底板变暗)
  const g =
    interpolate(frame, [EXPLODE, EXPLODE + 24], [0, 1], { extrapolateLeft: 'clamp', extrapolateRight: 'clamp', easing: Easing.out(Easing.cubic) }) *
    (1 - interpolate(frame, [ASSEMBLE, CLOSE], [0, 1], { extrapolateLeft: 'clamp', extrapolateRight: 'clamp', easing: Easing.in(Easing.cubic) }));

  // 合体收口:2f 震屏,指数衰减
  const since = frame - CLOSE;
  const env = since >= 0 ? 13 * Math.exp(-since / 1.3) : 0;
  const shakeX = env * Math.sin(since * 3.3);
  const shakeY = env * 0.7 * Math.sin(since * 4.7 + 1.1);

  return (
    <AbsoluteFill style={{ background: '#dedddb', overflow: 'hidden' }}>
      <AbsoluteFill style={{ perspective: 1600, transform: `translate(${shakeX}px, ${shakeY}px)` }}>
        <div
          style={{
            position: 'absolute',
            left: 0,
            top: 0,
            width: 1920,
            height: 1080,
            transform: 'scale(0.76) rotateX(18deg) rotateY(-12deg)',
            transformOrigin: '50% 50%',
            transformStyle: 'preserve-3d',
          }}
        >
          {/* 底板:页面背景留在 Z=0,炸开时整体压暗,衬出层间深度 */}
          <div style={{ position: 'absolute', inset: 0, background: G.bg, border: `2px solid ${G.border}`, boxSizing: 'border-box', filter: `brightness(${1 - g * 0.22})` }} />

          {/* 投到底板上的假投影:随层浮起而下移/变虚 */}
          {LAYERS.map((L) => {
            const p = Math.min(1, Math.max(0, layerP(L.order)));
            if (p <= 0.01) return null;
            return (
              <div
                key={`sh-${L.key}`}
                style={{
                  position: 'absolute',
                  left: L.x + L.z * 0.16 * p,
                  top: L.y + L.z * 0.26 * p,
                  width: L.w,
                  height: L.h,
                  borderRadius: L.radius,
                  background: 'rgba(0,0,0,0.30)',
                  filter: `blur(${8 + L.z * 0.09 * p}px)`,
                  opacity: 0.5 * p,
                  transform: 'translateZ(2px)',
                }}
              />
            );
          })}

          {/* 可动层:沿 Z 浮起,近的更大更实、远的略暗 */}
          {LAYERS.map((L) => {
            const p = layerP(L.order);
            const pc = Math.min(1, Math.max(0, p));
            const bright = 1 - (1 - L.z / 320) * 0.28 * pc; // 深度越浅(z 小=离底板近=远离镜头)越暗
            return (
              <div
                key={L.key}
                style={{
                  position: 'absolute',
                  left: L.x,
                  top: L.y,
                  width: L.w,
                  height: L.h,
                  borderRadius: L.radius,
                  transform: `translateZ(${L.z * p}px)`,
                  filter: `brightness(${bright})`,
                  boxShadow: pc > 0.02 ? `0 ${10 + L.z * 0.1 * pc}px ${16 + L.z * 0.14 * pc}px rgba(0,0,0,${0.12 + 0.1 * pc})` : 'none',
                }}
              >
                {L.node}
              </div>
            );
          })}
        </div>
      </AbsoluteFill>
    </AbsoluteFill>
  );
};
- Read the recipePrompt = when to use, intention, parameter table with typical values and how each one feels, known pitfalls. Treat values as calibrated starting points.
- Get the codetool: git
git clone https://github.com/Vincentwei1021/video-shotcraft && cd video-shotcraft && npm install - Register + rendertool: remotion
npx remotion render <CompositionId> out.mp4 # component: demos/camera/space-camera-moves/DroneDiveLanding.tsx, demos/camera/space-camera-moves/ExplodedView.tsx - Or re-implementPort the timing/easing from the recipe to HTML + WAAPI (gimgs motion contract) or any engine; keep the same segment windows and easing.
| param | type | default | description |
|---|---|---|---|
| — | |||
Cùng danh mục
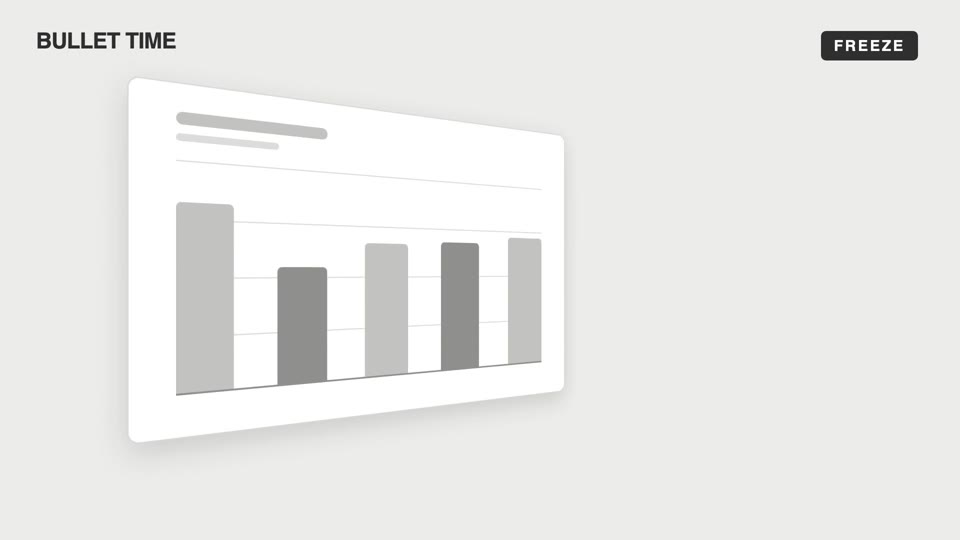
Chuyển động máy quay cảm xúc
Bốn kiểu chuyển động máy quay cảm xúc — bullet-time đóng băng xoay quanh, dutch-roll lật về ngang, slow-push đẩy chậm dồn nén, pull-back kéo xa cô lập; máy quay khiến khán giả "cảm" thay vì "nhìn".
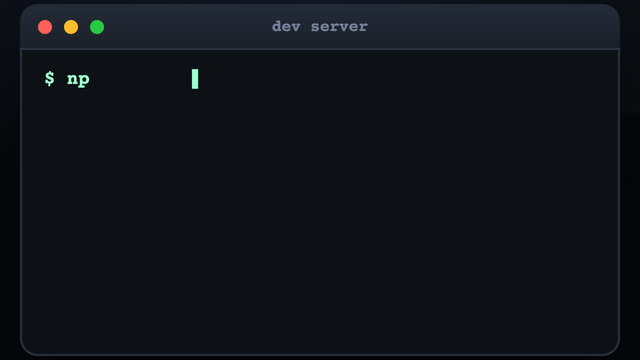
Bay lượn giữa terminal 3D
Ba cửa sổ terminal rải rác trong không gian 3D, máy quay bay giữa các cửa sổ kèm kéo xa hình sin dọc đường, tới mỗi cửa sổ gõ lệnh kiểu máy đánh chữ, kết quả trượt ra từng dòng.
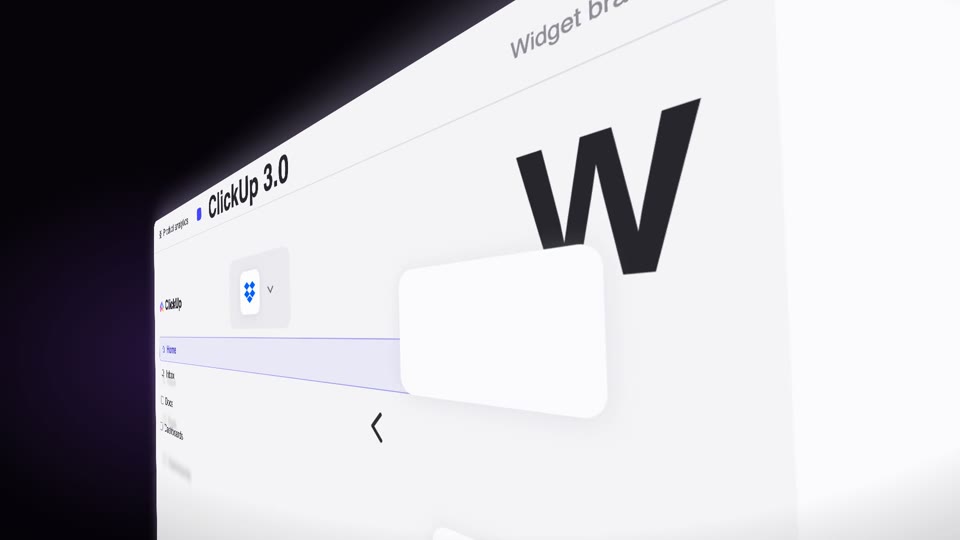
Lượn nghiêng dốc qua trang
Máy quay cố định giữ trang đứng nghiêng phối cảnh mạnh 60° (phải gần trái xa), trang tự trượt dọc theo mặt phẳng 3D của nó lướt qua ống kính (vật động máy không động), kèm ảnh bóng tốc độ, cấu kiện chữ lơ lửng áp vào, từ tối hiện sáng.
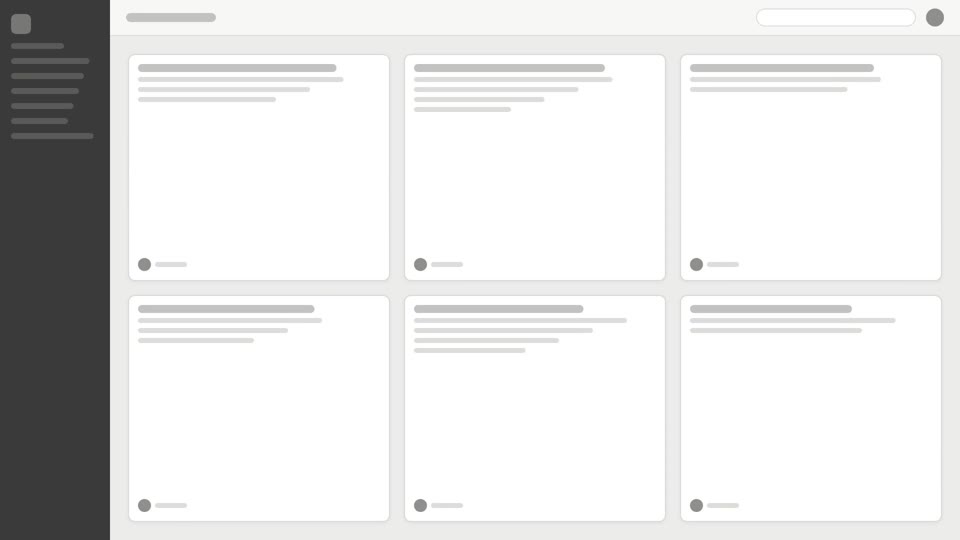
Máy quay góc trên chuyển động
Hai kiểu tiết lộ từ trên cao: tilt-reveal ngẩng thẳng lên, và overhead-tabletop-drop trượt ngang qua dàn thẻ rồi lao vào.