Motion · Ánh sáng & nhấn
Khung màu thương hiệu bật đổi
Ngữ pháp khung màu thương hiệu — một vòng khung dày màu đặc mọc trước nội dung bao trọn màn hình, cửa sổ quay màn hình rơi vào trong khung; khi đổi chế độ cả khung đổi màu cứng cùng khung hình với bố cục bên trong.
Nguồn: video-shotcraft (Vincent Wei) ↗ · Apache-2.0 · Composition Remotion (React/TSX) — có video preview, không có player trong trình duyệt
Khi nào dùng
Lớp bao trọn phim cho sản phẩm hai chế độ/hai chương (mã màu xanh dương = chế độ A, xanh lá = chế độ B); bọc thương hiệu cho footage quay màn hình thật.
Ý đồ
Footage quay màn hình thật phủ kín màn hình thì không có sự hiện diện thương hiệu, mà thêm watermark logo lại rẻ tiền. Thẻ này dùng một vòng khung dày màu thương hiệu "lồng khung" cho footage: khung xuất hiện trước nội dung (dựng khung trước rồi mới đặt hình, tạo cảm giác nghi thức), sau đó màu khung trở thành mã ngữ nghĩa xuyên suốt phim — xanh dương = Design, xanh lá = Dev Mode. Khi đổi chương, cả vòng khung đổi màu cứng trong một khung hình, không chuyển sắc — đổi màu cứng chính là tương đương hình ảnh của tiếng "sang số"; bố cục bên trong đổi A→B, nhãn góc và huy hiệu đổi chữ cùng lúc, ba điểm cộng hưởng cùng khung hình làm chắc cảm giác "đã đổi chế độ". Phân công với theme-switch-moves: đó là đổi "màu da" bản thân UI (có đường quét ranh giới), thẻ này đổi lớp "khung bao" (cùng khung hình, không ranh giới) — ngữ nghĩa là đổi chế độ/chương chứ không phải đổi theme.
Thời lượng & năng lượng
- Thời lượng: Một lần đổi màu ~4.3s (130f); bản thân khung có thể ở trên màn hình suốt phim.
- Năng lượng: Trung bình (khoảnh khắc đổi màu cao, còn lại là lớp bao yên tĩnh).
Công thức cảnh quay (bản gốc tiếng Trung — timing, easing, bảng tham số, lỗi hay gặp)
意图
真实录屏直接铺满屏没有品牌存在感,加 logo 水印又廉价。本卡用一圈 粗品牌色画框把录屏"装裱"起来:画框先于内容出现(先立画框再放 画,仪式感),之后画框颜色成为全片的语义编码——蓝=Design、绿=Dev Mode。章节切换时整圈画框一帧内硬翻色,无渐变,颜色硬切就是"换挡" 声效的视觉等价物;窗内布局同帧 A→B、角标与徽标同步换字,三处同帧 共振把"模式切换"砸实。与 theme-switch-moves 分工:那换的是 UI 本体 肤色(有扫过边界),本卡换的是"画框"这个包装层(同帧无边界), 语义是模式/章节切换不是主题切换。
动效核心
- 画框用 4 条实体色带(非 border 属性),厚度 0→44px ease-out 18f
长出;翻色 = 同一帧换 background,帧确定
- 录屏窗口 spring(damping 16) 从下方 560px + scale 0.82→1 落进框内
(帧 14 起,画框长出中段——框未成形窗先到会读作框追窗)
- 翻色帧三件事同帧:画框换色 + 窗内布局 A→B 硬切 + 框带角标/窗口
徽标换字(DESIGN→DEV MODE)
- 翻色瞬间叠 2 帧白闪脉冲(opacity 0.55 起阶梯衰减)+ 画框厚度阻尼
弹跳(exp(-0.22t)·cos(0.9t)·10px),给"换挡"打击感
参数表
| 参数 | 典型值 | 调节手感 | |------|--------|----------| | 画框厚度 | 44px(1080p) | 太薄读作描边不读作"装裱";>60px 开始吃内容区 | | 画框生长 | 18f ease-out,先于窗口 14f | 画框必须先立——内容先到画框后包读作补救 | | 窗口落位 | spring(damping 16, stiffness 110),y 560→0 + scale 0.82→1 | 落进"框内"是语义关键,落点必须完全在框带内侧 | | 翻色时刻 | demo 78f;停一拍(窗口落定后 ≥30f)再翻 | 落定没坐稳就翻,观众还没建立"蓝=当前模式"的编码 | | 白闪脉冲 | 2–3f,0.55→0.19 阶梯 | 帮眼睛登记"这一帧变了";>4f 抢了 cel-flash 的活 | | 厚度弹跳 | exp 衰减 cos,初幅 10px | 纯硬切略干;弹跳是"挡位卡进去"的机械回馈 |
已知坑
- demo 在灰阶/占位素材上调校通过——参数是调校起点非实战定稿,
首次实战须以真实素材回验
- 翻色必须真同帧:画框、窗内布局、角标文字三者错开哪怕 2f,"换挡"就散成三个小动画
- 颜色编码要全片守约:蓝框段落里不许出现绿色主 UI 元素,编码被稀释后翻色就只是换色
- 画框是包装层不是主角:全片翻色 ≤2 次,翻多了读作霓虹灯(P4 克制原则)
- 两个模式的品牌色对比度要够(demo 蓝 #3E7BFA / 绿 #1BC47D);同明度邻近色翻了等于没翻
- 声音:翻色帧钉一声干脆的机械 click/换挡声,白闪与声同帧;画框生长段可静
参考实现
demos/effects/brand-frame-snap/ (BrandFrameSnap.tsx) 原片出处:figma-devmode 0:28–0:32 + 0:43–0:47
Mã nguồn tham chiếu (Remotion)
- demos/effects/brand-frame-snap/BrandFrameSnap.tsx — https://raw.githubusercontent.com/Vincentwei1021/video-shotcraft/main/demos/effects/brand-frame-snap/BrandFrameSnap.tsx
Component import fixture chung từ demos/_fixtures và helper từ assets/lib của repo; xem SKILL.md trong repo để biết quy trình render.
Mọi thứ trên trang này đều có bản máy đọc. Đưa agent link JSON, hoặc thêm MCP server gimgs rồi bảo nó tìm motion template.
- Tải JSON — trong đó có công thức cảnh quay (timing, easing, bảng tham số, lỗi hay gặp) và toàn bộ source TSX.
- Clone repo video-shotcraft; component import fixture chung từ demos/_fixtures và helper từ assets/lib.
- Đăng ký component thành <Composition> trong project Remotion rồi render bằng `npx remotion render`, hoặc dựng lại công thức bằng engine của bạn.
curl -s https://gimgs.net/motion/brand-frame-snap.jsongit clone https://github.com/Vincentwei1021/video-shotcraft
# component: demos/effects/brand-frame-snap/BrandFrameSnap.tsx
npx remotion render <CompositionId> out.mp4claude mcp add --transport http gimgs https://gimgs.net/mcp
# then: search_motion_templates / get_motion_template("brand-frame-snap")Prompt
Use the video-shotcraft shot recipe "Khung màu thương hiệu bật đổi" (Remotion composition, Apache-2.0) published on gimgs.net.
Recipe JSON (prompt = timing/easing/parameter table/pitfalls, files = TSX source): https://gimgs.net/motion/brand-frame-snap.json
Raw TSX: https://gimgs.net/motion/brand-frame-snap/template.html
Repository: https://github.com/Vincentwei1021/video-shotcraft  (component: demos/effects/brand-frame-snap/BrandFrameSnap.tsx; imports demos/_fixtures and assets/lib)
Spec: 1920x1080, 30 fps, 4.39s

1. Read the JSON and follow its "prompt" section (when to use, intention, parameter table, known pitfalls).
2. Adapt it for: <describe what you want>.
3. Either clone the repo, register the component as a <Composition> in a Remotion project and run npx remotion render <CompositionId> out.mp4 — or re-implement the recipe in your own engine (HTML/WAAPI works: keep the same timing and easing).
// ===== demos/effects/brand-frame-snap/BrandFrameSnap.tsx =====
// brand-frame-snap —— figma-devmode 0:28–0:32 (brand-frame-snap) + 0:43–0:47 (frame-color-flip)
// 一圈粗品牌色画框先于内容出现包住全屏 → 灰阶"录屏窗口"在框内落位 →
// 停一拍 → 画框整圈蓝→绿同帧硬翻色,窗口内容同帧换布局。
// 一个 borderColor 完成章节导航/状态提示/品牌露出。
import React from 'react';
import { useCurrentFrame, spring, interpolate } from 'remotion';
import { G, FakeDashboard } from '../../_fixtures/Fixtures';

const FPS = 30;
const FIGMA_BLUE = '#3E7BFA';
const DEV_GREEN = '#1BC47D';
const FLIP_FRAME = 78; // 同帧硬翻色时刻

const clamp01 = (t: number) => Math.min(1, Math.max(0, t));
const easeOut = (t: number) => 1 - Math.pow(1 - t, 3);

export const BrandFrameSnap: React.FC = () => {
  const f = useCurrentFrame();
  const mode: 'design' | 'dev' = f < FLIP_FRAME ? 'design' : 'dev';
  const frameColor = mode === 'design' ? FIGMA_BLUE : DEV_GREEN;

  // 1) 画框先登场:厚度从 0 长到 44px(ease-out,前 18 帧)
  const frameGrow = easeOut(clamp01(f / 18));
  const frameW = 44 * frameGrow;

  // 2) 窗口在框内落位:从下方 + 略缩,弹簧弹入(帧 14 起)
  const drop = spring({ frame: f - 14, fps: FPS, config: { damping: 16, stiffness: 110, mass: 1 } });
  const winY = interpolate(drop, [0, 1], [560, 0]);
  const winS = interpolate(drop, [0, 1], [0.82, 1]);
  const winO = interpolate(drop, [0, 0.25], [0, 1], { extrapolateRight: 'clamp' });

  // 3) 翻色瞬间给 2 帧白闪脉冲 + 画框轻微厚度弹跳,强化"换挡"
  const sinceFlip = f - FLIP_FRAME;
  const flash = sinceFlip >= 0 && sinceFlip < 3 ? 0.55 - sinceFlip * 0.18 : 0;
  const snapPulse = sinceFlip >= 0 ? Math.exp(-sinceFlip * 0.22) * Math.cos(sinceFlip * 0.9) * 10 : 0;

  // 模式标签
  const label = mode === 'design' ? 'DESIGN' : 'DEV MODE';

  return (
    <div style={{ width: 1920, height: 1080, background: '#161618', position: 'relative', overflow: 'hidden' }}>
      {/* 框内内容区 */}
      <div style={{
        position: 'absolute', inset: frameW + snapPulse, background: G.bg,
        overflow: 'hidden', borderRadius: 8,
      }}>
        {/* 录屏窗口(带标题栏的窗口卡)落位 */}
        <div style={{
          position: 'absolute', left: '50%', top: '50%',
          width: 1560, height: 830,
          transform: `translate(-50%, -50%) translateY(${winY}px) scale(${winS})`,
          opacity: winO,
          borderRadius: 16, overflow: 'hidden',
          boxShadow: '0 24px 70px rgba(0,0,0,0.28)',
          border: `2px solid ${G.border}`, background: G.panel,
        }}>
          {/* 窗口标题栏 */}
          <div style={{
            height: 52, background: '#e9e9e7', borderBottom: `2px solid ${G.line}`,
            display: 'flex', alignItems: 'center', gap: 10, padding: '0 22px', boxSizing: 'border-box',
          }}>
            {[0, 1, 2].map((i) => (
              <div key={i} style={{ width: 16, height: 16, borderRadius: 8, background: G.bar }} />
            ))}
            <div style={{ marginLeft: 18, height: 12, width: 260, background: G.line, borderRadius: 6 }} />
            {/* 模式徽标:随画框同帧换色换字 */}
            <div style={{
              marginLeft: 'auto', background: frameColor, color: '#fff',
              fontFamily: 'Helvetica, Arial, sans-serif', fontWeight: 800, fontSize: 15,
              letterSpacing: 1.5, padding: '6px 16px', borderRadius: 8,
              opacity: winO,
            }}>
              {label}
            </div>
          </div>
          {/* 窗口内容:翻色同帧换布局 A→B */}
          <div style={{ transform: 'scale(0.81)', transformOrigin: '0 0', width: 1920, height: 1080 }}>
            <FakeDashboard variant={mode === 'design' ? 'A' : 'B'} />
          </div>
        </div>
      </div>

      {/* 品牌色画框:用 4 条实体边而非 border,翻色是纯 background 同帧硬切 */}
      {([
        { left: 0, top: 0, right: 0, height: frameW + snapPulse },
        { left: 0, bottom: 0, right: 0, height: frameW + snapPulse },
        { left: 0, top: 0, bottom: 0, width: frameW + snapPulse },
        { right: 0, top: 0, bottom: 0, width: frameW + snapPulse },
      ] as React.CSSProperties[]).map((pos, i) => (
        <div key={i} style={{ position: 'absolute', background: frameColor, ...pos }} />
      ))}

      {/* 画框上的模式角标(左上,嵌在框带里) */}
      <div style={{
        position: 'absolute', left: 70, top: 0, height: frameW + snapPulse,
        display: 'flex', alignItems: 'center',
        fontFamily: 'Helvetica, Arial, sans-serif', fontWeight: 800,
        fontSize: 22, letterSpacing: 3, color: '#ffffff',
        opacity: frameGrow,
      }}>
        {label}
      </div>

      {/* 翻色白闪脉冲 */}
      {flash > 0 && (
        <div style={{ position: 'absolute', inset: 0, background: '#ffffff', opacity: flash }} />
      )}
    </div>
  );
};
- Read the recipePrompt = when to use, intention, parameter table with typical values and how each one feels, known pitfalls. Treat values as calibrated starting points.
- Get the codetool: git
git clone https://github.com/Vincentwei1021/video-shotcraft && cd video-shotcraft && npm install - Register + rendertool: remotion
npx remotion render <CompositionId> out.mp4 # component: demos/effects/brand-frame-snap/BrandFrameSnap.tsx - Or re-implementPort the timing/easing from the recipe to HTML + WAAPI (gimgs motion contract) or any engine; keep the same segment windows and easing.
| param | type | default | description |
|---|---|---|---|
| — | |||
Cùng danh mục
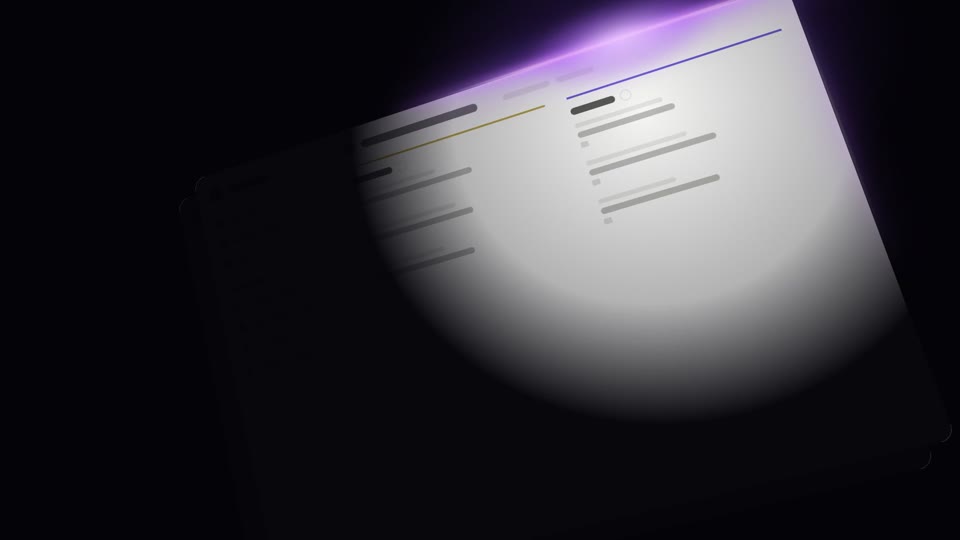
Đèn rọi hiện hình trên nền tối
Ba kiểu đèn rọi hiện hình trên nền tối — A quét thức-ngủ (đèn tới thì sáng, đèn đi thì tối), B quét ngang rìa viền (ánh tím bám mép UI thấm vào + đèn quét phải đều), C hiện hình đều từ góc (đèn hình tròn nở đều từ góc sáng cả màn hình); ánh sáng chính là lời kể trên nền đen.
Đập vào cảnh năng lượng cao
Ba kiểu đập vào cảnh năng lượng cao: dừng phối cảnh kiểu Kanada, đập rơi tỷ số, hoặc lan chấn động sang thẻ lân cận.
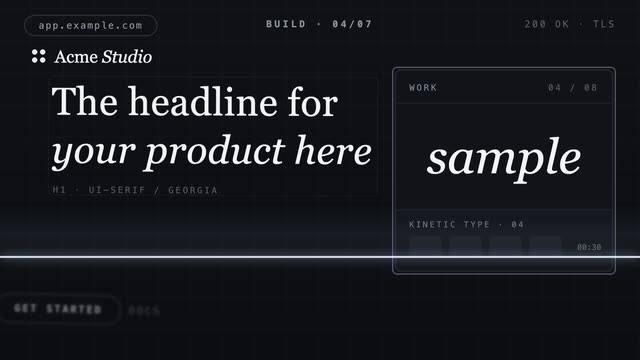
Vệt sáng quét lắp ráp bay vào
Vệt sáng quét từ trên xuống lưới nền tối trống, tới đâu thành phần vùng đó bay vào khớp vị trí — quét xong là lắp ráp xong.
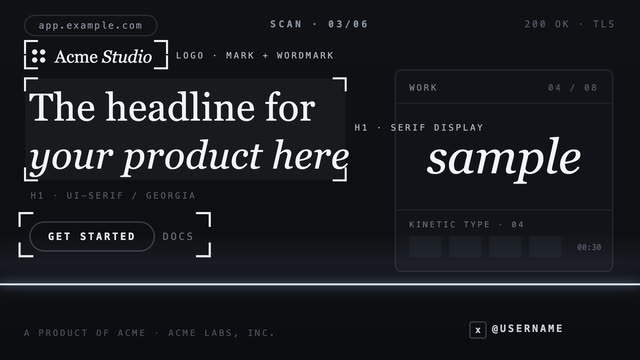
Vệt sáng quét chú thích tiêu điểm
Một vệt sáng quét từ trên xuống dưới trang, khoanh khung ngắm kiểu máy ảnh vào từng vùng nó đi qua rồi gắn chú thích chữ mono.